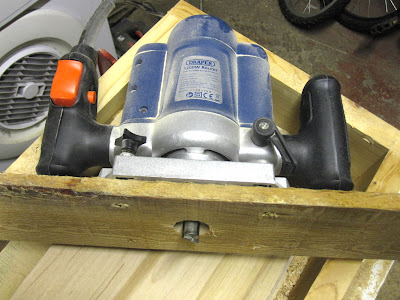
Here’s a very quick update on my adventures in making my Sharkfin Ukulele. I’ve been experimenting with a technique for cutting the blank for the body. Today’s post is all about width…
 |
| Movember is here again! This year I shall be attempting a “Motorhead” as chosen by my colleagues at work. Please support Movember and if you do nothing else this month… go for your yearly checkup! If you do it, then I promise I will… |
| Here is the bundle of maple that I bought to make the neck for my Kingcaster electric ukulele build. I used half a block of wood for that project… still plenty left over for new projects. My intention is to make the body for the Sharkfin Ukulele out of maple. The problem is that it’s all warped and way too thick for my needs. I need some way of getting the wood closer to the dimensions required for this project… |
 |
| This is Planezilla. You might remember me shaping blanks for the fretboard and bridge using this a couple of weeks ago. I didn’t do too bad a job using the plane, but I felt the need to try something different for the body. What follows is a bit of an experiment. I’m still not too sure whether it is the right thing to do, but I wanted to try it anyway. |
 |
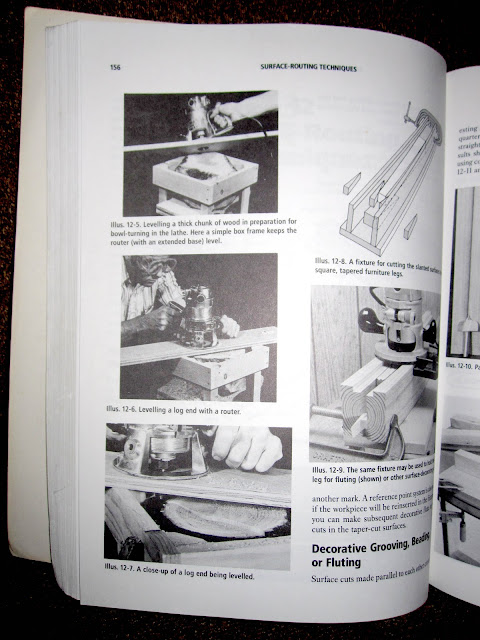
| This is my inspiration for this technique. When I bought my router, I also bought a copy of The New Router Handbook by Patrick Spielman. It’s a fantastic book. Pretty much all I’ve learnt about routers has come from this book… it’s been a godsend. Hidden away deep in the middle is half a page showing you how to level off a log using a router for bowl-turning in a lathe . I used a similar technique for shaping the neck and fretboard on the Kingcaster. It worked a treat then. I wanted to see if I could do something larger. |
That’s it for today. If I can get this piece of wood the right dimensions then I’ll cut the template for the body and then cut this blank to shape. That will have to wait for another weekend…


Comments welcome…