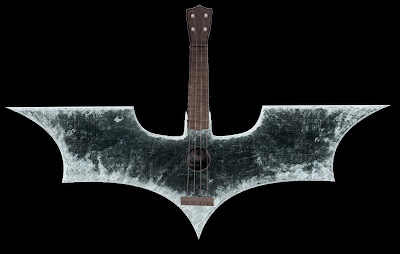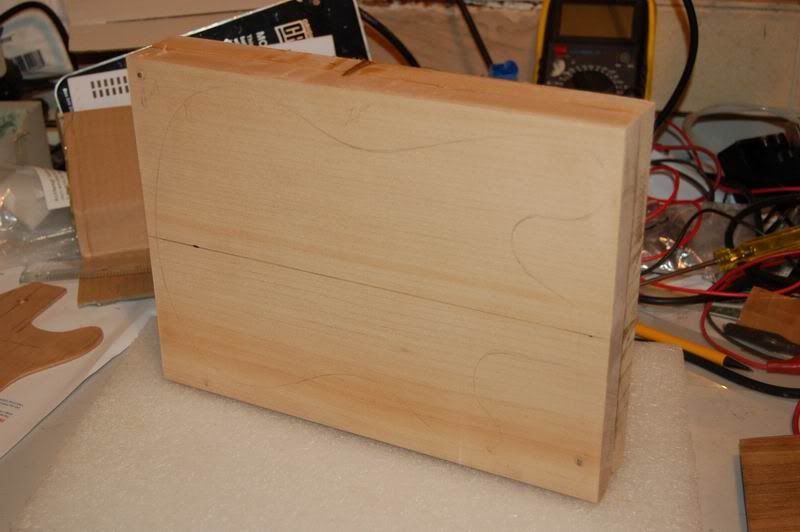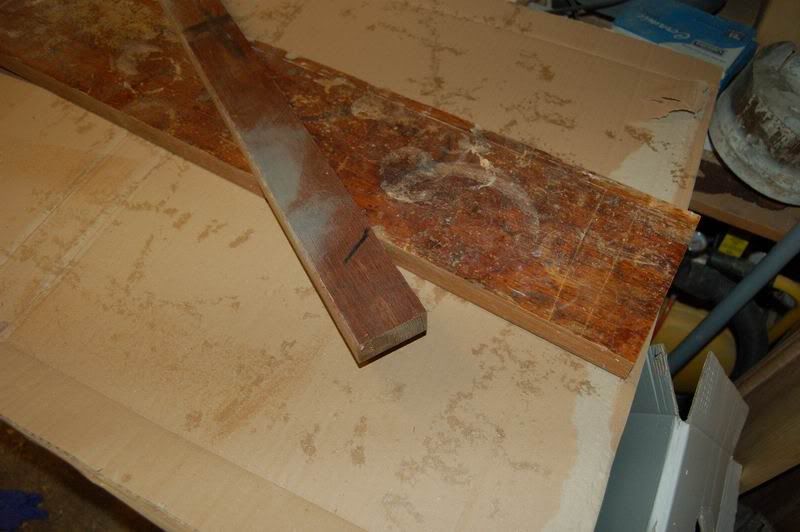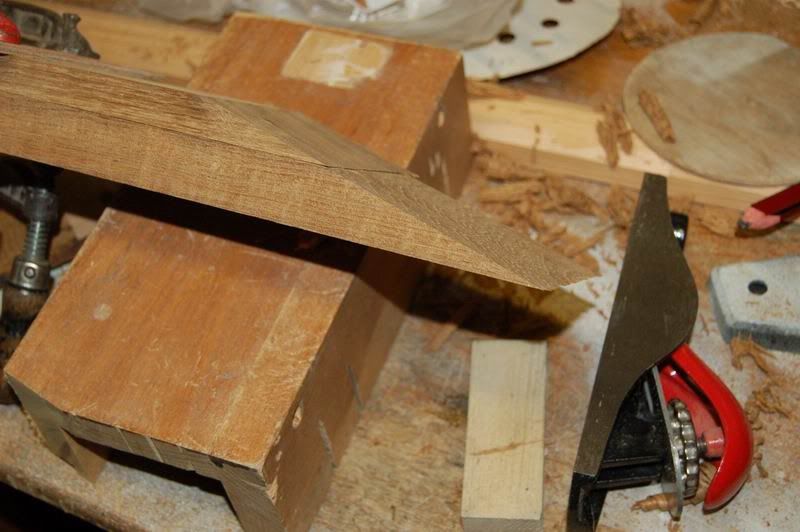
At this point, the body feels *gorgeous*, and all I want to do is sit in a darkened room and run my fingers over it 😮 :-[
Right, back to the neck…
I thought about putting a radius on the fretboard, but it seems most ukes don’t have one, and it would make life a bit more complicate for me, so a flat fretboard it is. The face of the neck and the back of the fingerboard had already been planed smooth and then sanded flat with abrasive paper on a sheet of glass to get them to fit nicely together. A flat fretboard meant I could sand with the face of the fretboard in the same way to get it as true as possible.
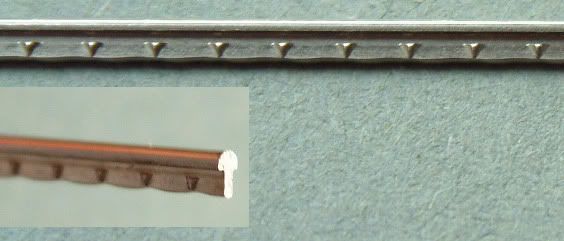
The tuners still hadn’t arrived, and I was getting itchy to carry on. I wanted to shape the neck, but I also wanted to fit the frets while the back of the neck was still flat to provide a solid base. I decided to fit the frets before gluing the fretboard to the neck (having seen some youtube videos of people doing it this way).
I tried hammering some lengths of fret wire into some test slots, and it was, frankly, barbaric – dents and kinks in the fret wire, and divots out of the wood where the wire slipped over rather than hammering in. Then I came across a youtube video of someone pressing the frets in using a dowel in a (stationary) drill press. Bingo! (That whole series is good to watch, btw.)
This is the technique I used (although the photo is from later on – all will be be explained…):

NB The drill is NOT running!
I quite liked the idea of having a fretboard with a ‘zero’ fret, so I thought I’d try for that, and if there were problems I’d just trim the fretboard at the zero fret position and fit a conventional nut, instead.
Zero fret went in OK, so I carried on with the rest:

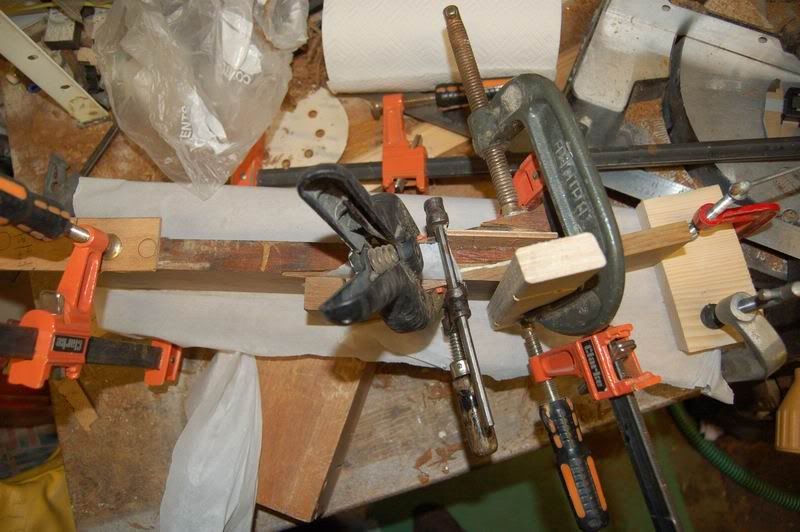
I clamped the whole neck between two boards to press the frets home and hold them in place while I filed the cut ends of the fret wire off.


Notice how the act of pressing the frets in has put a curve in the fretboard.

With that done, I thought I’d have a go at shaping the neck…
…with the belt sander.
BAD IDEA.
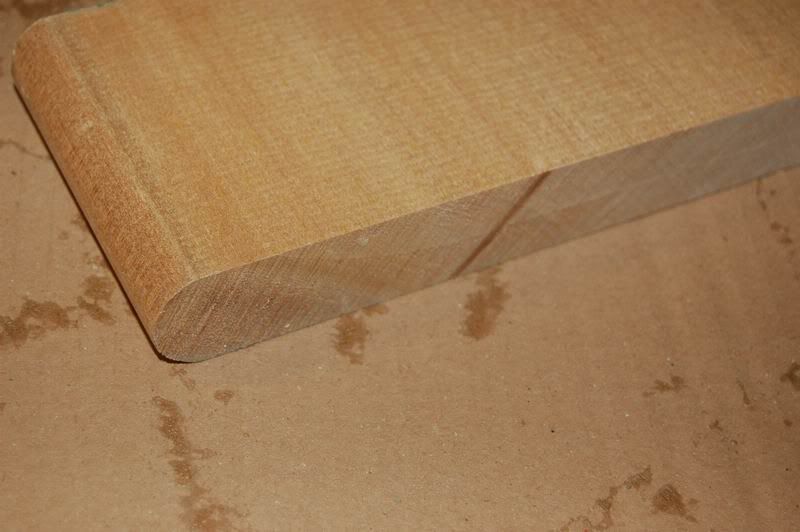
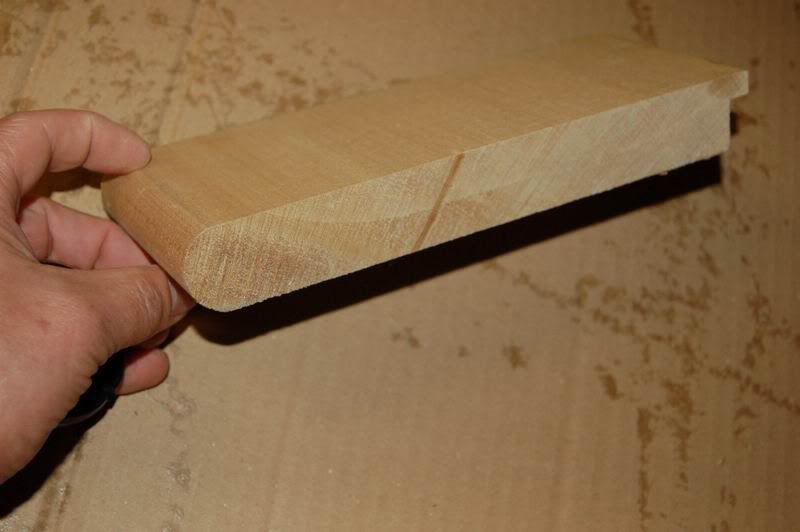
I’d already used the router to round over the edges of the back of the neck, but a lot of material still needed to come off.
I tried coarse sand paper.
Too slow.
I tried a rasp.
Too slow.
Belt sander! 8)
…
Too fast! 🙁
I ended up running the sander off the end of the neck and over the headstock, carving a deep groove in the back of it :'( :'(.
It needed a lot of careful sanding to get this out and make the back of the headstock flat again. When I’d finished, the headstock was barely 12mm thick. Aesthetically, it looks good, but I just hope my tuners will fit to so thin a headstock.


I’m not done with the neck yet, but this has made me more cautious, and I’ll wait until the fretboard has been fitted before carrying on.
Back to metalwork for a bit. I bought a cheap hard-tail strat-style bridge on ebay with the intention of modifying it somehow:

I wanted to cut it down and re-drill the holes for the correct string spacing, but: a) it was chromed steel, so the cut edges would show and/or go rusty; and b) none of the dimensions really worked out. I decided I could make a new base with the correct string spacing and re-use the saddles, screws (and allen key 😉 )
Hacksaw time:

This was MK 1 – I tried to drill the holes in this after bending it, and they ended up well out of line as you can see:

Mk – II was drilled while flat, then bent up and polished:
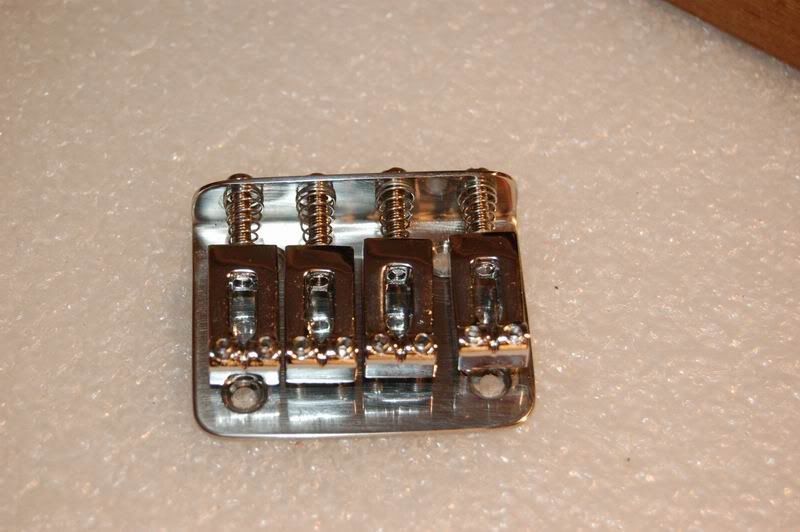
Still not perfect, but I was pleased with that. The polished stainless matches the chromed saddles quite well.
More tomorrow.
(Maybe the tuners will turn up? 😉 )
Stay tuned…


