

I’ve got another update on my electric ukulele build. When last we spoke I’d had a close shave whilst fitting the tuners. Things had been going so well too! Today we return to the scratch plate to do some Kung Fu with the electrics.
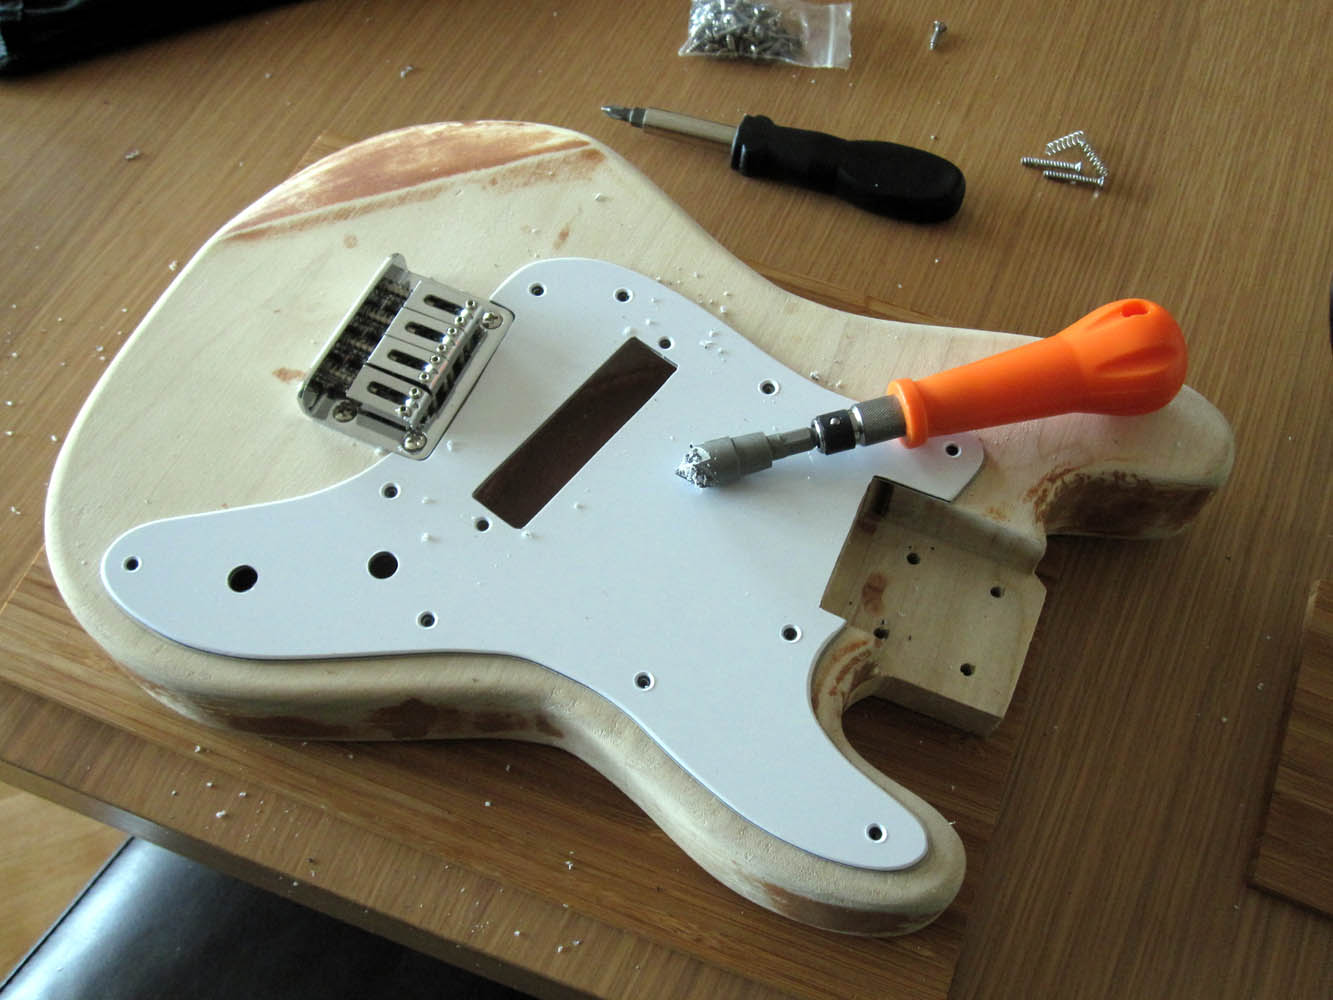 |
| First off, a little bit of house-keeping. When I made the scratch plate I mentioned that I needed to countersink the screws. Here… I’ve done it. I wasn’t being lazy; I just didn’t have the tool for the job at the time. |
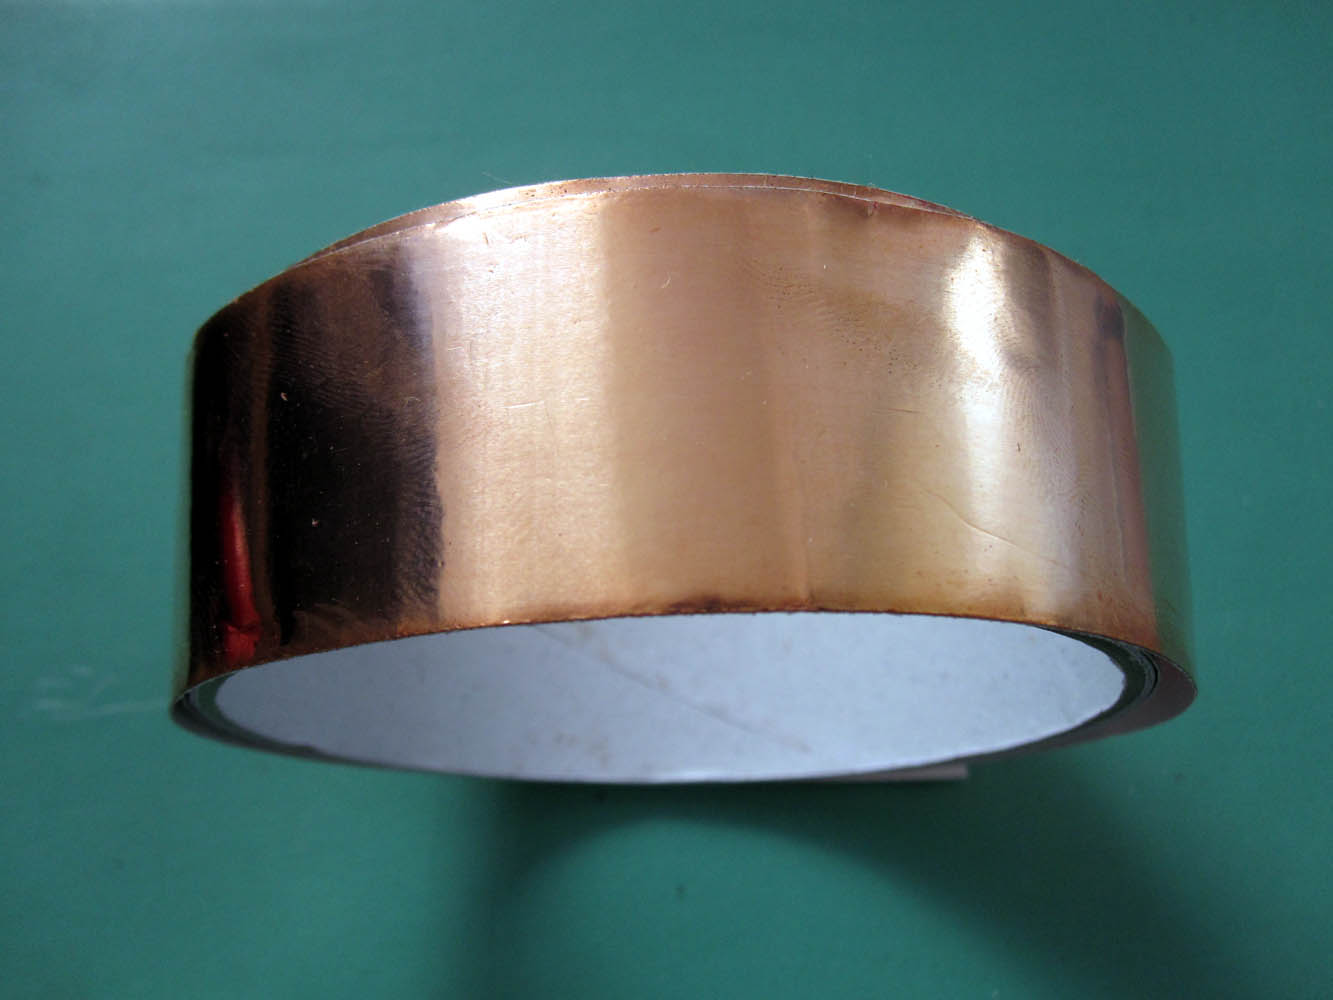 |
| I’ll be perfectly honest and say that I know as little about electronics as I used to do about routing. Perhaps a better way of putting it would be to say that I know just enough to be dangerous. You will remember that the basis of my electric ukulele design is my Hohner Strat that I restored a couple of years ago. I had grounding issues with that project that taught me about copper foil. I still have a roll of it that I’m using here. |
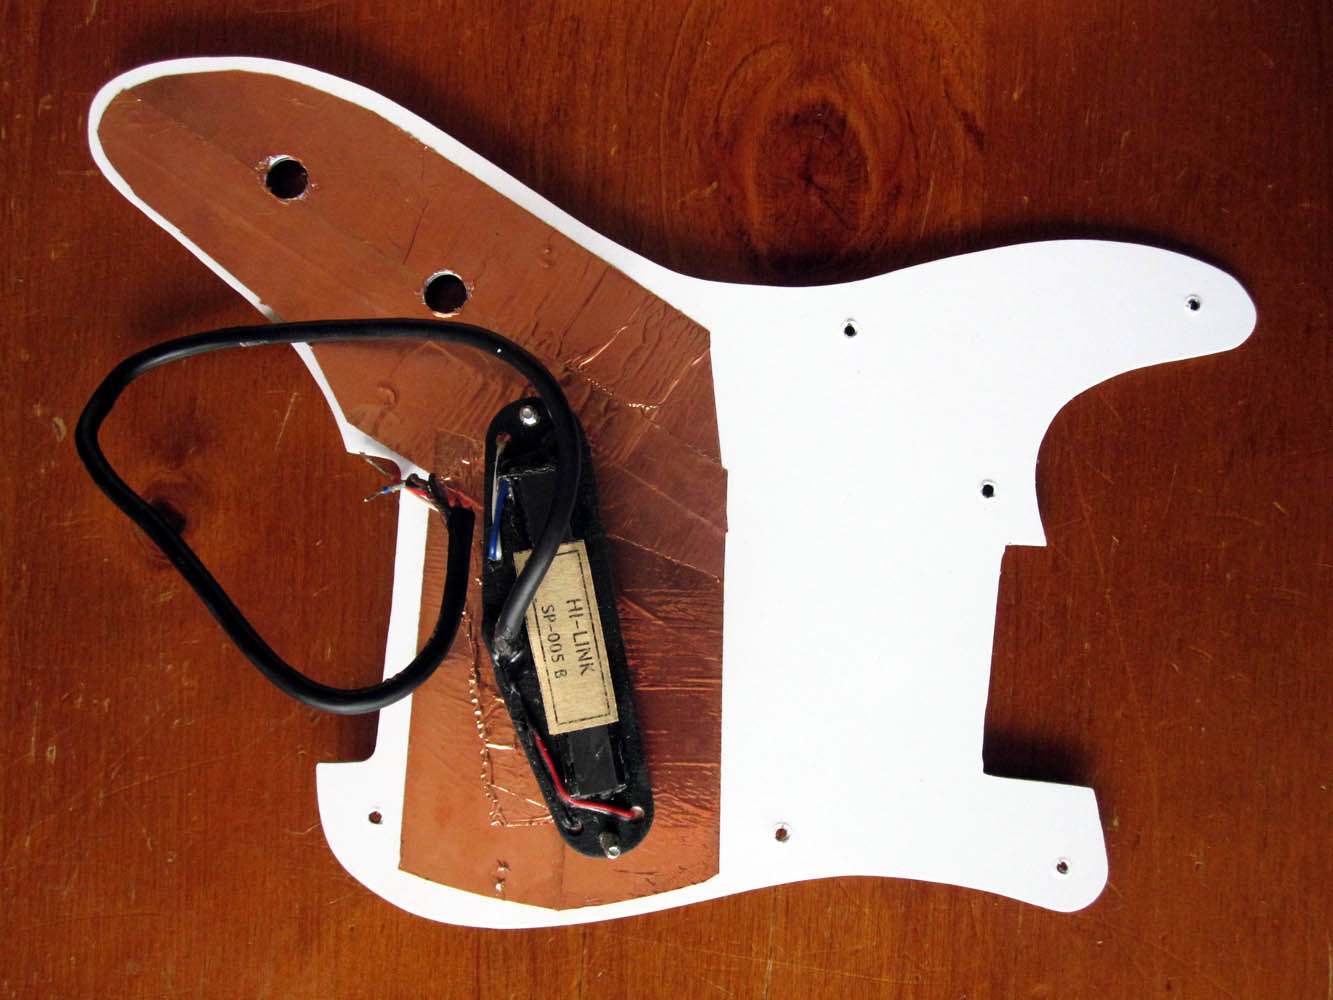 |
| The first thing that I did was to stick the foil on the underside of the scratch plate around the whole area where the electronics will be. I’ve seen people cover the whole underside of the scratch plate but that seems like overkill to me. My intention is to line the body cavity with copper foil so that pickup and pots are encased. I then fitted the pickup. |
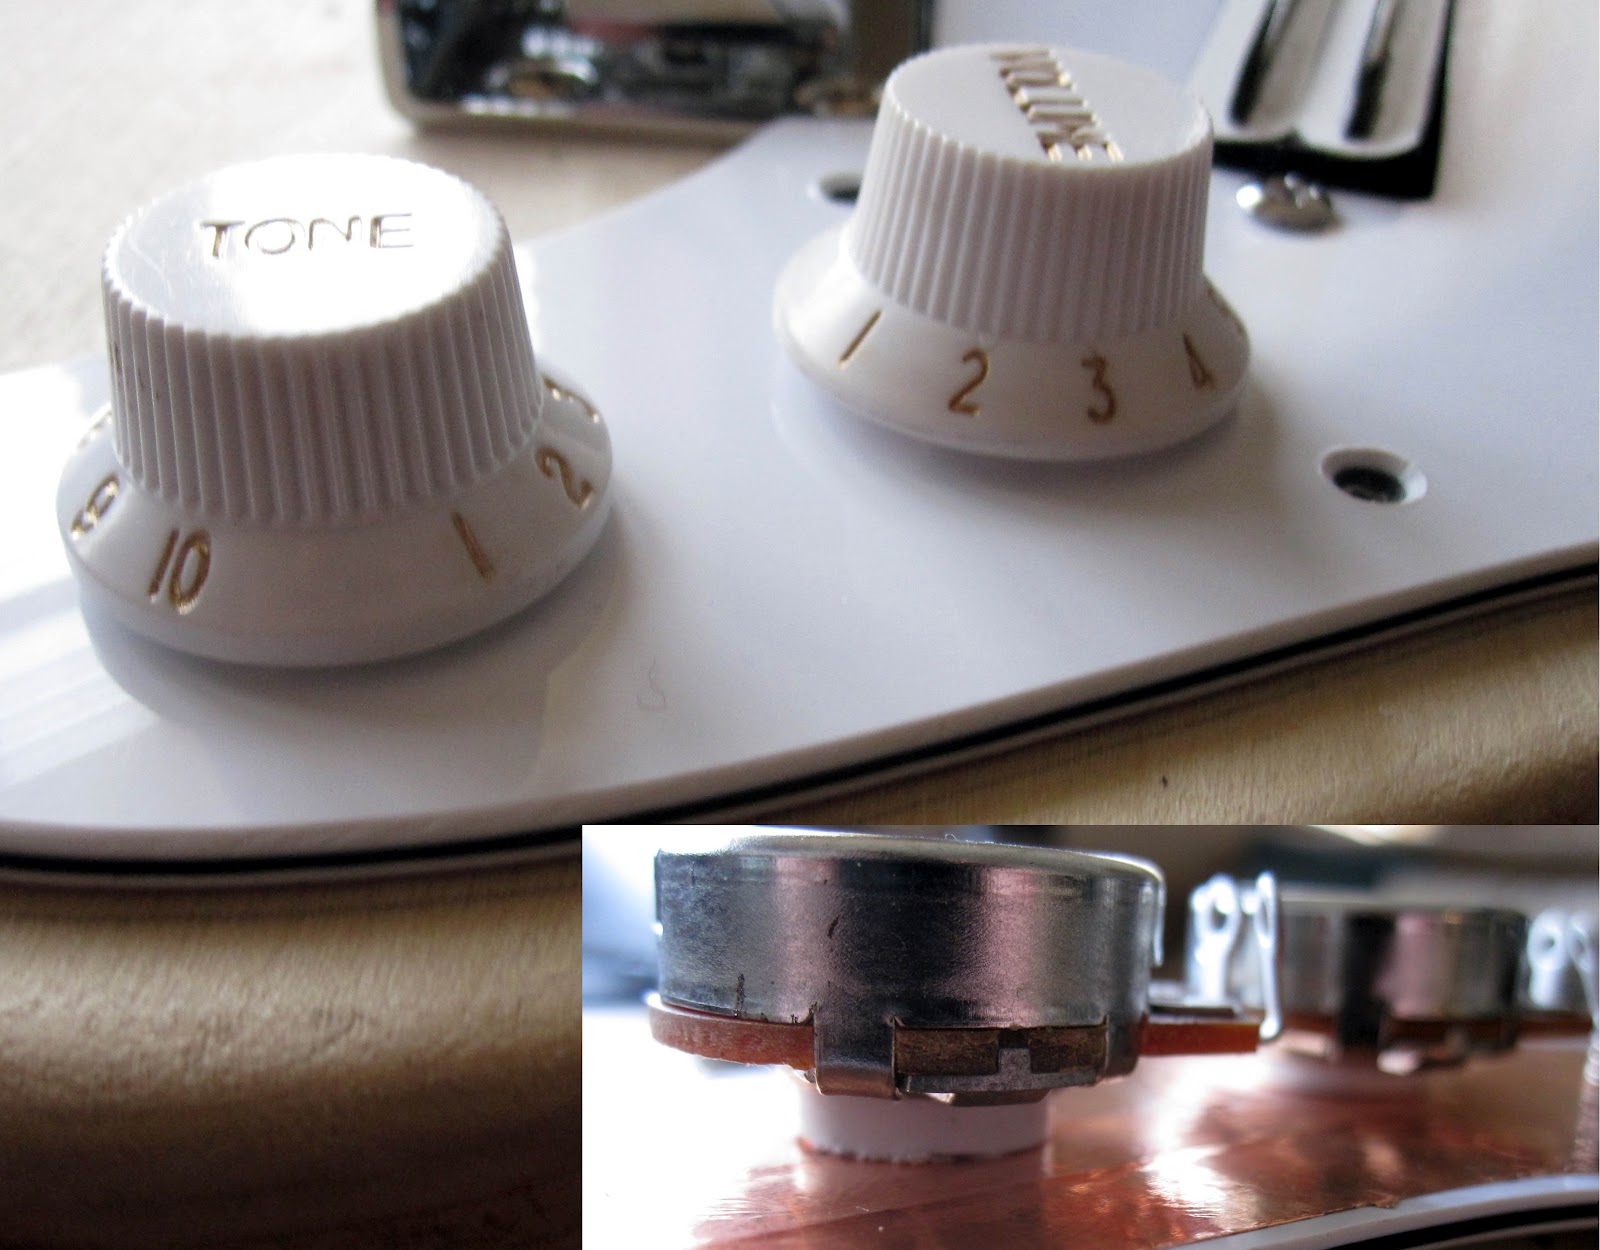 |
| I fitted the pots and discovered that the shafts were way too long for my liking. After much hunting about I found some plastic and cut spacers that I fitted between the pots and the scratch plate. You will remember that I was having second thoughts about the pots due to their size, but I’ve stuck with them. It all fits. |
 |
| I really didn’t know how to wire everything up. Fortunately, I know people who do! Daniel Hulbert came to my rescue and revealed to me the marvel that is Seymour Duncan. Seymour Duncan’s wiring diagrams are fantastic. They have a tool where you can put in the type of set-up you are going for and they’ll tell you how to wire it up. This picture shows you the way that I’ve chosen to wire my electric ukulele. It’s a fairly standard humbucker set-up. Julian Davies tried to tempt me to try something a little more exotic, but I figured I need to hear it before I consider tinkering. |
 |
| You’ll see my lack of electronics savy here. The diagram talks about 500k pots and I’ve only gone and bought 250k ones! Fear not! The solution simply seems to be to use a different capacitor. I really couldn’t tell you whether I’ve got the right one here, but it was the one that Daniel Hulbert recommended to me. This is as far as I’ve got with the wiring. I’m colourblind, so I’ll not talk colours with you, but the two wires leading to the bottom are to connect to the jack. The last thing I need to do here is to wire the ground to the bridge. I won’t do that until I’ve painted the body and I’m putting it all together for what I hope is the last time. One added complication here is that the pickup wires for my pickup are different to the ones in the diagram. Fingers crossed, I’ve got this all correct! |
 |
| Hold on a second. Haven’t I forgotten something here? “What about the Brimstone?” I hear you cry. Be patient my friends! Brimstone will be added when I plug this baby in and crank her up! It won’t be long before I’m rubbing shoulders with the God of Hellfire! |
That’s this update over! I haven’t tried to check the electrics at all. I’m working on the big bang principle. How exciting is this! I’ve now moved on to painting the body. Expect a post on this next…
Comments welcome…