
The second hardest part of any project is starting.
(In case you’re wondering… The hardest part is finishing.)
 |
| King Uke’s Sharkfin Ukulele |
I’m happy to say that I have now officially started my Sharkfin Ukulele build. Today it was all about wood. I started with a big bit and ended up with two small bits. Here’s how I did it…
 |
| I’ve been keen to recycle a bit of wood from an old garden table. Here it is. It’s been stained, oiled, varnished, painted and left outside in the elements for years. I bought the table in Auckland. Have I ever told you how much I love New Zealand? I doubt very much that the wood is from NZ… most likely it was imported from China. |
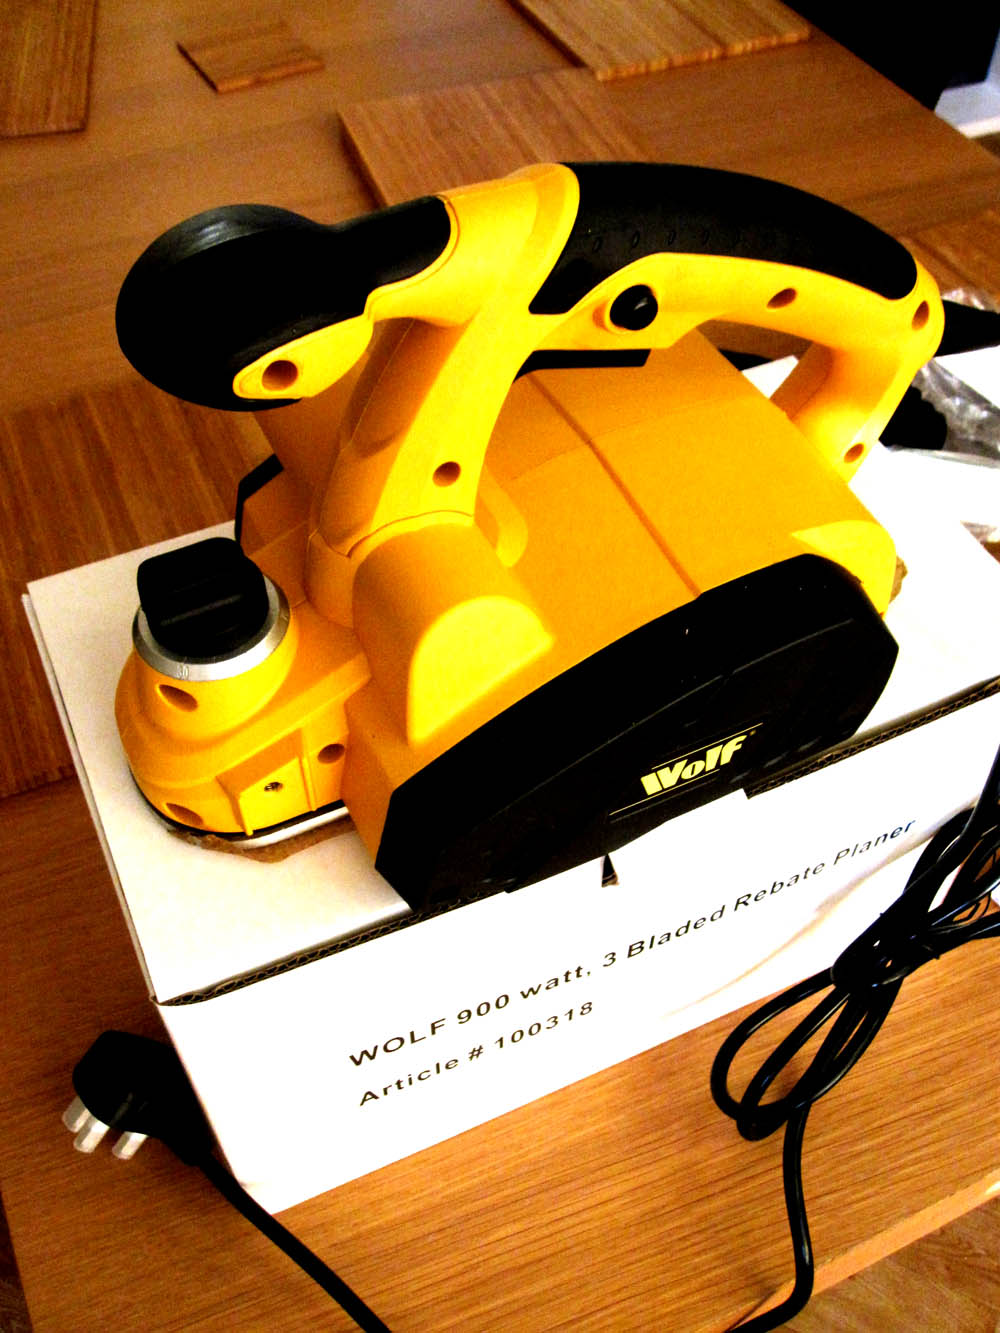 |
| I’ve leveled wood using a router before. This time I figured that I’d try out a different technique. Perhaps an electric planer would do the trick? Here’s what I bought… a Wolf 900 watt 3-bladed Rebate Planer. It’s huge! A big chunky monster! Would I be man enough to tame it? It was only when it had arrived that I started searching the internet for hints on how I might use it. Watching the videos I began to experience that same sinking feeling I got when I decided that I would learn how to plaster my living room wall. You don’t learn anything without giving it a go. On the plastering… it was a complete disaster… I won’t be trying that again. |
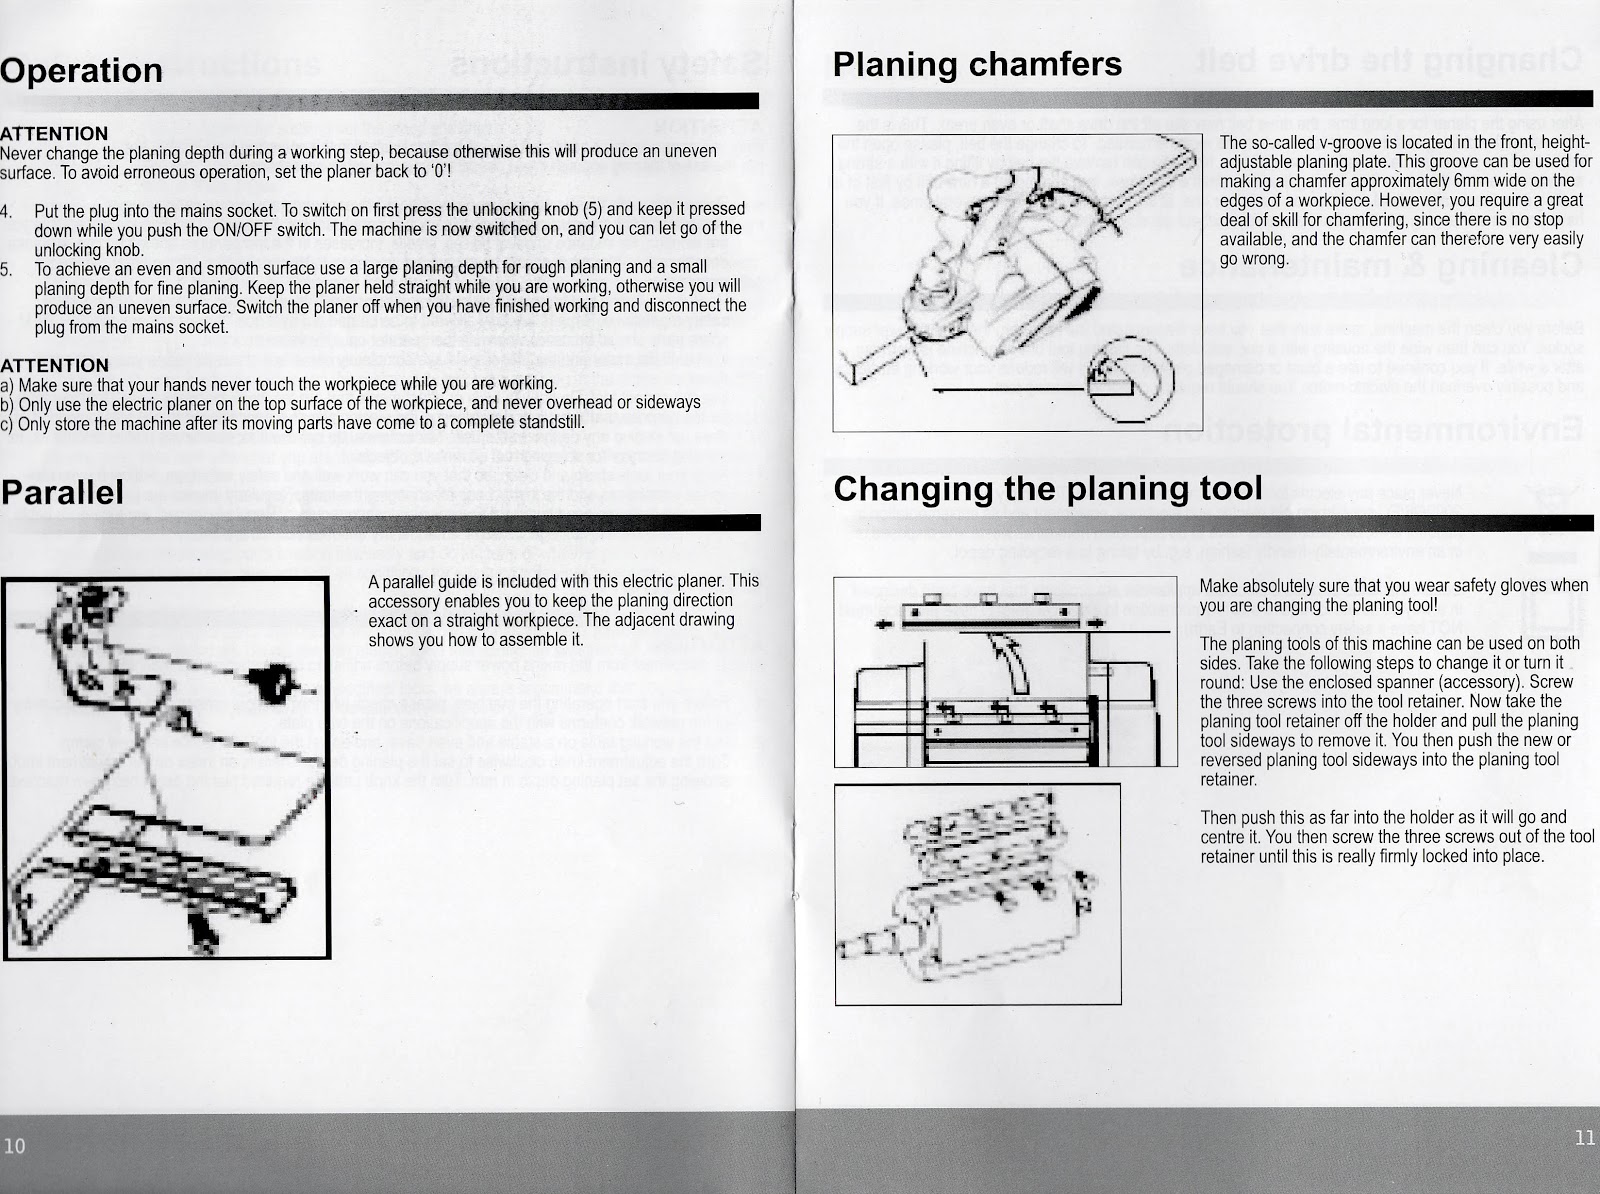 |
| Check out this snippet from the Wolf instruction manual. It’s shocking! See the pictures. I think they must have been taken by Mr Magoo! |
 |
| You know that I like to do things the hard way. I cut the plank in half, chopped off the end and then split it into two… all by hand with my big rusty saw. This was the first inkling I got that the wood was naturally a lot lighter than I remembered it to be. See the top-right of this picture. |
 |
| Next I knocked together a simple jig to hold the wood so that I could plane it. It’s not pretty, but it did the job. If you look at the picture, I got into a technique of planing from the left and pushing towards the end with the clamps. Initially I was planing the full length of the board, but as I whittled it away I ended up doing half the length at a time and turning the wood around in the jig. The planer wasn’t too hard to use, but I did struggle to get the wood properly square. |
 |
| Here’s the finished product. It’s not completely true and probably a smidgen thicker than I want it. |
 |
| I checked out the wood and picked the bits that looked the best before cutting two blanks: one for the fretboard (on the left) and one for the bridge (on the right). I really want these to be dark against the maple I intend to use for the body. That’ll mean that I’ll have to stain them. |
I’ve begun! Hooray!
In my last ukulele build the most important component was the bridge. I found it to be a fantastic reference-point for ensuring that the whole kingcaster instrument was in proportion. This time I think that the most important component will be the tuning pegs. I’ve ordered a couple of different sets to muse over. My perfect choice would be some planetary geared banjo tuners, but the cost has put me off this option (so far). I’m going to wait for my tuners to arrive before I do any more.
My next post on this build will hopefully be a more in-depth look at my Sharkfin ukulele pattern. Then I’ll tackle the body…
Comments welcome…