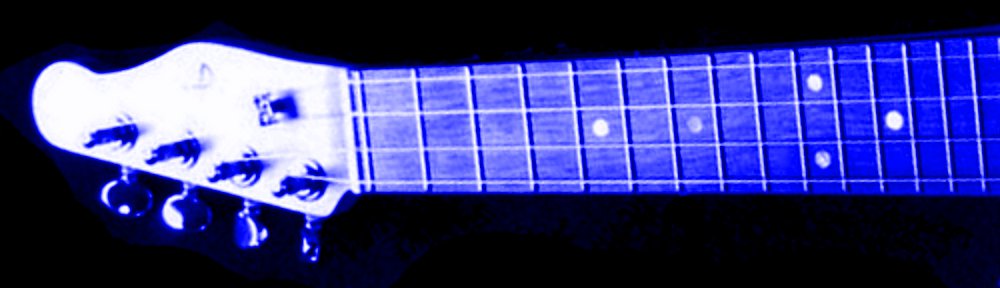
I have a quick post for you. Here’s what I’ve been up to today with my Skarkfin Ukulele build. My last post talked about some shaping I was doing to the neck. Guess what? I picked up where I left off…
 |
| The 3 Morphs! |
It’s been a productive day. The bad news is that I discovered 3 flaws in my design. The good news is that I’ve fixed two of them. Read on…
 |
| I warmed up by doing some more filing on the neck. You can’t really see in this picture, but the depth is almost where I need it to be, tapering up to the body. I’ve left it fairly square for the moment. I need to think a bit more about the shape I want and will come back to this later on in the project. |
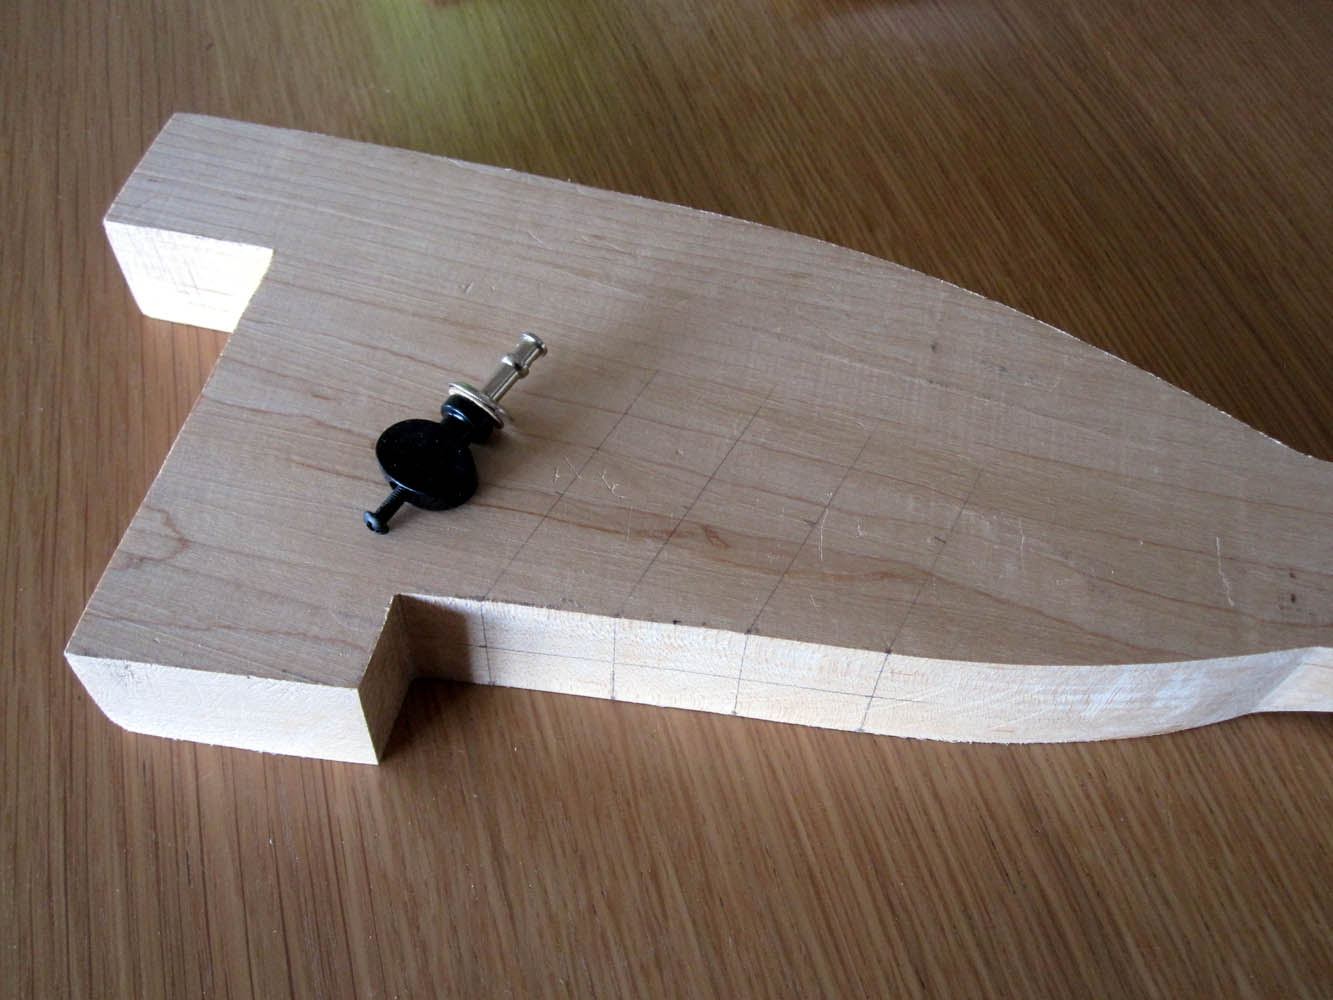 |
| Today’s task was to start to fit the tuning pegs. You can see that I drew lines onto the body to mark where I wanted them to be along with the angle of the shaft. This was where I spotted my first design flaw. The furthest left tuning peg is too close to the body… It’s going to be hard to turn it. No matter, I haven’t done anything to fix it it. I am considering angling the body bit that juts out at the bottom. I’ll sleep on it before making a decision… |
 |
| Here you can see me drilling the holes for the tuning pegs. I wanted to drill these prior to cutting the centre hole to give me the best chance of having nice clean drill holes. You may remember that I almost came a cropper with this when I drilled the tuning peg holes for my Kingcaster. These holes are a lot thinner, but I still didn’t want to leave any |
 |
| Here’s the finished set of holes. I’m pretty pleased with them. Next I moved on to drilling the holes for the strings to pass through the body. |
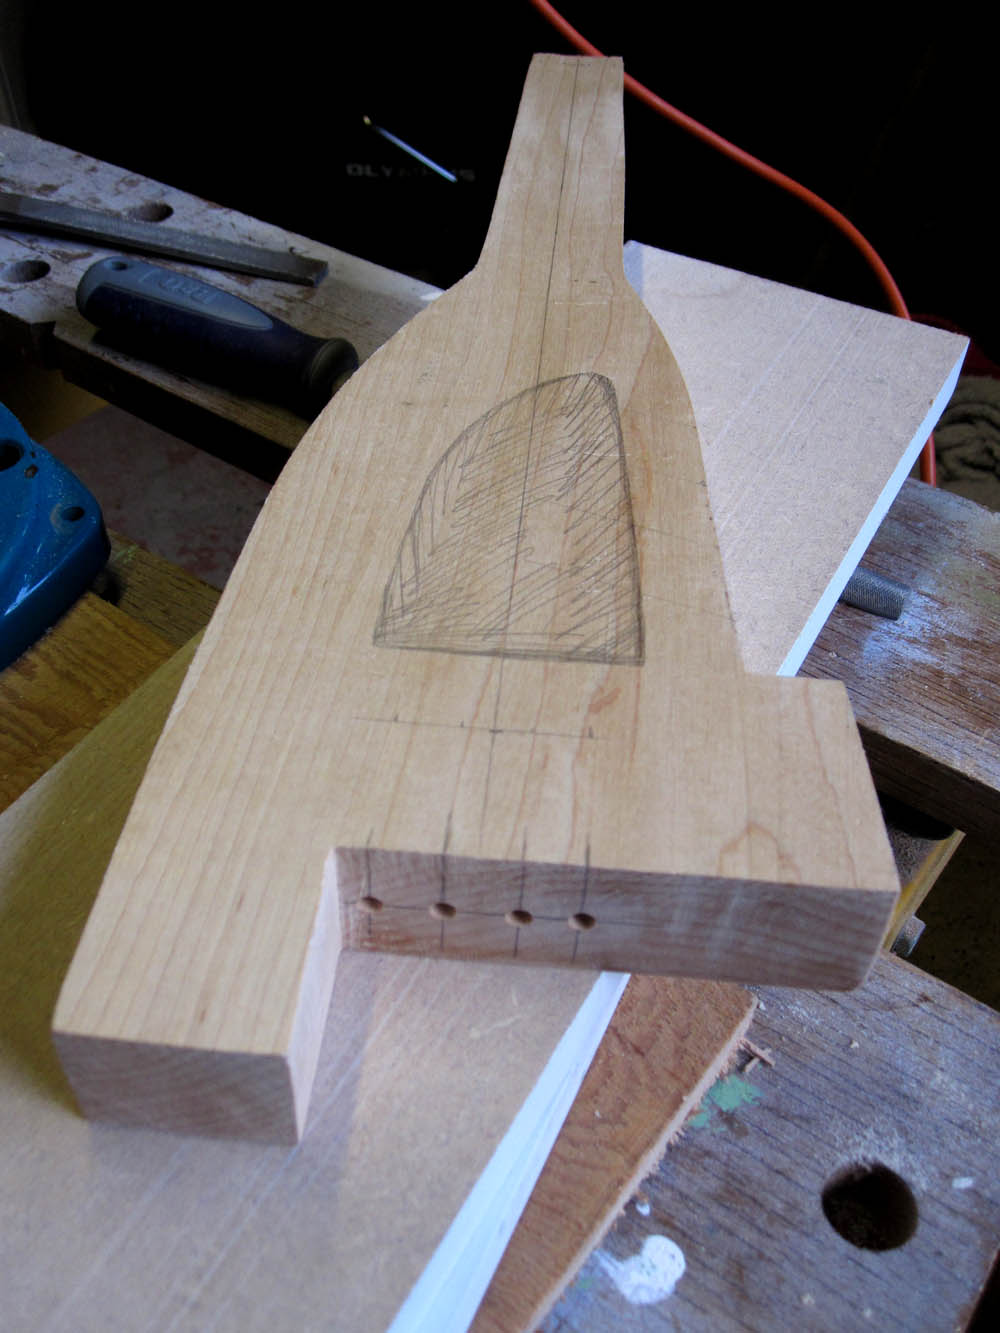 |
| See that I’ve marked the centre hole. I drew the strings onto the body and drilled holes for the strings as close to where I think the strings will need to be as I could. I intend to put some small grooves into the body to guide the strings around and into the holes. This is where I spotted my second design flaw. The first and second string holes on the left are too close to the upper “arm”. I got the holes started, but couldn’t get them as deep as I needed them. I’ll come back to this… |
 |
| I dug out my forstner bits and put some strategic holes into the centre hole. Then I set to it with my jigsaw. |
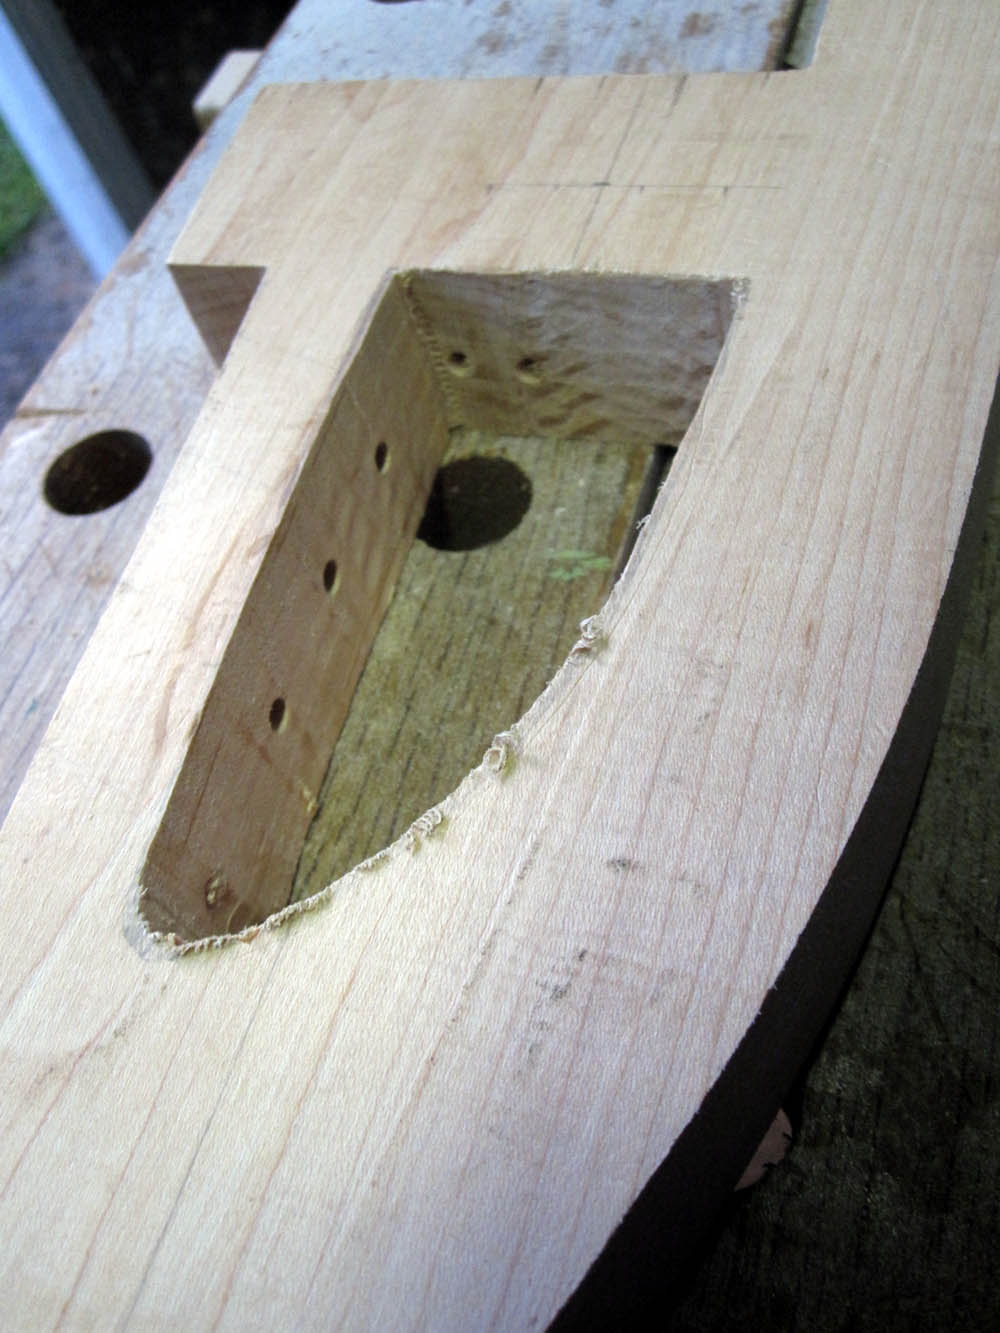 |
| Here’s the centre hole before I’ve done any work on it to tidy it up. You can see the holes I’ve drilled for the tuning pegs on the left and only 2 of the holes I’ve drilled for the strings on the right. |
 |
| This is when I spotted design flaw number 3. I couldn’t fit the tuning peg closest to the neck. The centre hole was too small at this point. I ended up drilling right through and into the upper part of the hole. Hmmm… I need to decide what to do with it. It wouldn’t be the end of the world if I left it as it is. |
 |
| I fixed the string hole problem by using my hand drill. It’s got a smaller chuck than my electric. But even the hand drill couldn’t do the hole closest to the arm. I ended up running a screw through it and working the hole by hand. Fixed! |
That’s today’s round-up for you. I’m pleased with progress. It was inevitable that I was going to hit a few problems on this build. I’m sure there are more to find. So far… nothing fatal! I don’t know if I’ll do anymore tomorrow.
I have a question for you…. See the body in the picture above. Do you think I should round the edges a bit? I’m getting close to convincing myself that I should… just a little. If you’ve got an opinion, there’s still time to give me your two-cents!
Comments welcome…