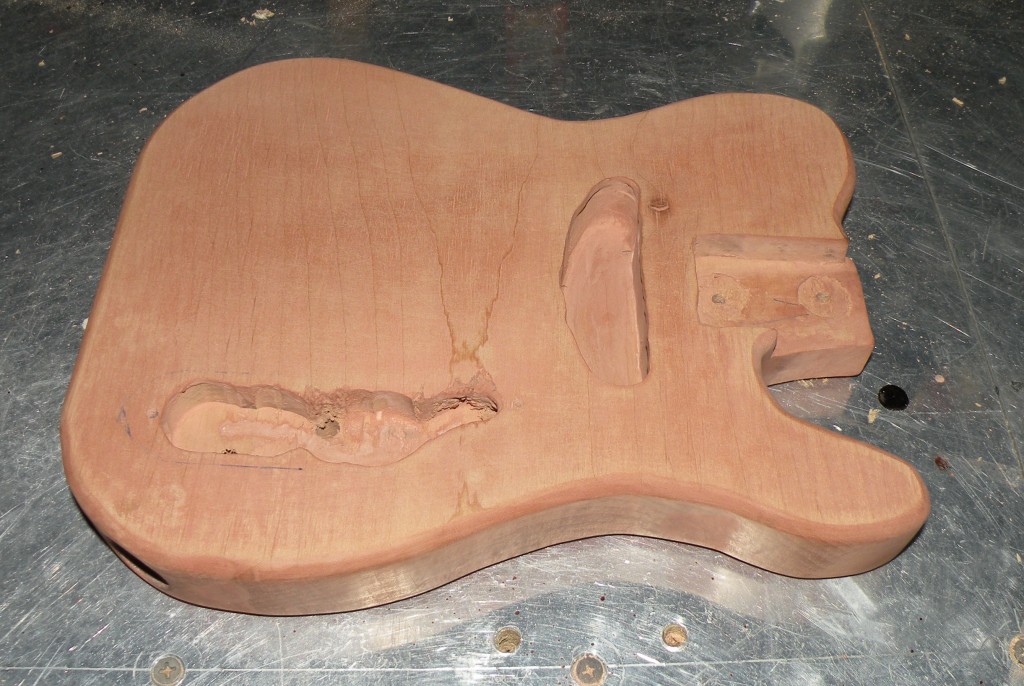
The major shaping and routing were done with a round-over bit and a straight bit. I used the round-over bit around the edge. The straight bit was used for the pickup and control cavities, along with the neck pocket.
The body is now routed. The routing for the control cavity isn’t my best work, but the control plate will easily cover everything.
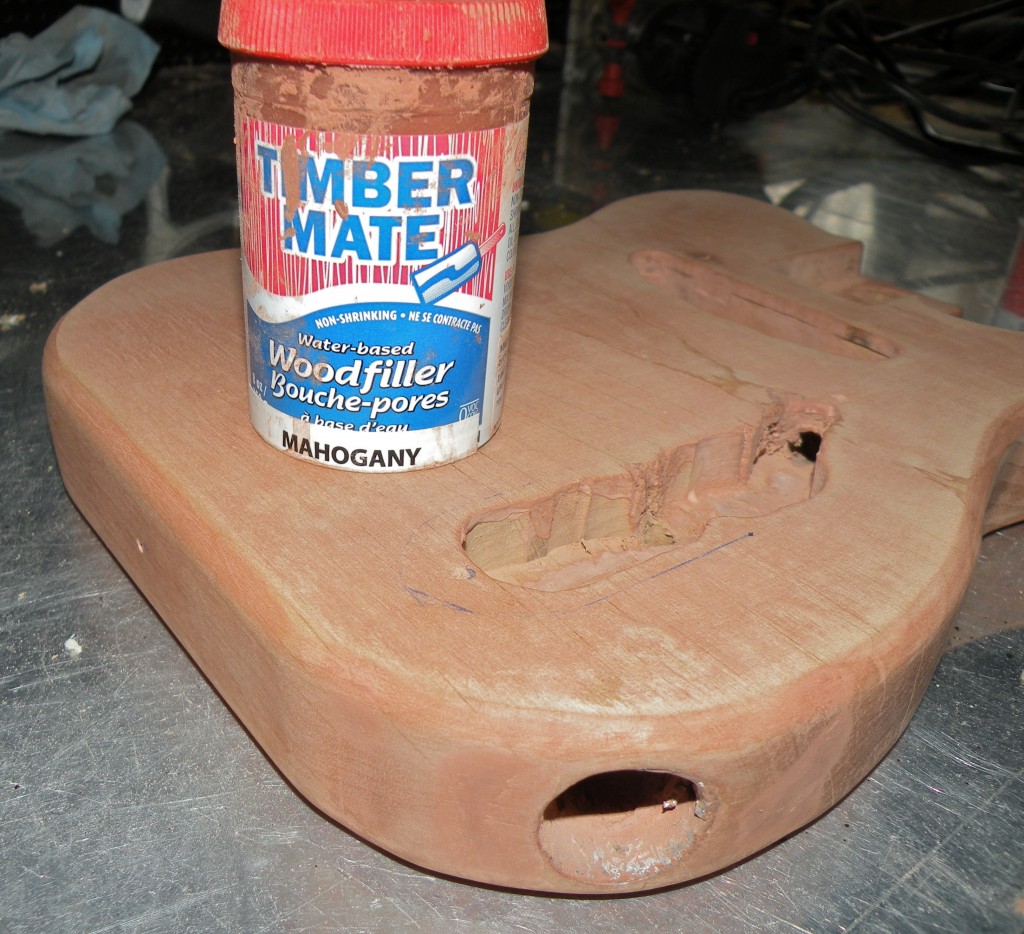
Timbermate wood filler is great stuff. Even though alder is considered a non-porous wood, I’ve found that spreading wood filler all over the wood (I rub it on with a gloved hand) makes sanding the wood smooth much easier.
Since I’m painting this body, I didn’t worry that my wood filler stained the wood a little. If you wanted a natural finish on your instrument, you would use a wood filler with a hue closer to the wood’s natural color.
I penciled in the pickguard on the body. (Remember that if you are painting the body, then you can mark out the various parts with impunity. If you are running out of paper, you could even use it to do long division. If your finish will be transparent, mark in a way that can easily be erased.) I then traced the pickguard shape on some tracing paper. This is a great way to get a template for the scroll saw cutting.
The pickguard is now ready for holes. I think I’ll use 8 screws to attach it to the body.
The body is ready to be to be sealed. Applying a clear coat and then sanding it as smooth as possible is critical in order to have a nice, flat surface for the paint.
The bridge hasn’t arrived yet. Normally, I’d drill all of the holes before I sealed the body, but that’s not critical. I’ll just give the laquer time to cure, and then finish drilling.


Nice post Daniel! You’re making this look easy.
Thanks King Uke! It’s coming along nicely.
nice 🙂 i cant wait to see it finished , i hope my stratocaster ukulele will be done soon……….but in the meantime watching how this thing goes together is very cool
Good stuff tibo…. Fancy sending us some details? Feel free to mail us… I will send you our mail address now!