I’m back with another installment in my story about what it takes to build an electric ukulele. Pretty much all the fiddly stuff is done. In my last update I talked about wiring up the electrics. Daniel Hulbert has suggested that I check that it works before I go too much further. Thanks Daniel… I will do that soon… I promise! Not before I’ve painted the body though! Ha ha! Catch me if you can!
 |
| In search of inspiration… |
I wasn’t looking forwards to the wiring, and I haven’t been looking forwards to the painting. I’ve done a bit of this before and the results were poor. Granted some of this was simply down to a lack of patience but I knew this time that I needed help. I hit Google+ hard and before I knew it the advice was flowing in thick and fast. Many thanks specifically to Gavin Scully and Jonathan Martin for your words of wisdom. I couldn’t have done this without you guys! But before we start high-fiving let me reveal that this hasn’t all gone according to plan. Let me explain…
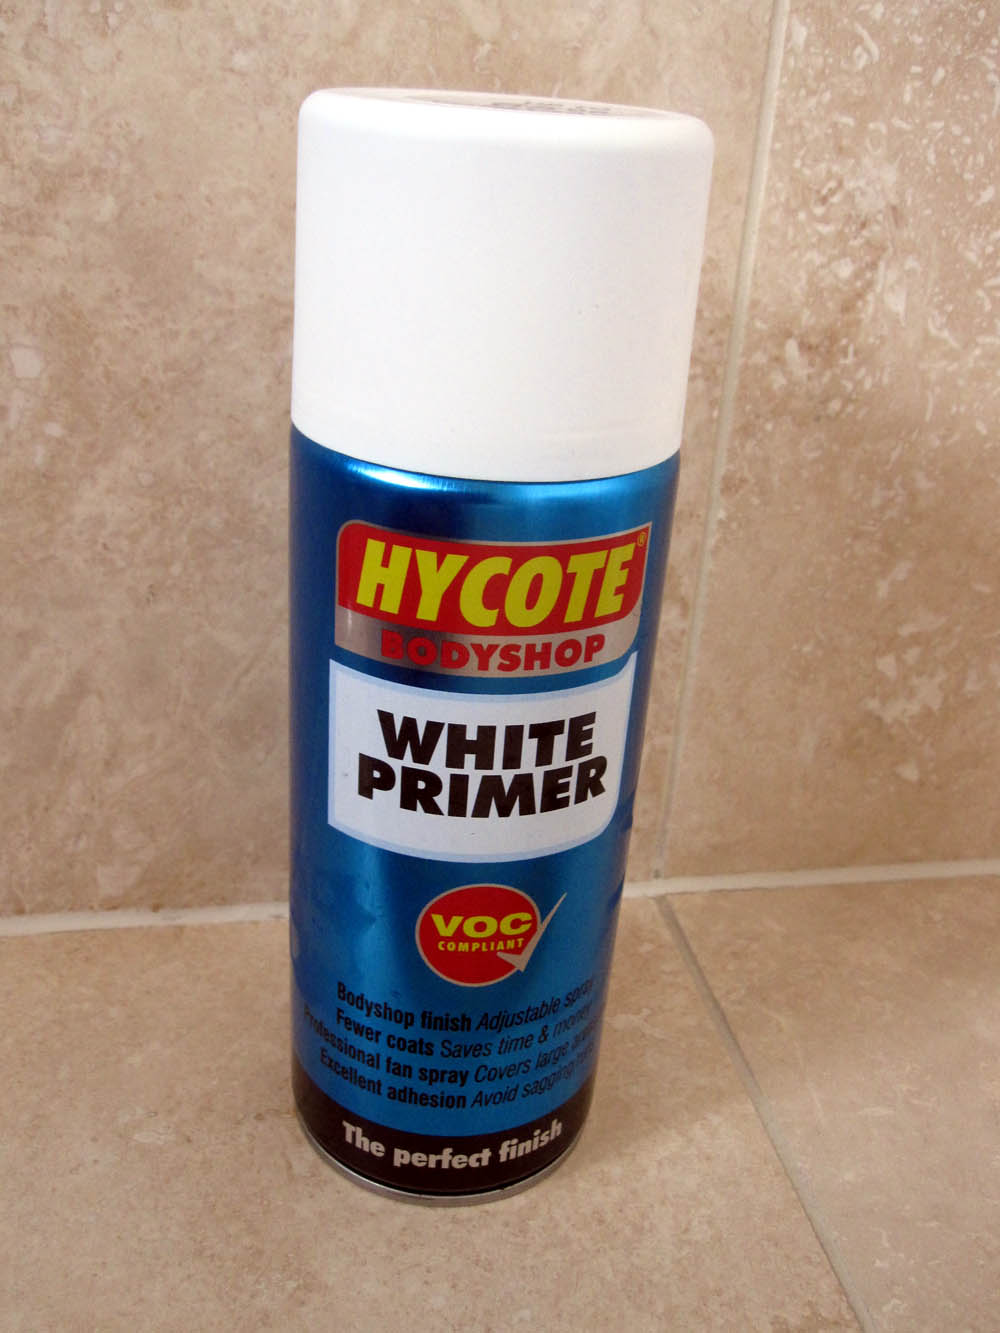 |
| I knew that I needed to prime the wood and this is the primer that I used. It’s a ‘high build’ primer and should have done the job, but for various reasons that I shall talk about soon, it didn’t… |
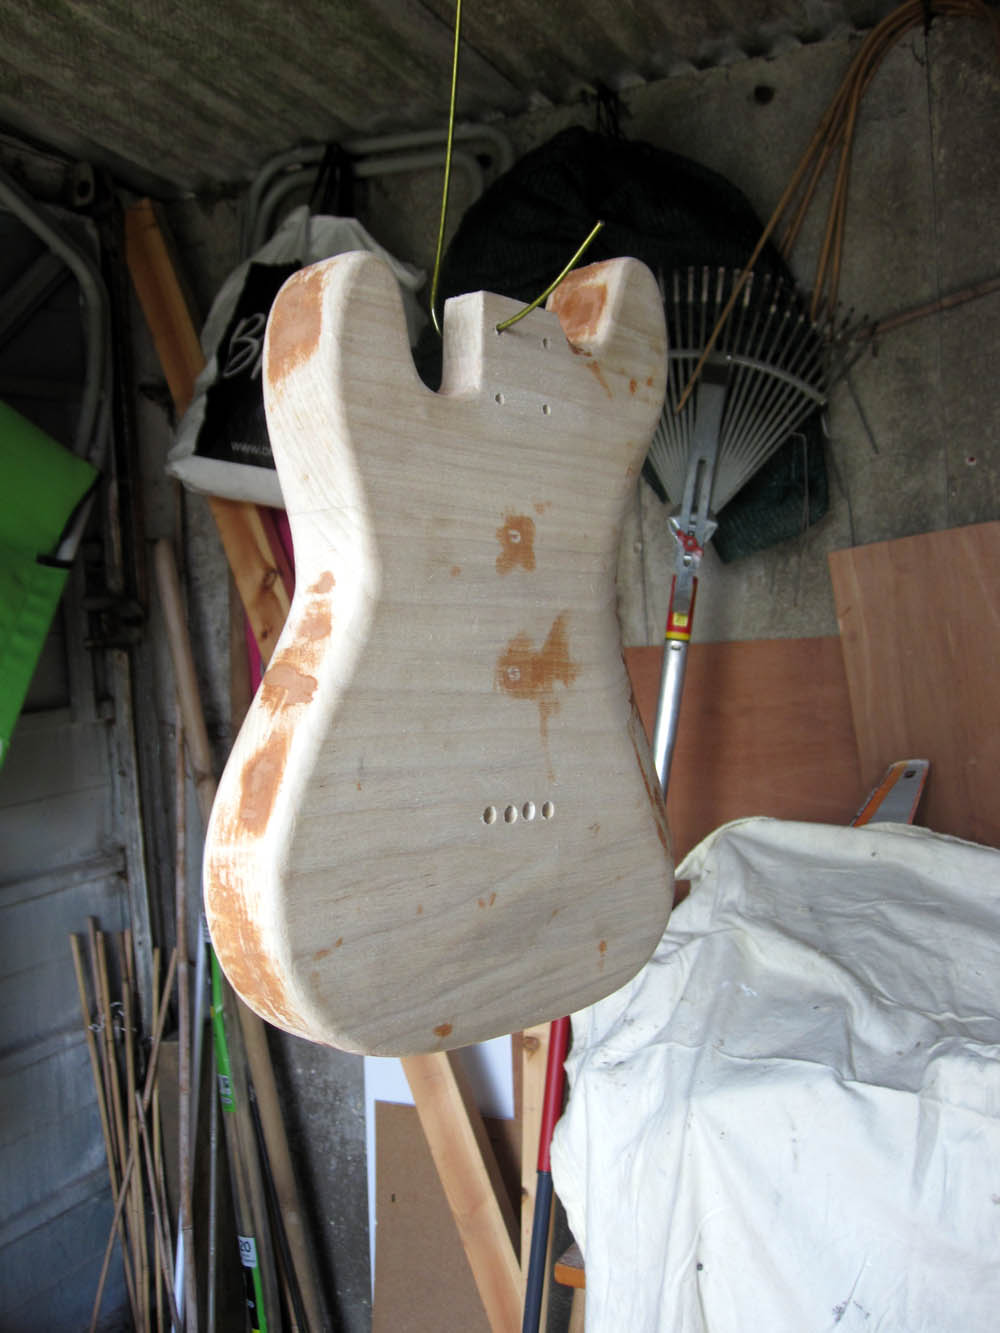 |
| When I painted my guitar I didn’t have the brains to consider hanging it up like this. It just never occurred to me and I obviously didn’t do too much Googling at the time. Interestingly, I think that the first Fender strats were painted resting flat on the points of three nails. This time I hung up the body using a length of wire from an old coat-hanger. It’s definitely the way to go. |
 |
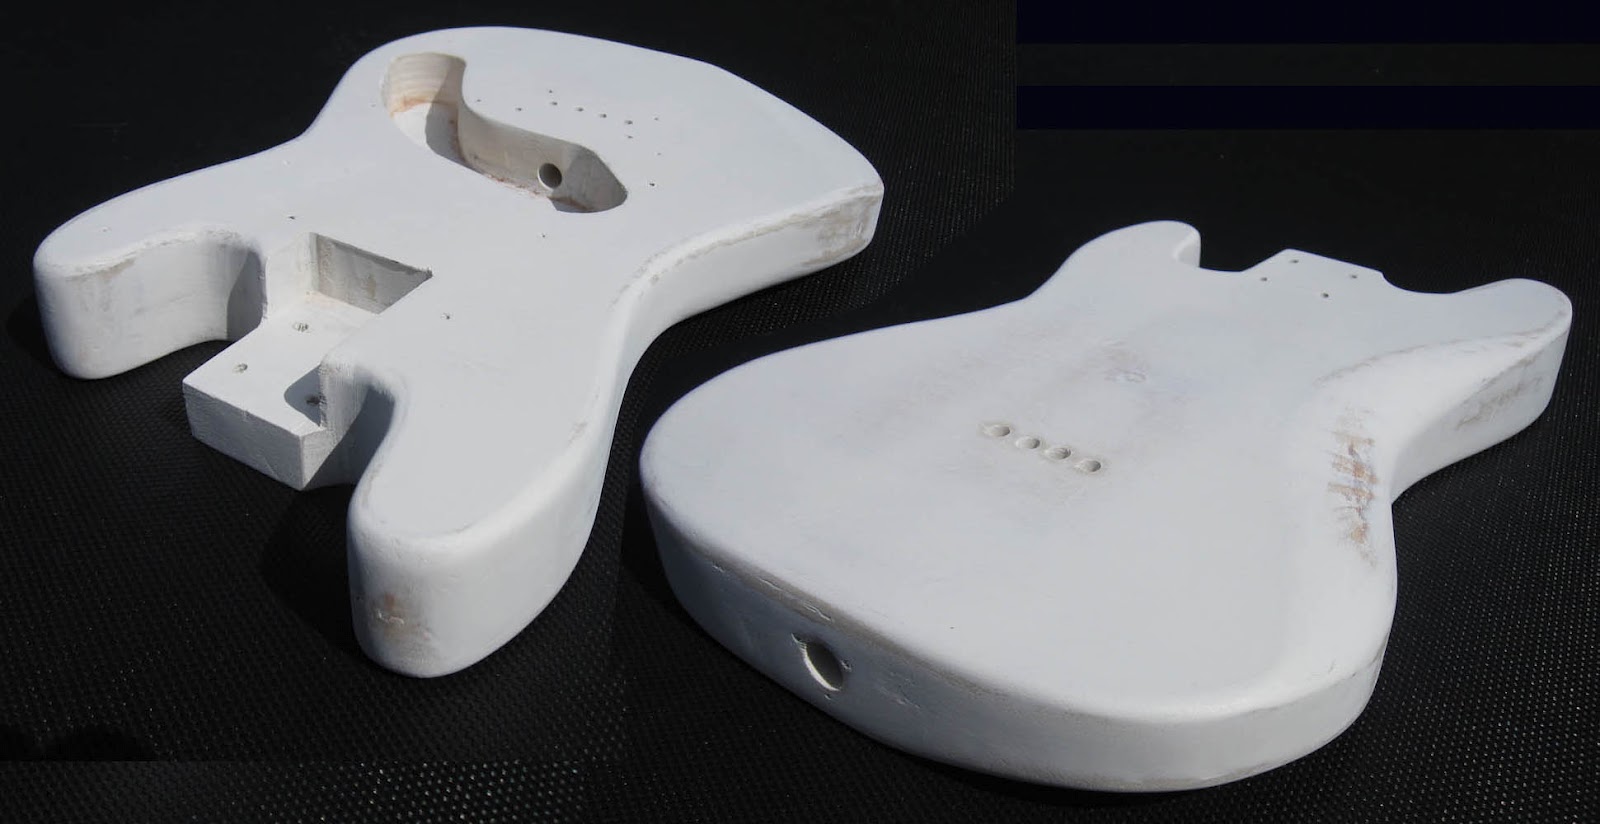
| Now let’s start talking about a mistake I made. See the picture above. You will spot (as I did) a whole heap of rough bits, splinters and cracks in the wood. I worried about it and then convinced myself that everything would be okay; surely it would be sorted by the primer. I’d give it a sand after the primer and everything would be okay. Not so my friends… |
 |
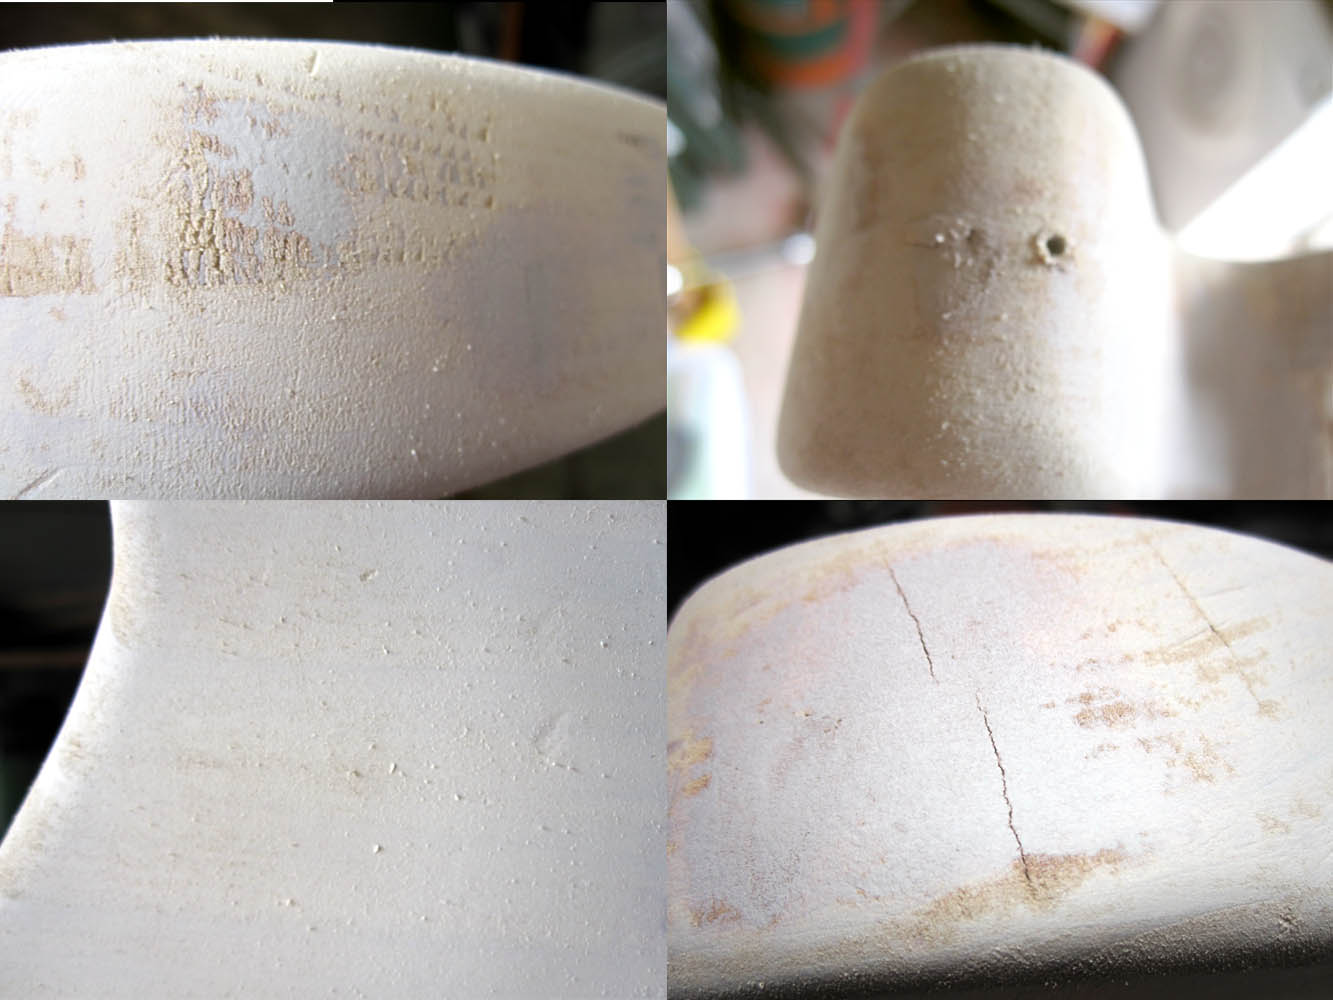
| Here’s the body having applied a whole can of primer. The first thing to point out was that I was disappointed with the primer. I applied about four coats and even then it wasn’t really covering the wood. Look in the picture and you can see the wood showing through. Maybe I got a bad can? Maybe I applied it too thin? Either way I wasn’t happy, so I started again… |
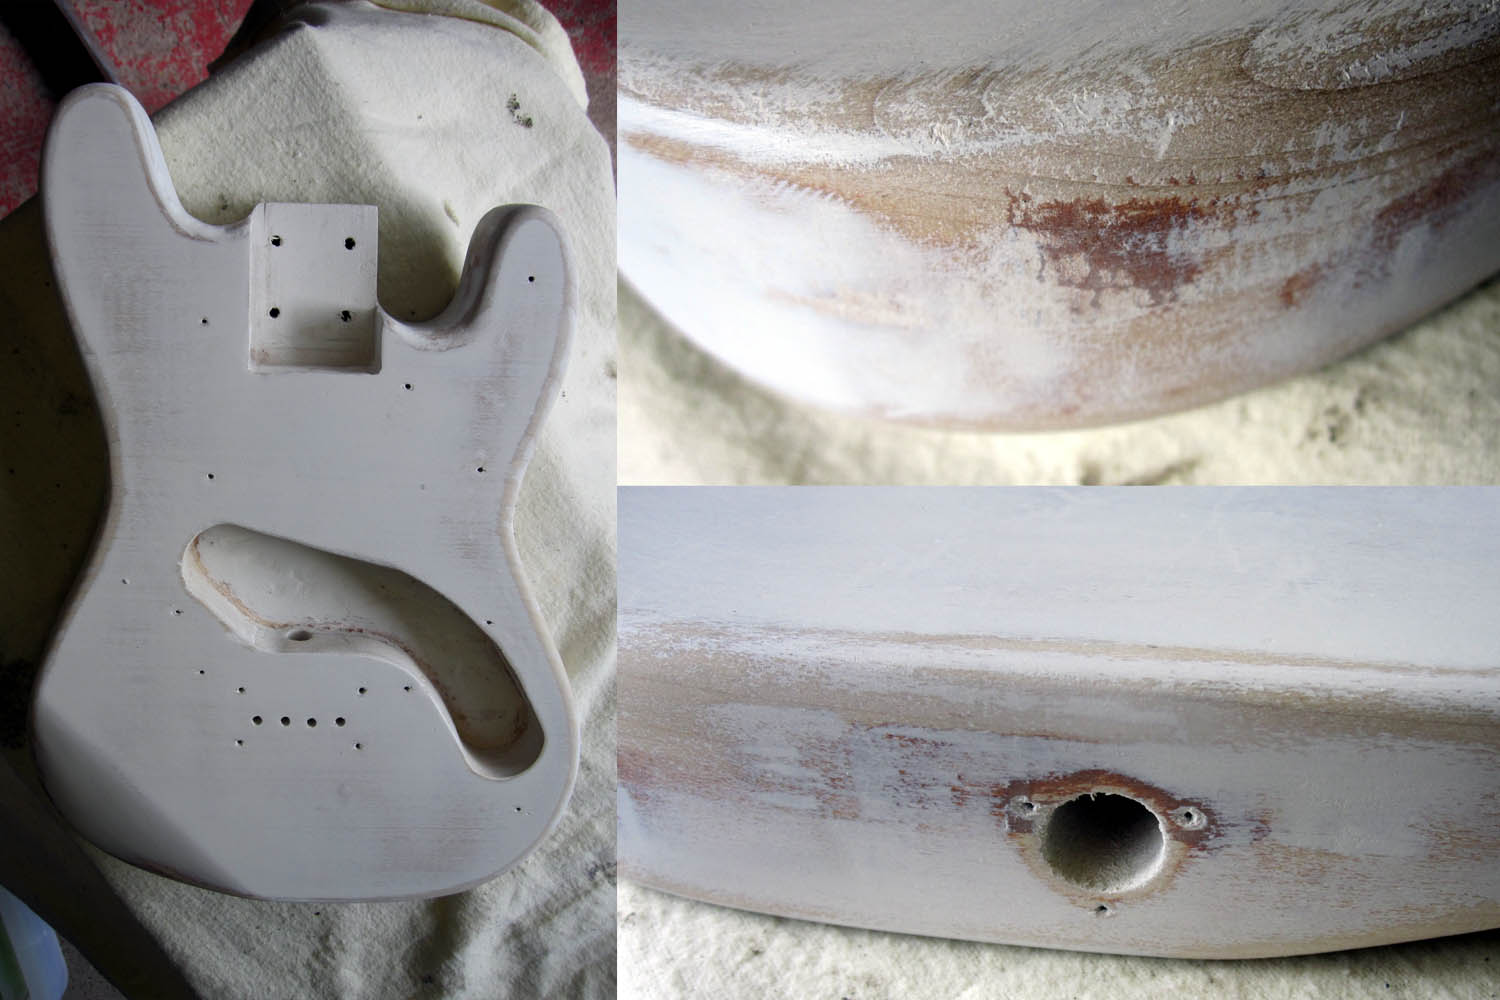 |
| I filled all the bits of wood that I was unhappy with. Unlike a previous round of filling I did earlier in the project, this time I used white filler. See… I can learn! Then I sanded the body down using the technique taught to me by Eric Vossbrink at New Wave Ukulele. I sanded with ever finer grit emery paper until I had a body that was smooth to the touch… all over. I wasn’t going to leave anything to chance. It was AWOL at Uke Army that put it best: “sand till sweet and reprime, paint isn’t how you cover blemishes.” The lesson I learnt here was to try keep the quality up at every stage of the build. |
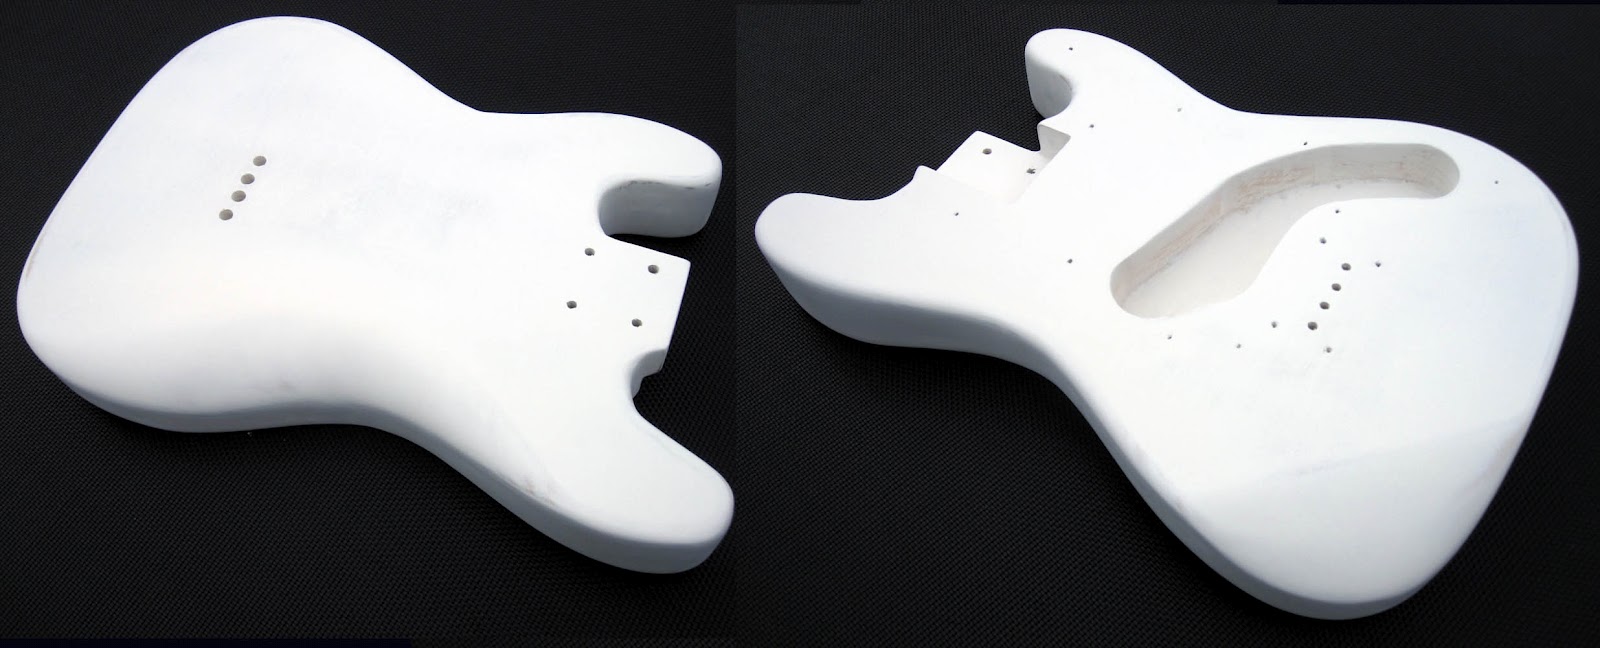 |
| I primed with what I thought was the same Hycote primer I’d used before, but this time I got a completely different result. The first can has a reorder code of UK427. The second can has a reorder code of UK424. So they’re not actually the same! I noticed the difference simply shaking the can. The paint felt thicker in the second tin. And when I applied it, it went on nice and thick. What’s more, I didn’t need to put that much on before I got it the way I wanted it with maybe half a can. I sanded again and I’m really pleased with the end result in this picture.I had a couple of runs, but I removed them. Another lesson worth pointing out is one that Gavin Scully taught me about the need to pay attention to the top edges where the grain changes. He said that it can be rough here and it was. The first time round I think I paid too much attention to the front and back and not enough attention to the sides. Actually, most of my problems were on the sides! |
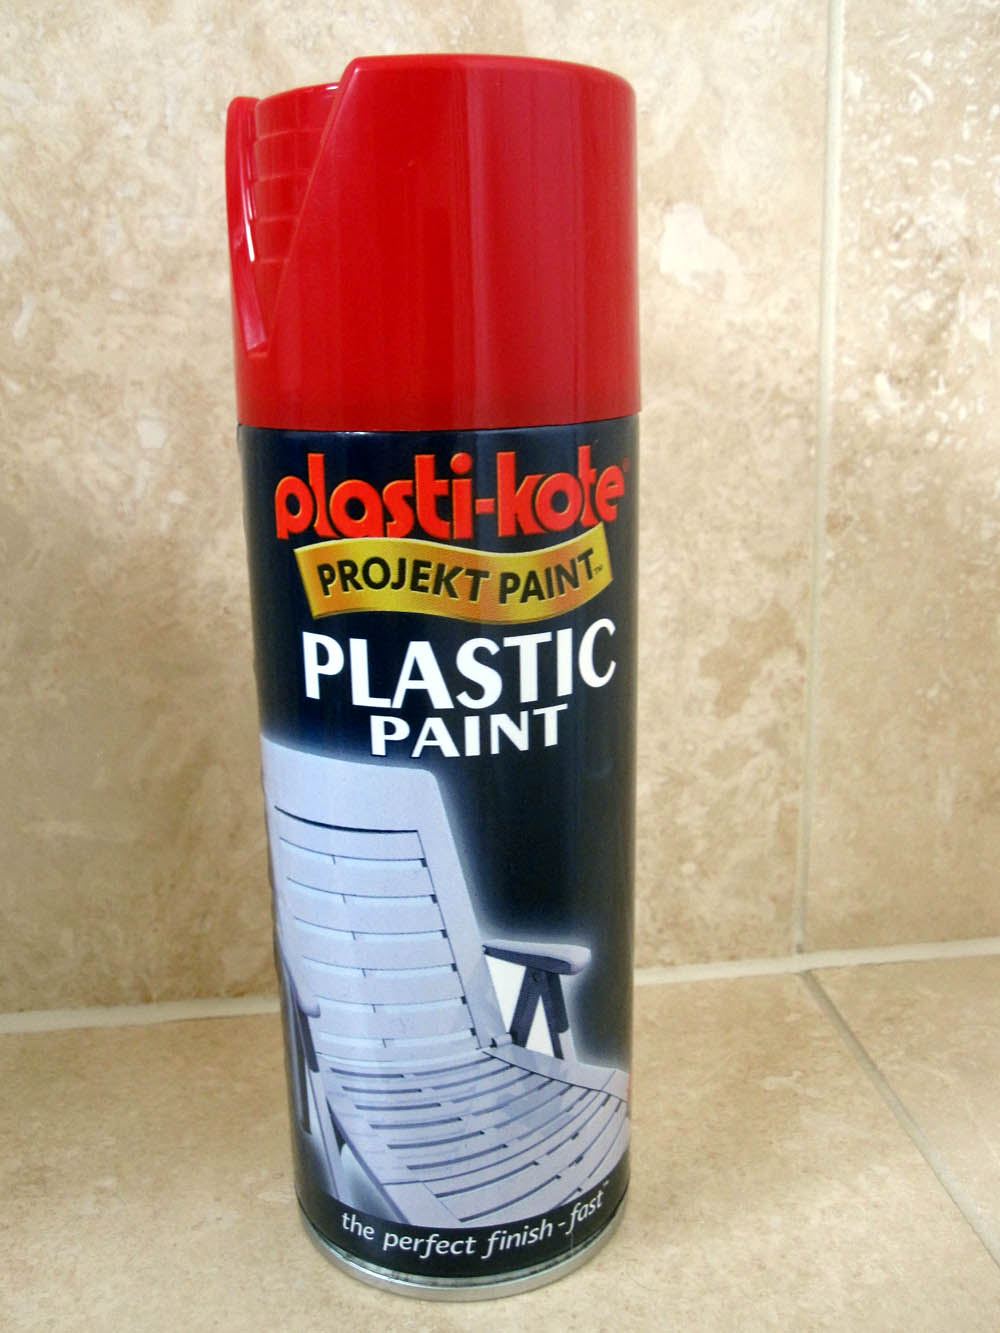 |
| Next up was the top coat. Here’s the paint I’ve used for this. I decided a long time ago to go for a bright red. It doesn’t get much brighter than this! |
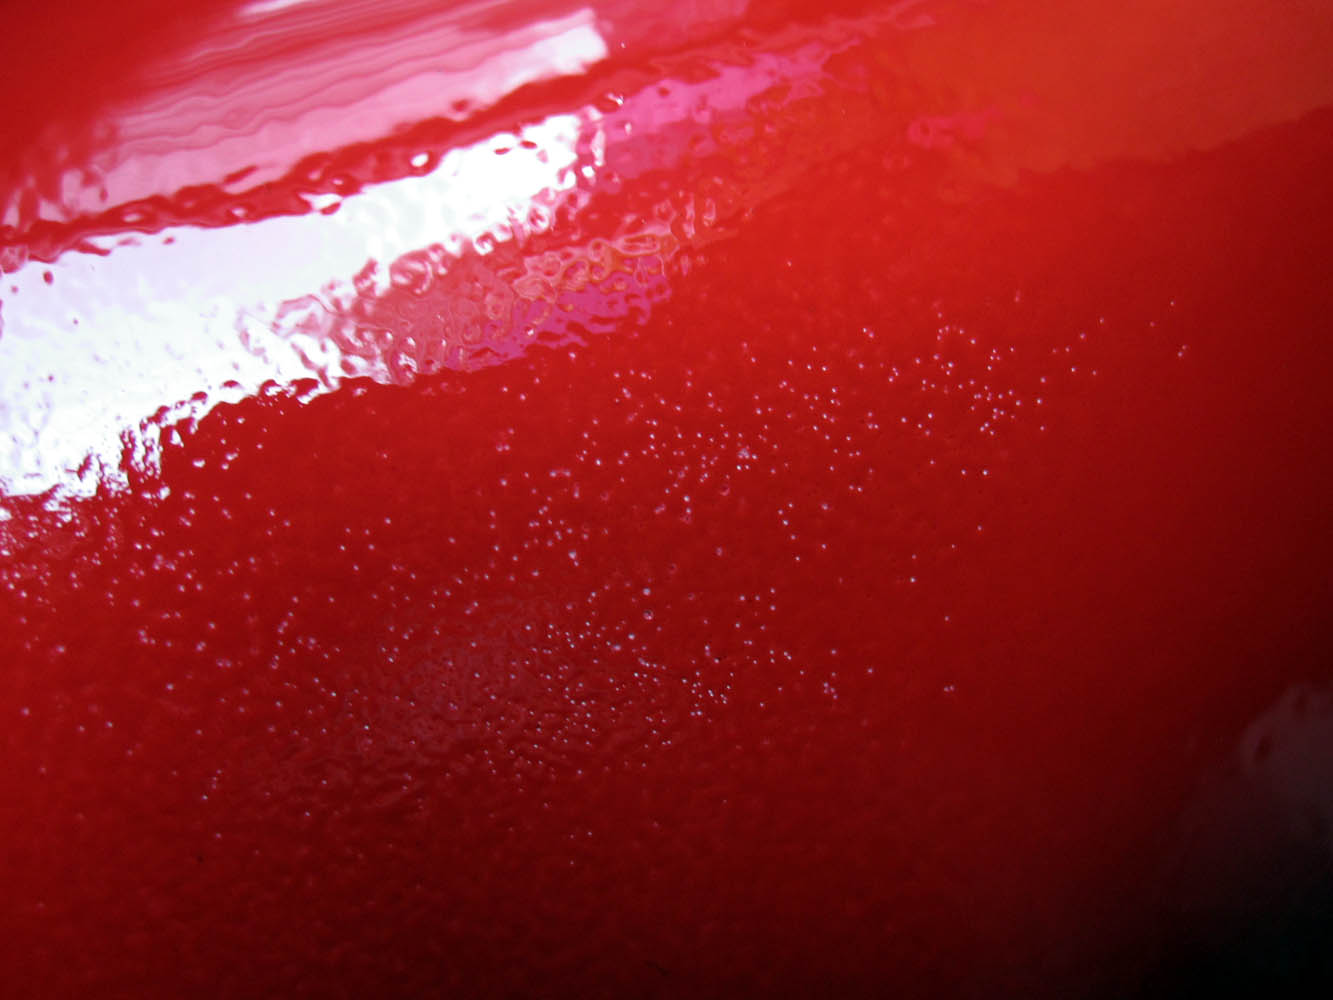 |
| Using a similar technique to how I applied the primer, I applied the ‘overcoat’. It went on nice and thick with minimal runs. One thing that I did discover was that the paint was prone to leaving little pin-pricks like you can see in this picture. I applied a couple of coats, but this in itself didn’t really fix the problem. In the end I had to touch up with some targeted spraying that caused a few runs. Not ideal, but I figured that it was the right thing to do. You can see that the paint has a mottled texture. I’ve noticed it flattens a bit when drying, but I’m expecting to have to sand flat once fully dry. |
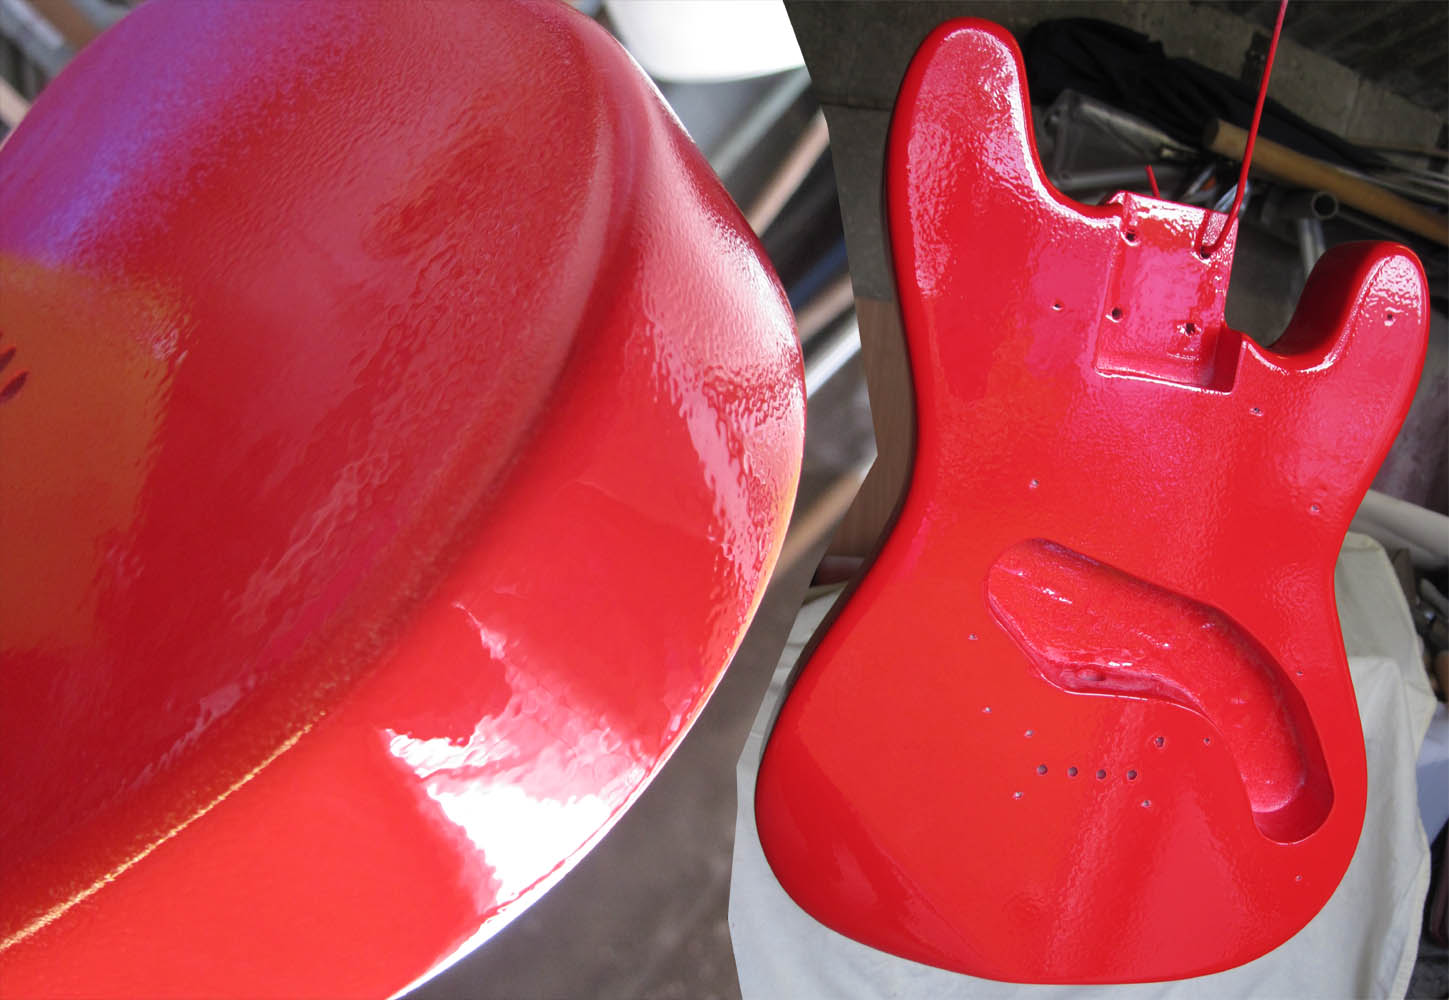 |
| Here’s the finished body as I’ve left it hanging to dry for 24 hours. If you look really hard, you may spot the hole I’ve drilled from the top right bridge screw to the cavity to allow me to wire the bridge ground later on down the track. I should have drilled that long ago before I started painting! I’m learning! |
A lot done and more yet to do. I will sand this down smooth and hopefully, providing I’m not too rough with it, it will then be time to lacquer the body and neck. That’s my next post. Watch this space!
Comments welcome…