It was too nice a day not to do a little bit more on my Sharkfin Ukulele build. Despite the troubles of yesterday, I was still on a high… Things seemed to be starting to take shape!
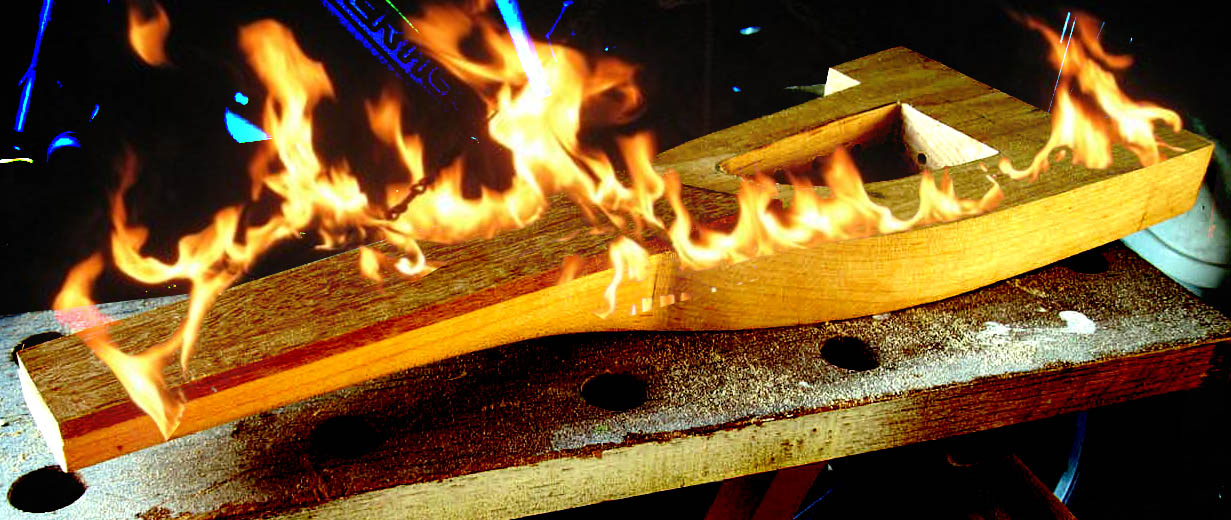 |
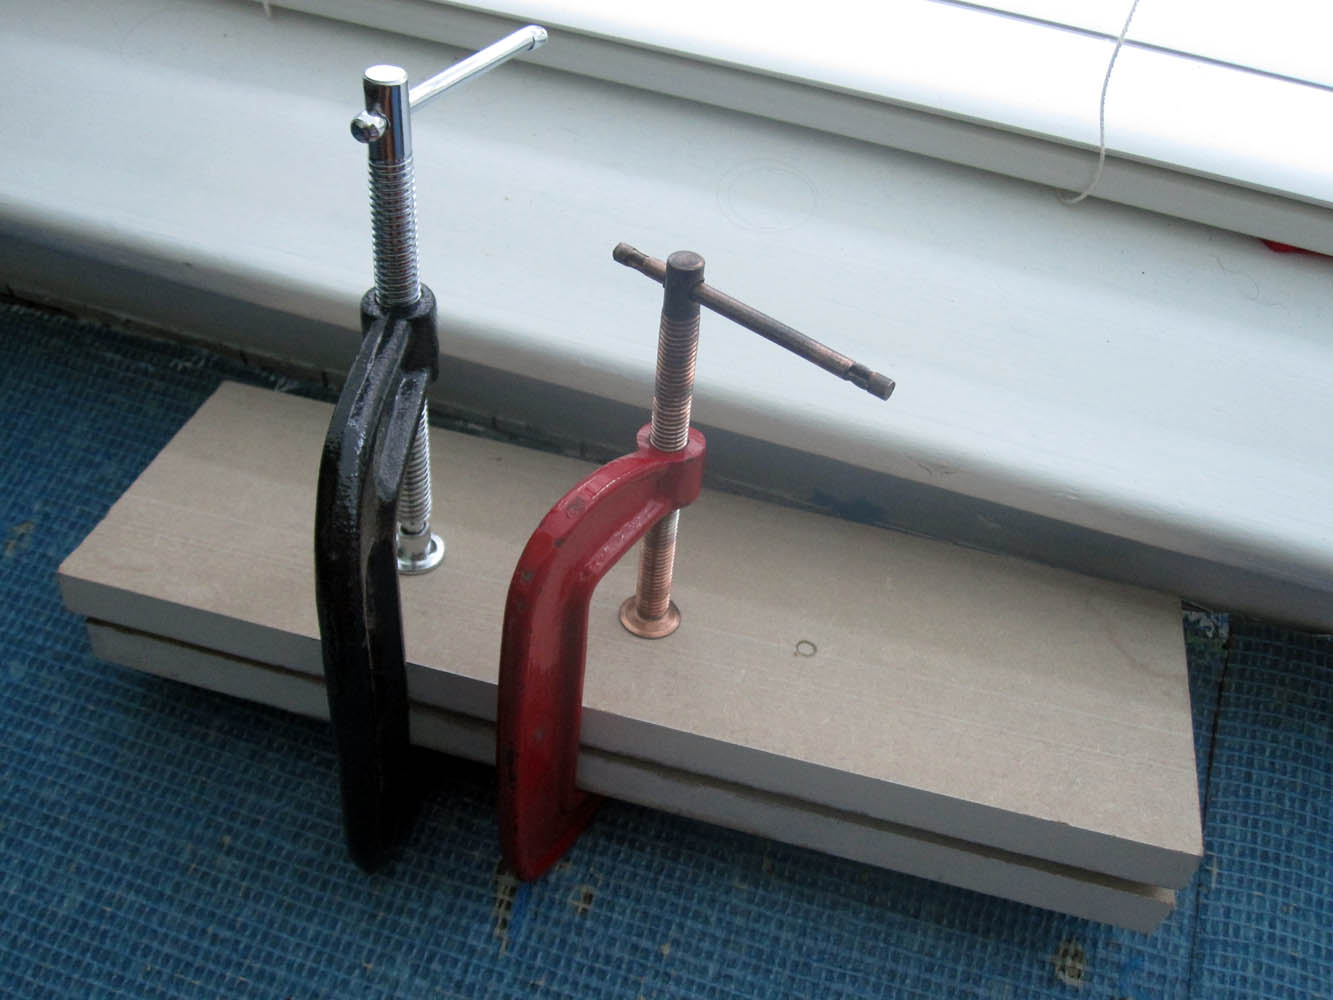
| Burn baby, burn! |
I’ve had some ups and downs today. I’m not too sure if I’m winning or not. Let me explain…
 |
| The first thing I tackled was the tuning pegs. I drilled the holes yesterday and today’s task was to get the tuning pegs into place. The wood is quite thick where I’m fitting the pegs and I’ve only gone and fitted them at an angle! There’s nothing quite like making things difficult for myself! I needed to cut some angled holes for the tuning peg head to sit in. You can see here that I’ve done this. I did most of it with a large drill bit, finishing it off with a stanley knife. It was tricky, but I’m pretty happy with the end result. |
 |
| And here are the tuning pegs fitted. I’m pretty certain that I’m not going to use the washers on the inside. Everything seems to be holding pretty well. You can see here how close the furthest left head is to the wood. It’s going to be difficult to turn, but I’m not going to fix it. I didn’t do too bad a job of aligning the pegs. Only that left one is slightly out. I can live with it. |
 |
| Next up, I did some work on the fretboard. I cut the blank to shape. Here it is. It isn’t looking too bad at all. Don’t you think that this uke has a spaceship feel to it? |
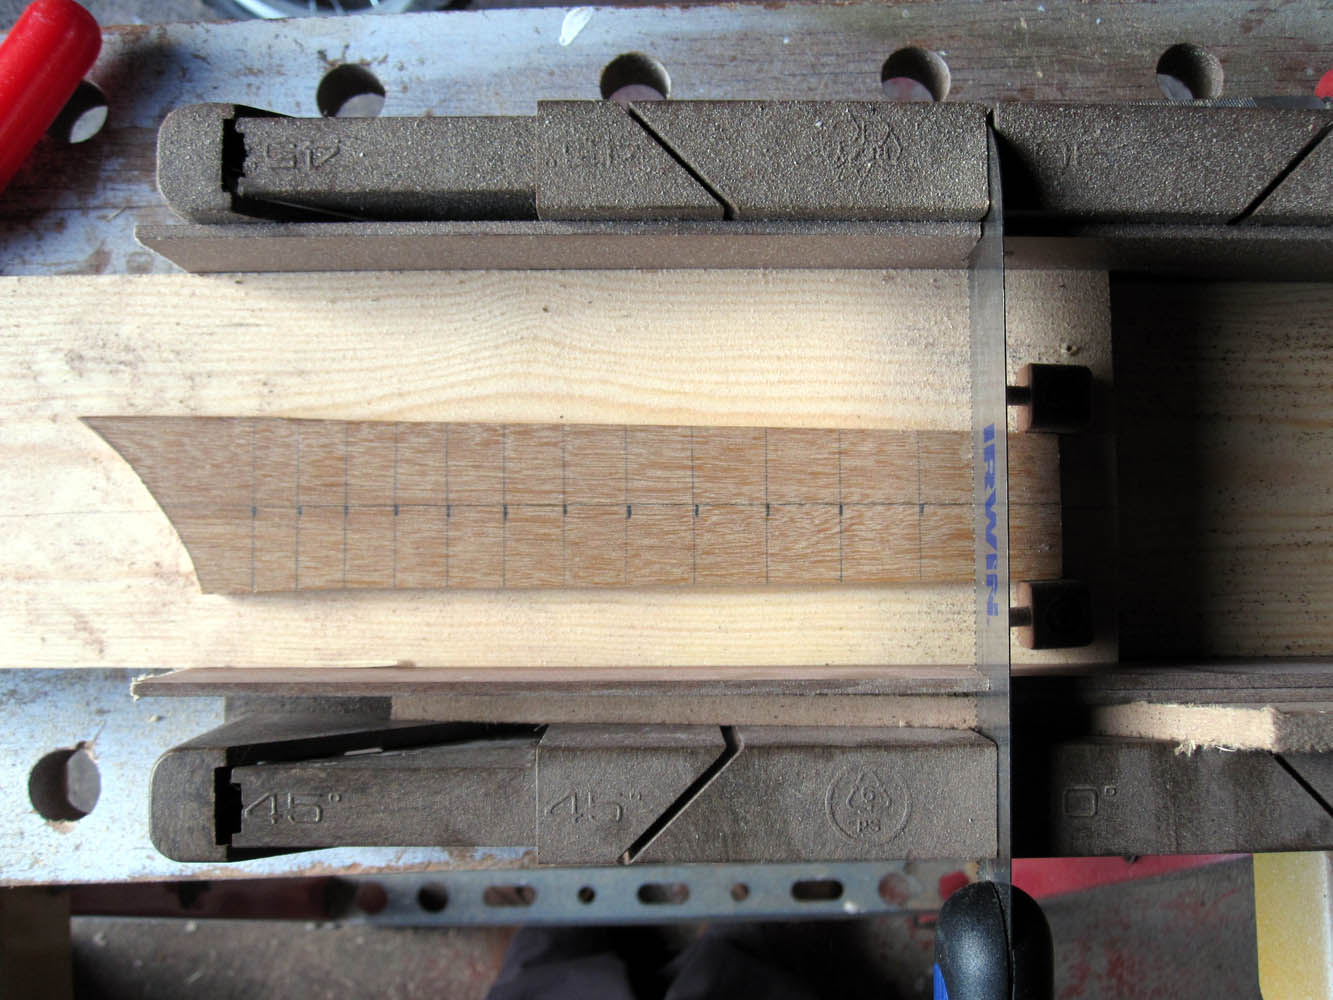 |
| I should maybe have stopped at this point – I was getting tired – but no, I decided to fit the frets. You can see here that I dug out the jig I made to fret my Kingcaster. You can see my mistake here… Although I’ve held the right hand side firm, the left hand side wasn’t fixed and you guessed it… it started to move! Oh no! |
 |
| Here, I’ve cut the slots for all of the frets. I was suspicious that I hadn’t got them all nicely parallel. I decided to fit the frets anyway to see how bad it might look… |
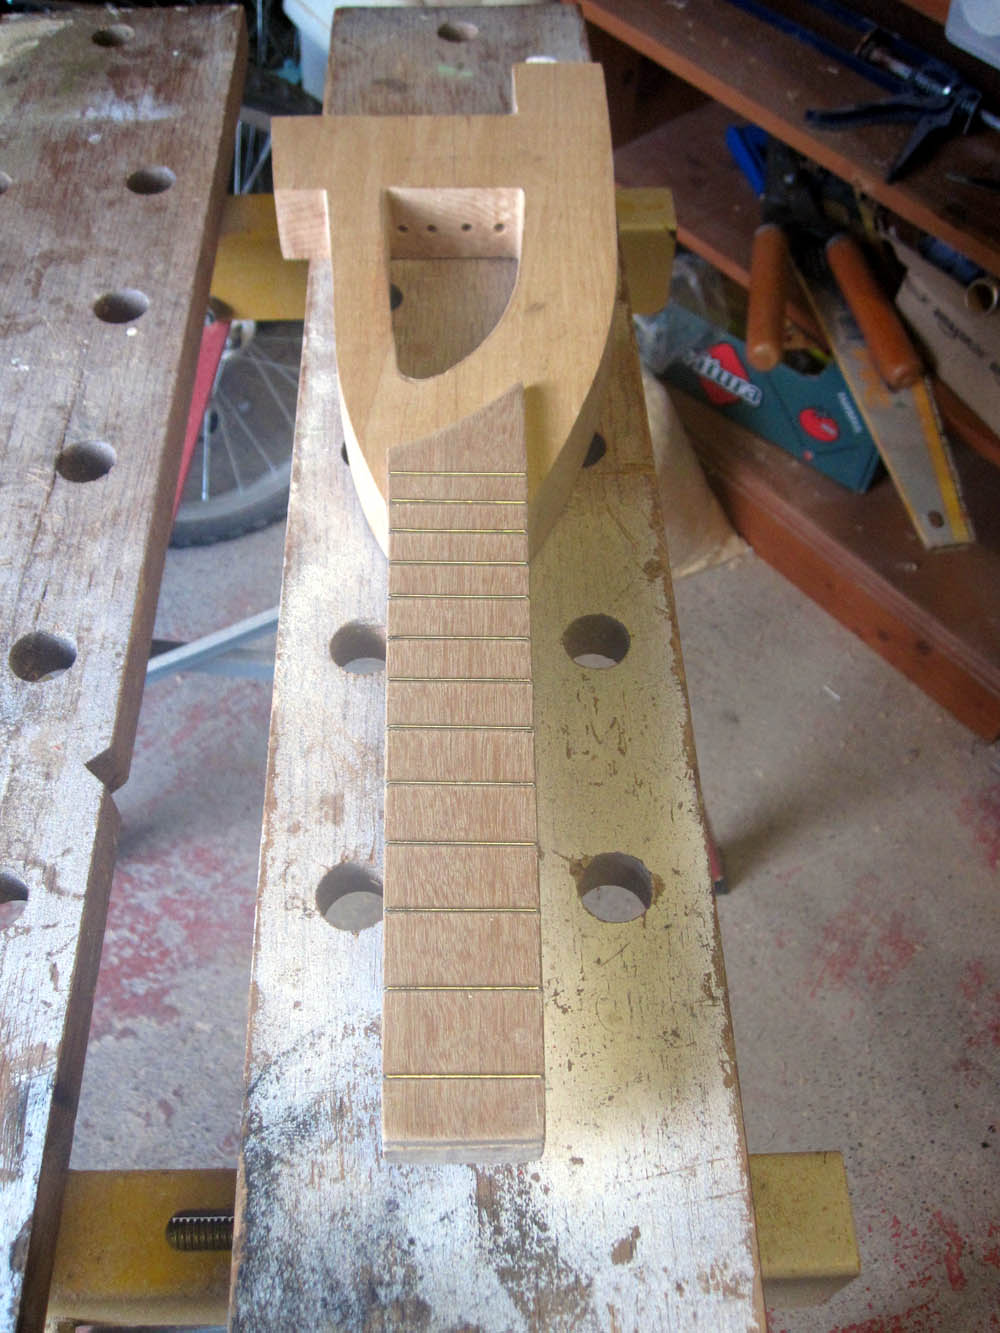 |
| You can see that the frets are close, but no cigar. In case you’re wondering, I’ve fitted a zero fret to act as the nut and then there are 12 frets below that. I had a lot of difficulty fitting these frets. The tang is pretty small and for some reason (perhaps it is the wood I’m using) they just didn’t want to stay in. I got all but one hammered in. That bugger just kept falling out! I didn’t glue the fretboard to the body just in case something like this happened. Even so, I’m loathed to make another one. |
 |
| I ended up gluing the wayward fret in place. Hopefully this will help to rescue the fretboard. I need to put this away for a bit and I’ll review once I’ve had a chance to clear my head. |
There you have it. The build has really moved on this weekend. I’ve had lots of challenges, but also lots of success. If it wasn’t for screwing up the frets I’d be a very happy man. Perhaps this will look better in the morning. I live in hope!
Comments Welcome…
I’m currently building a RISA stick inspired solid uke. My problem is that I can’t see that with such limited space inside the hole how did you fit the backnuts and washers onto the Grover tuning pegs when there isn’t a recess?
Also can you think of how RISA got their cable to travel from their bridge through to the 6mm socket?
Hey! The comment notification emails are working! I’m sorry Bill for not replying sooner. If you look at the photos you’ll see that I did cut the holes carefully to hold the tuners and yes, it was a tight and delicate job. I didn’t use Grover tuners, but instead some cheapo ones from China. From memory, I mixed and matched the plastic turner bits from two different sets. I can’t answer the RISA question. I know that Julian Davies has one, so maybe he can shed some light. Daniel Hulbert has concocted his own solution to this, so he might be able to add something to. You should see his kits he’s making at the moment for the Utah Uke Festival!