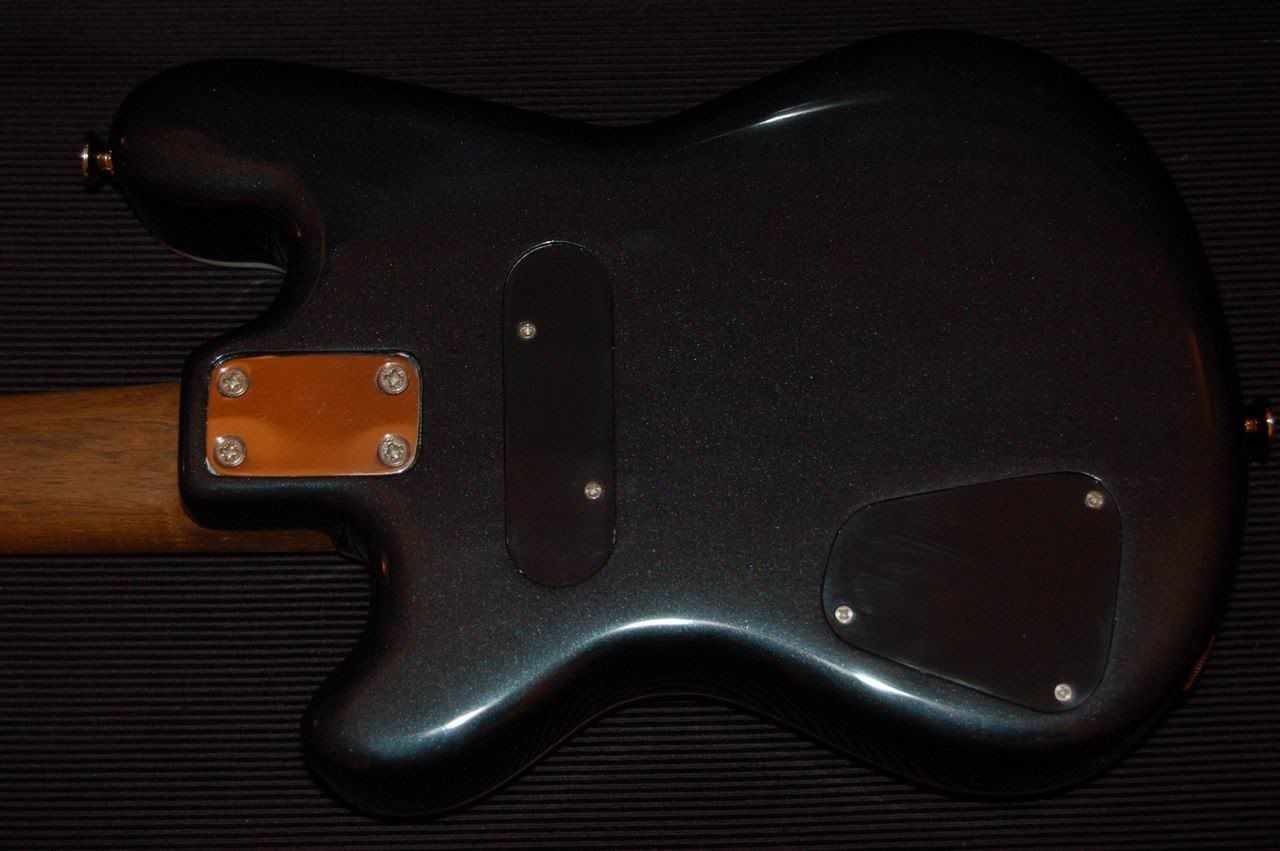
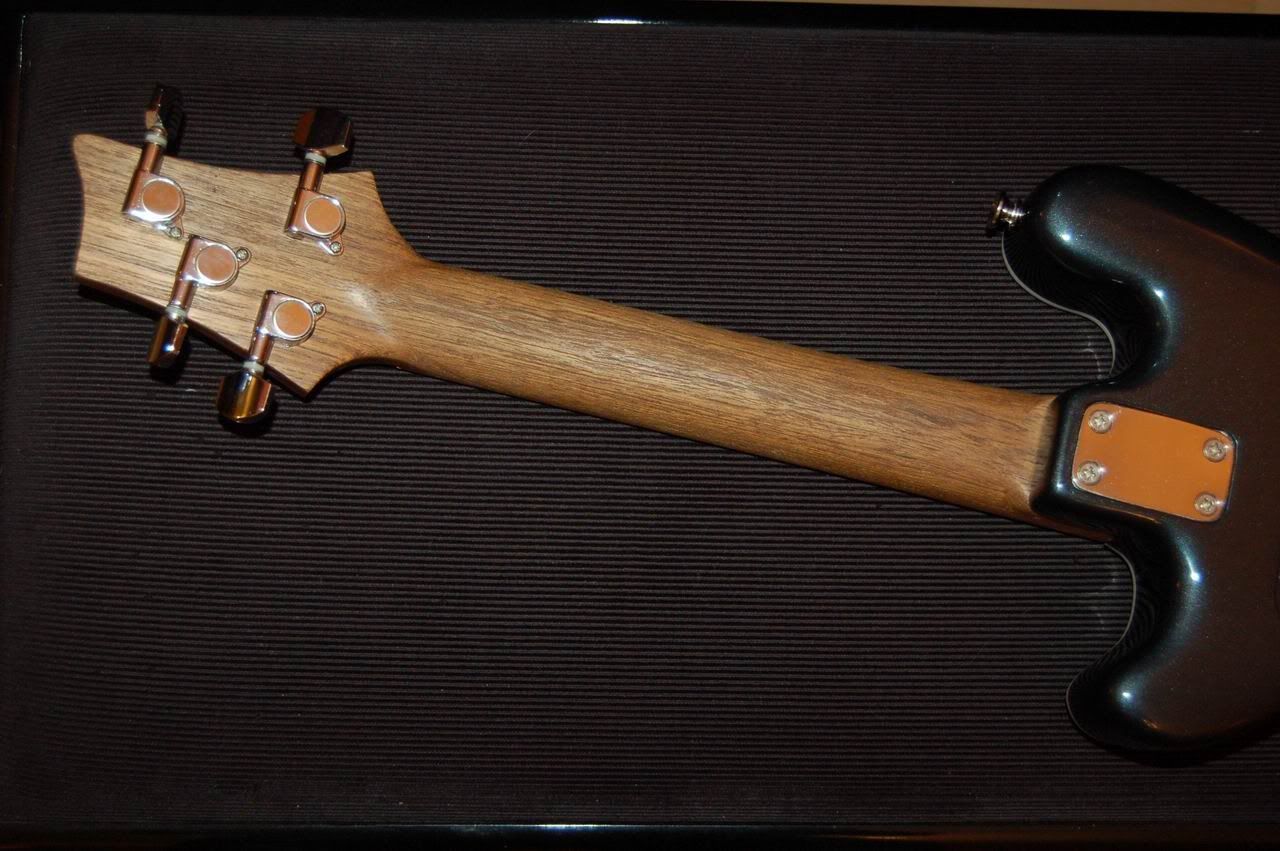
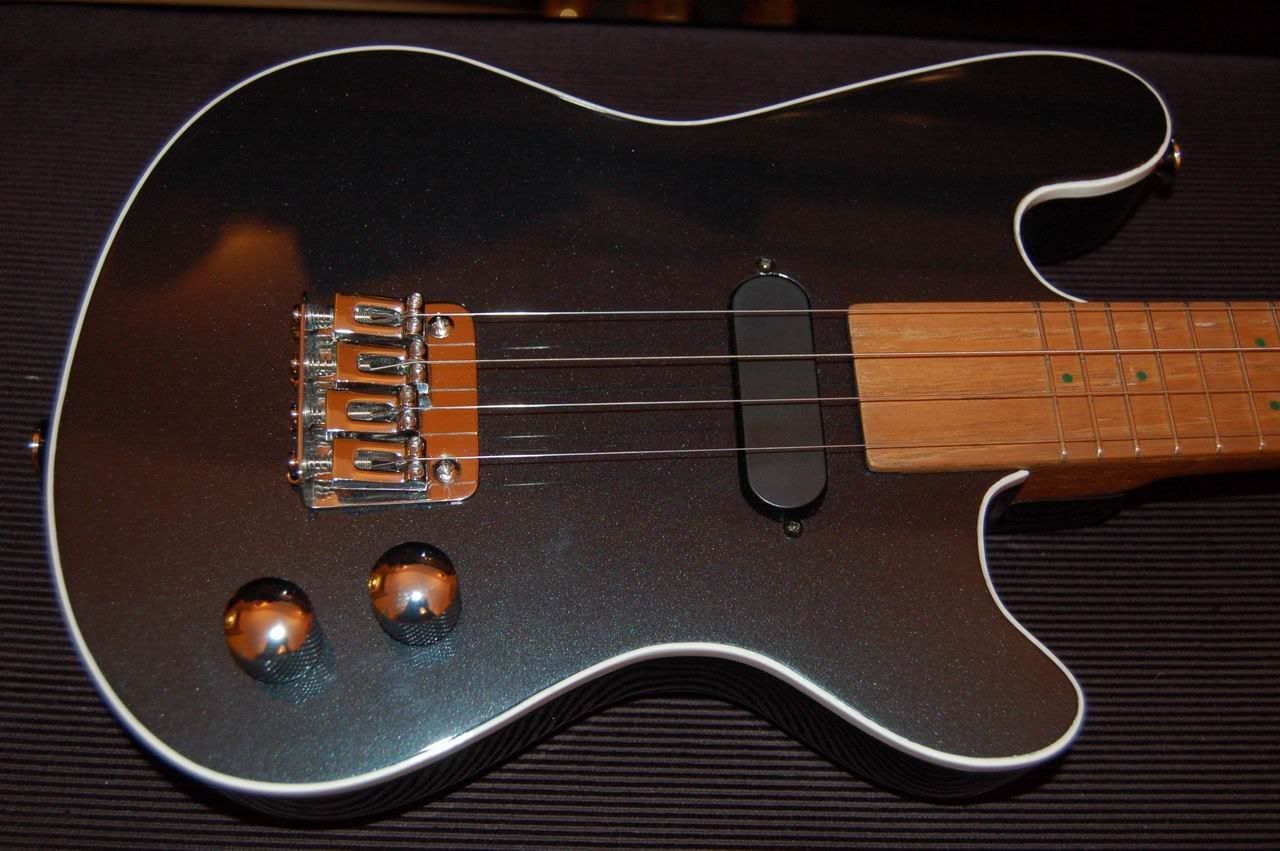
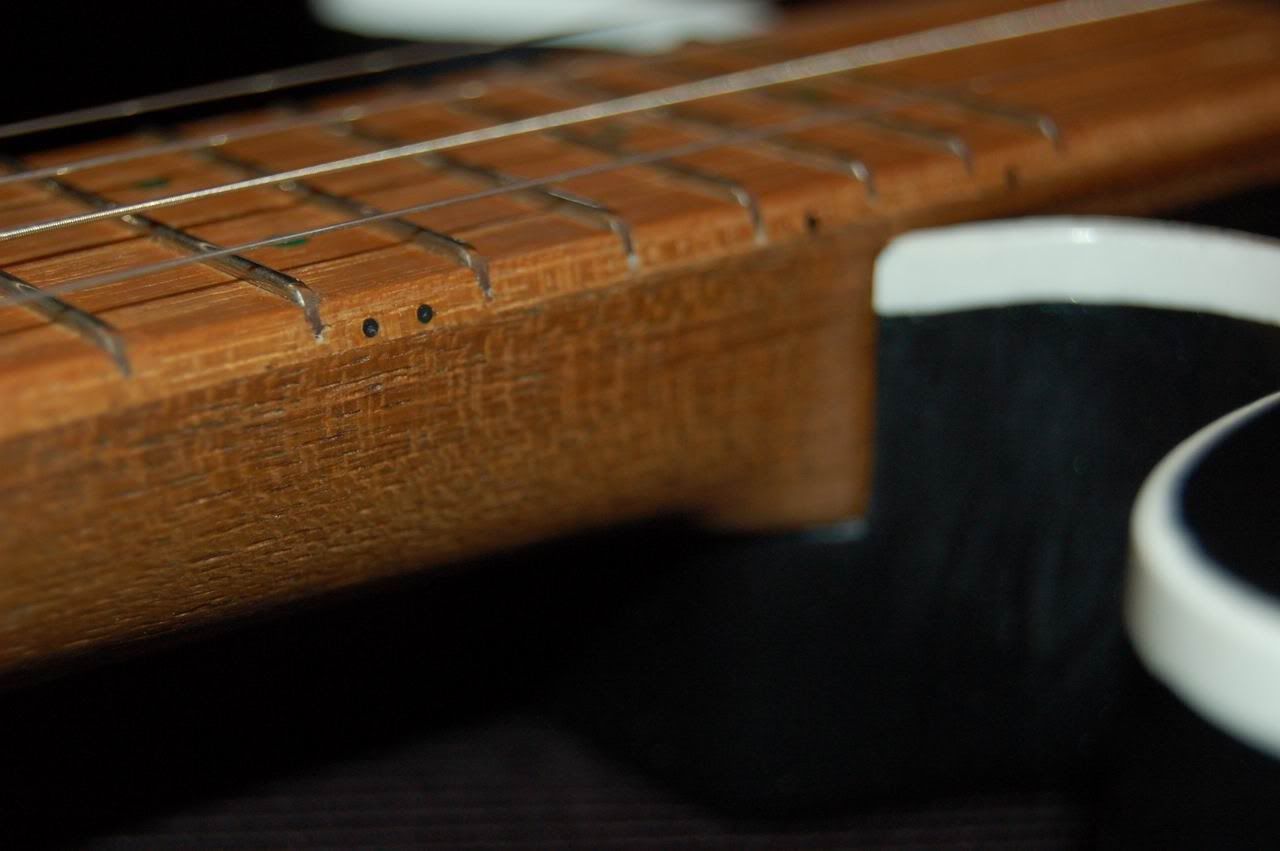
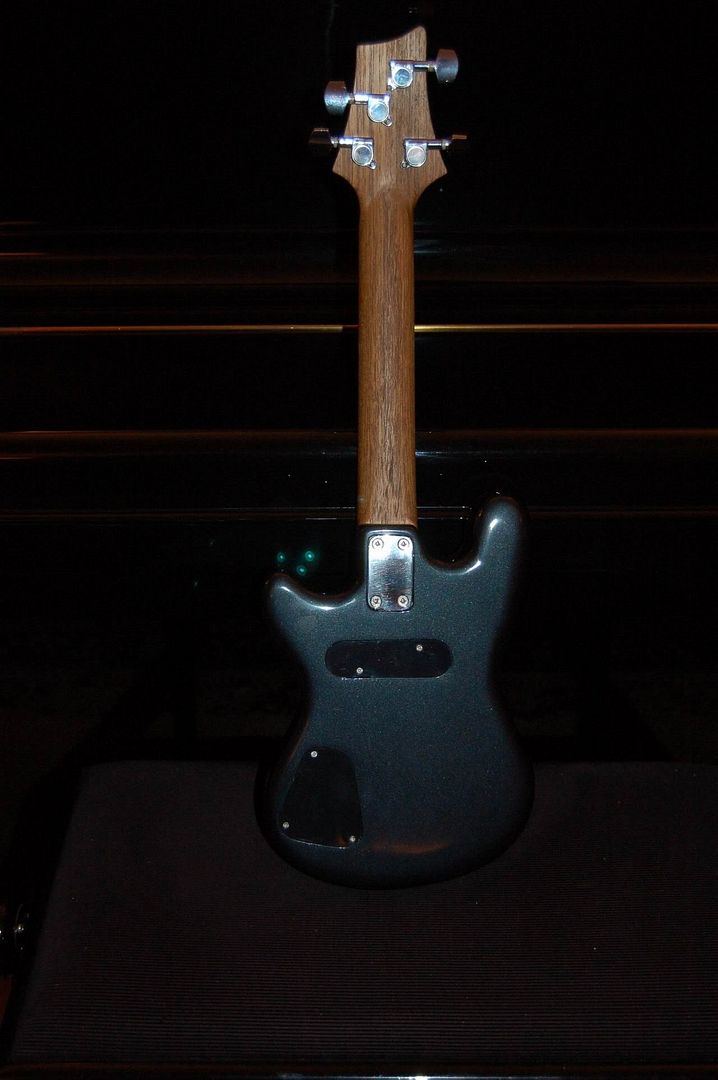
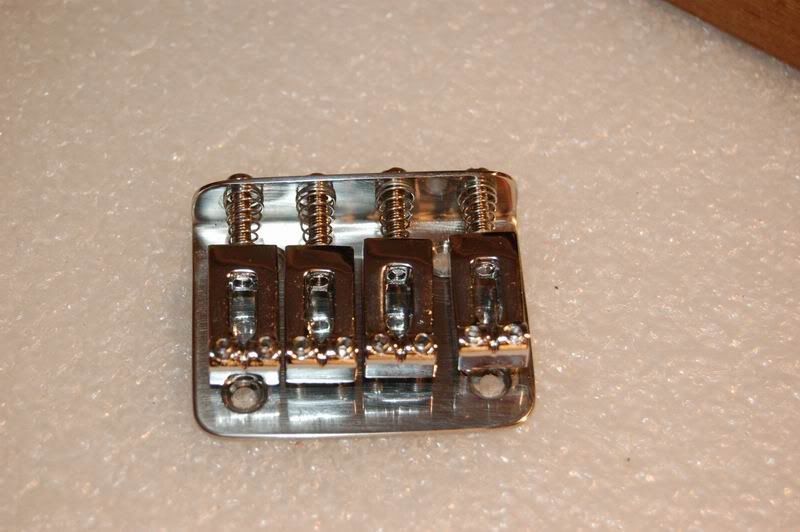
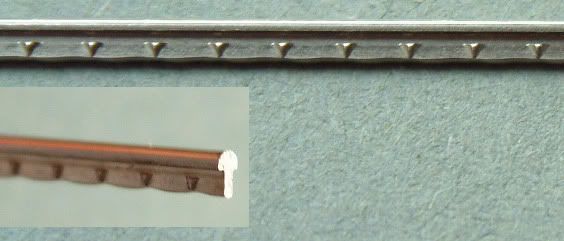
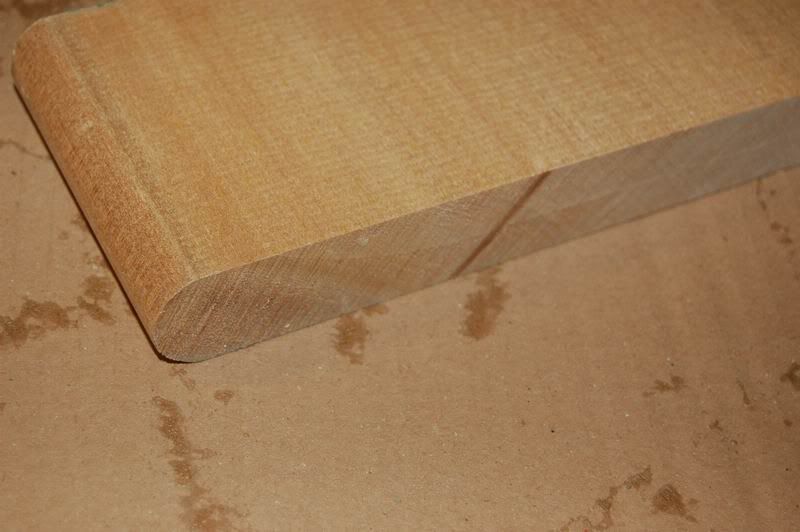
Yay! The tuners arrived 🙂 – Now I can finish the headstock.
What shape to make the headstock?
I put “guitar headstock” into a google images search and picked out the ones I liked. It turns out that I like:
Roughly symmetrical;
Concave sides;
Narrower at the top than the bottom;
If the top is sloping, then it must slope down to the left.
It’s an interesting exercise if you’ve got a few minutes to kill (I seem to share some tastes with a certain P.R. Smith).
I traced the headstock outline of the blank onto some paper, drew in the strings, and then sketched some different possibilities. Turns out I couldn’t get a straight pull on the middle two strings, as the tuner bodies wouldn’t fit close enough together.

This is what I came up with, and the template from it:

I saw one ukulele build blog where the poor unfortunate had drilled all their tuner holes in the wrong place. I was keen to avoid that, and to make sure that the tuners didn’t foul each other, so I made a dummy headstock out of some scrap to check it out.

It was OK, but kept reminding me of comedian Lee Evans:

(Maybe it’s just me…)
By chance, I’d taken the tuners out and left them on top of the paper template. The layout caught my eye, and I thought “that doesn’t look too bad…”.
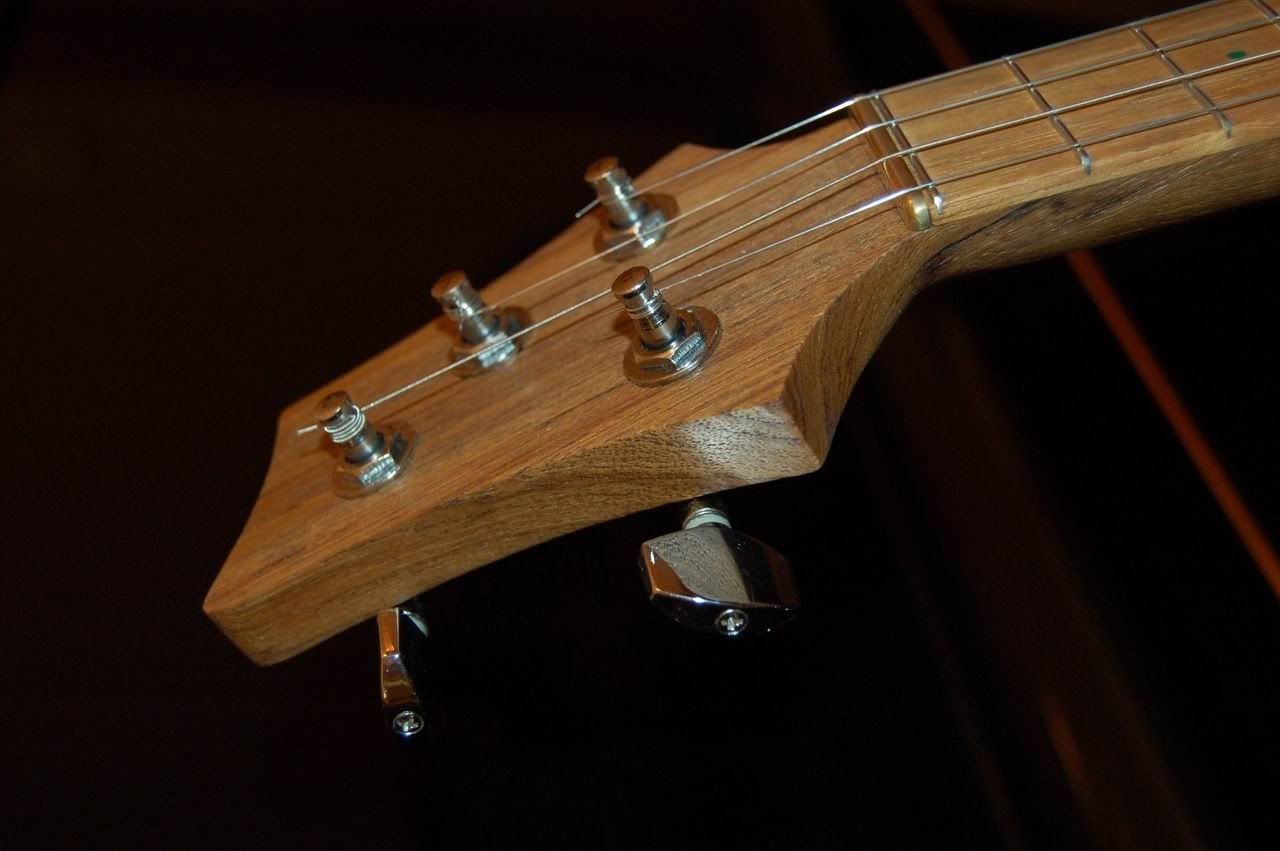
Bye bye Lee Evans, hello straight pull:

(These holes are already there in the first picture, but only because I put the tuners back in the old position to take the photo.)
Once I knew where the holes for the tuners were going, I could use these locations to fasten the template to the headstock, trim away the excess and rout away.


The only thing I had to remember was that the template was a little under size where the headstock ran into the neck on the right hand side. No problem, all I needed to do was stop just a little shy of the neck at the end of the cut…
Bugger! I confused myself by turning the neck upside down – that should have been the beginning of the cut!
You can see where there is a little too much cut out on the right hand side (now it’s back the right way up! :-[


A bit of sanding and some tuner holes:


I think it looks killer with the tuners in:

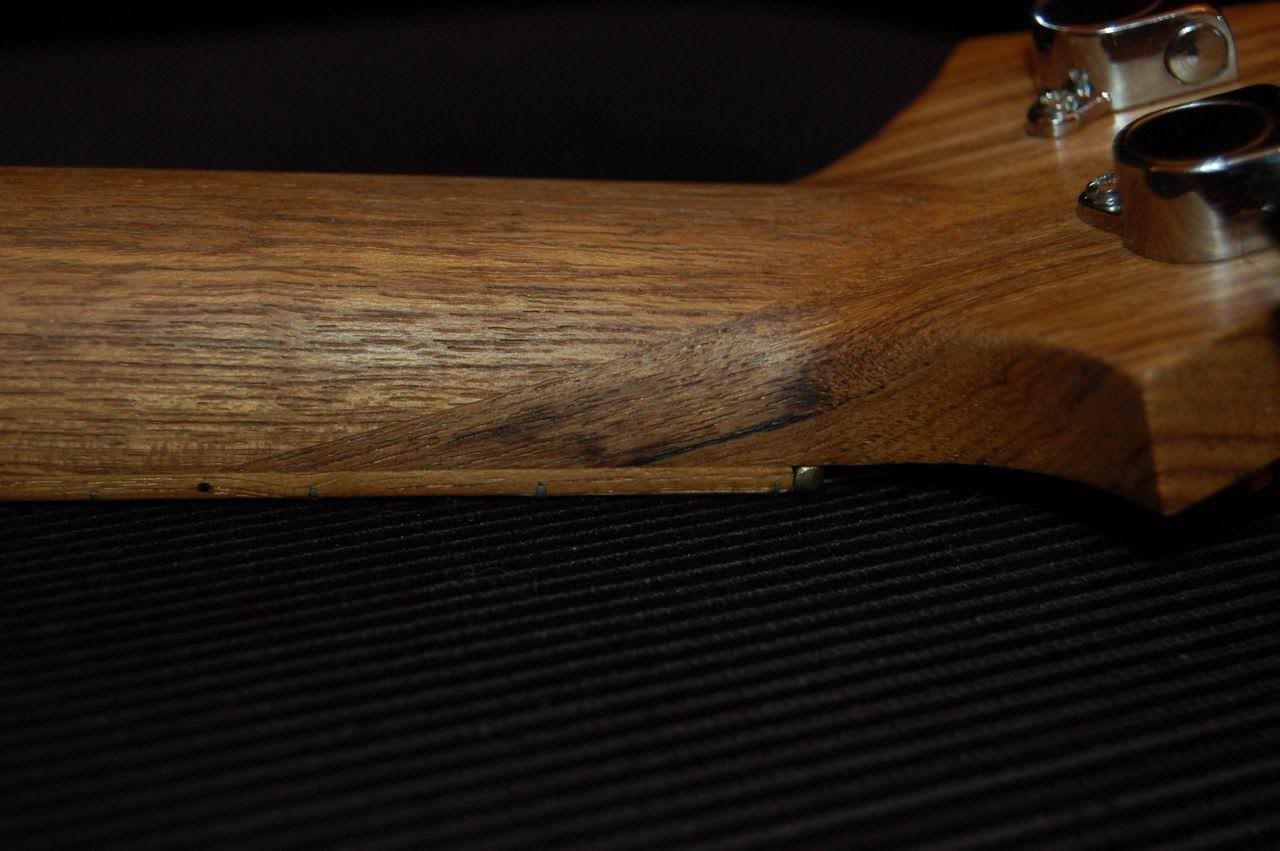
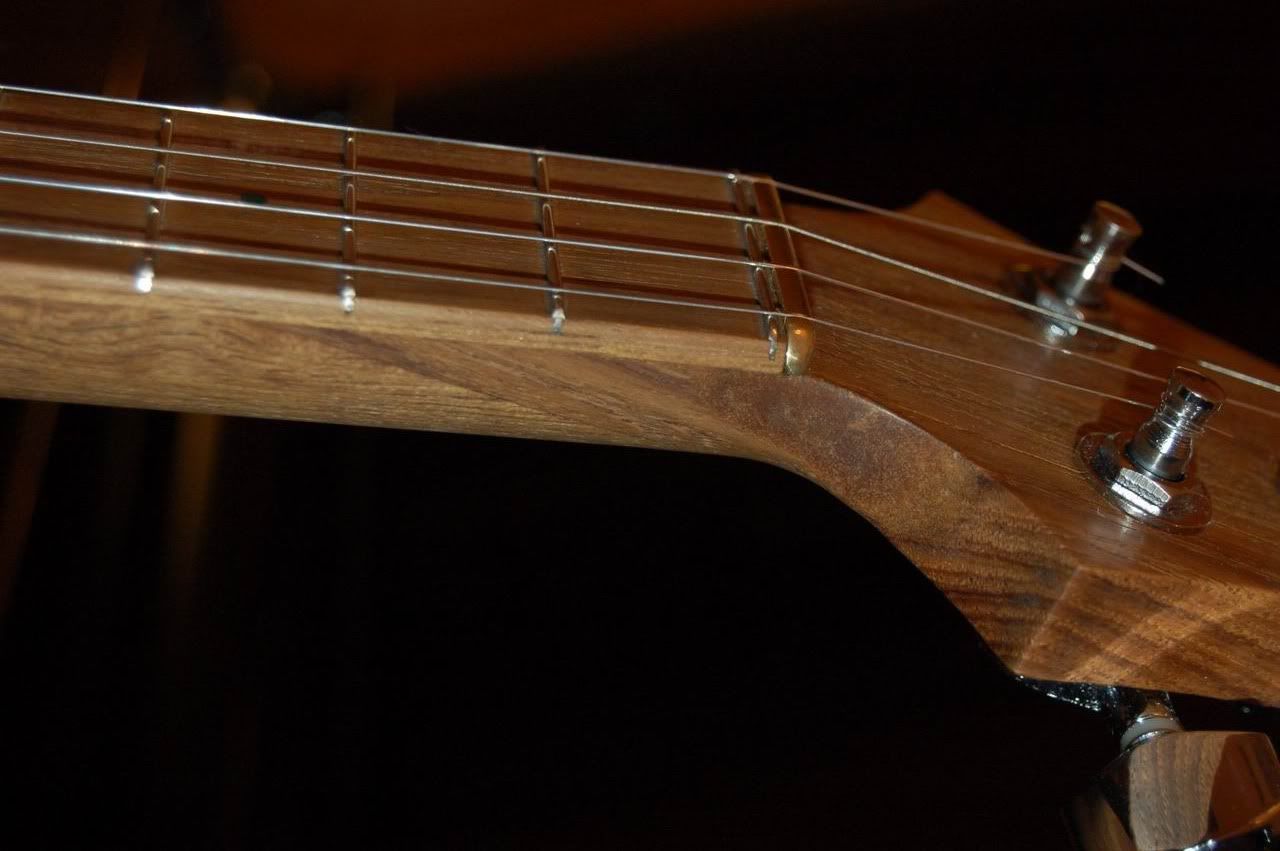
They *just* fit the thin headstock – the bush on one of them bottoms out before tightening up, and another one feels a bit rough when the bush is tightened, so I trimmed a few mm off all the bushes and all is well.
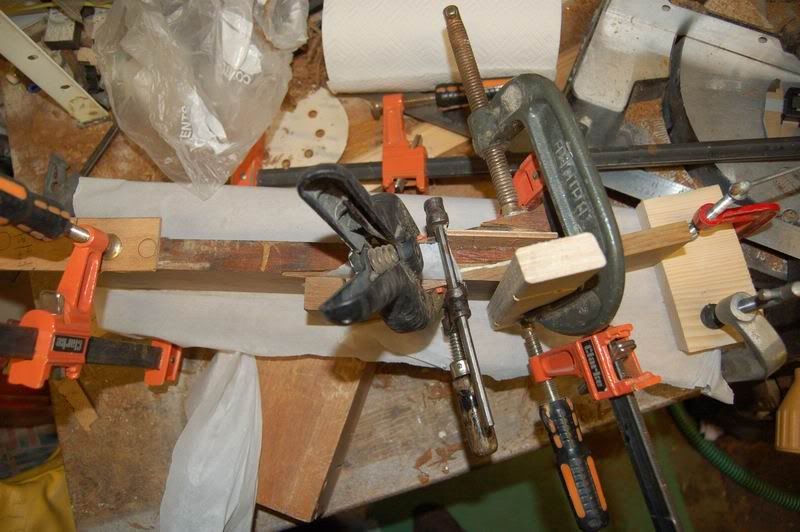
FINALLY I can glue the fretboard on (it’s the clamps again):

With the fretboard in place, I use the glue and sawdust trick to fill in the gap where I over cut the headstock:

And finish shaping the neck:


At this point it feels like a poker game, where the stakes just keep getting higher and higher. We were really excited, and couldn’t resist fitting the neck to the body and stringing it up. If nothing else, to check that the thing didn’t explode when the strings were tensioned.
It was a bit of a puzzle as to what size strings to use. I matched the tension in by electric guitar strings (about 70N) with a 15″ scale using this handy string gauge calculator.
I came up with
G: 0.015″ plain
C: 0.024″ wound
E: 0.018″ plain
A: 0.013″ plain
These seemed awfully heavy to me :-\
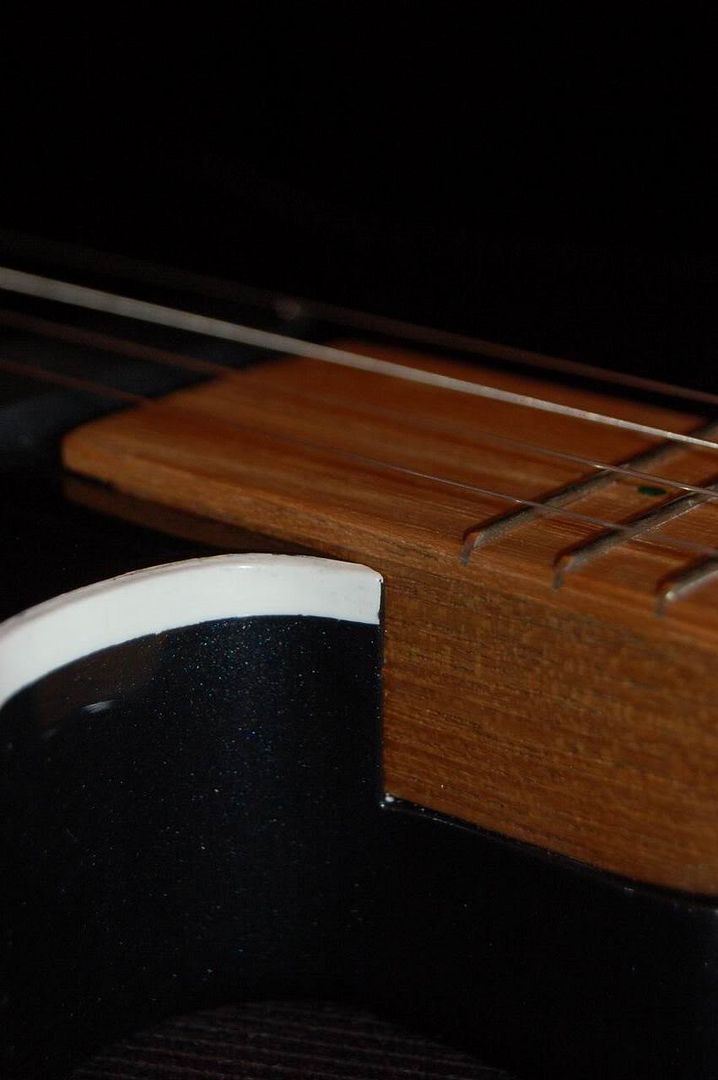
Although the neck has a zero fret and straight pull tuners 8), it still needed a nut to keep the string spacing correct. I had an old guitar nut that I started filing down, but it was slow work, and we were nearly dancing with anticipation to get the uke strung up for the first time, so I cut a nut out of some brass instead and polished it up nicely:


I finished sanding the neck and gave it a coat of Danish oil, too.
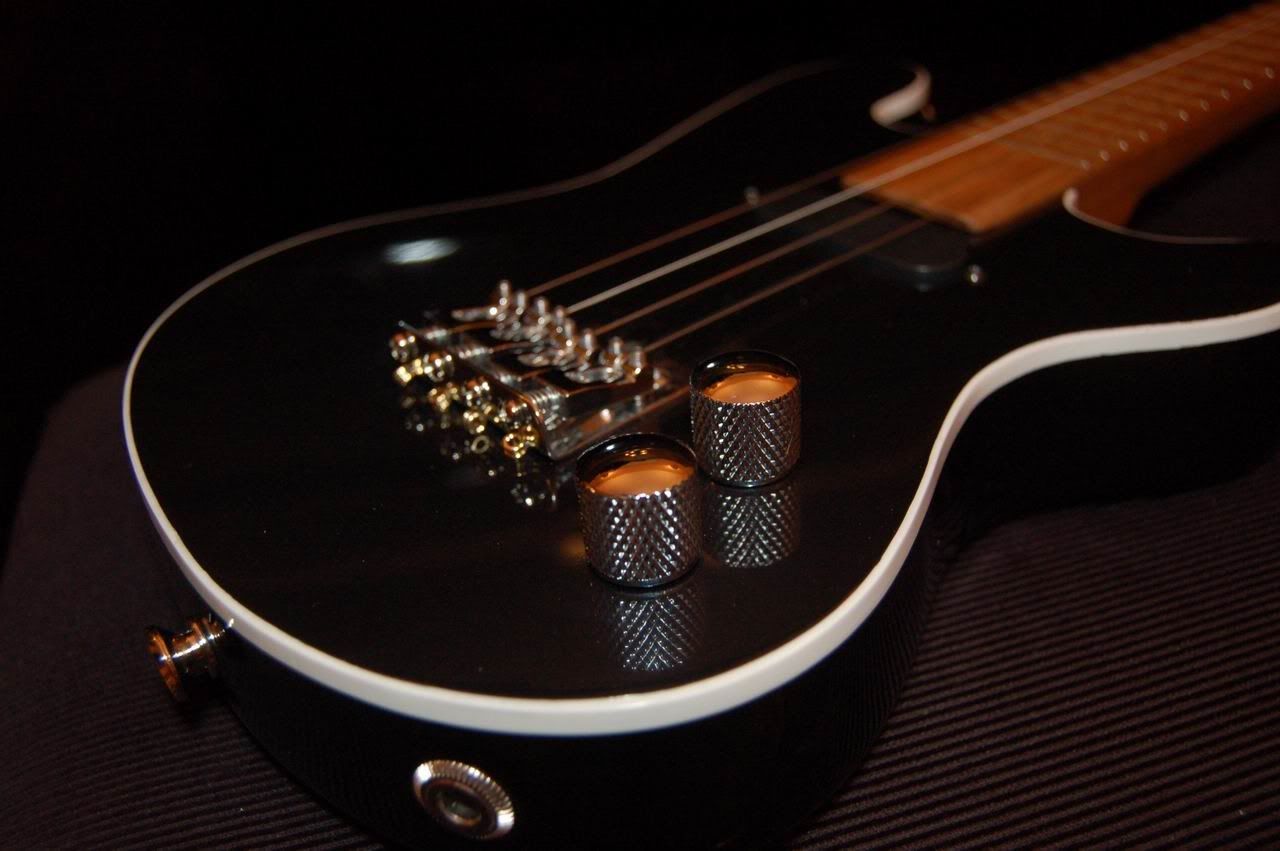
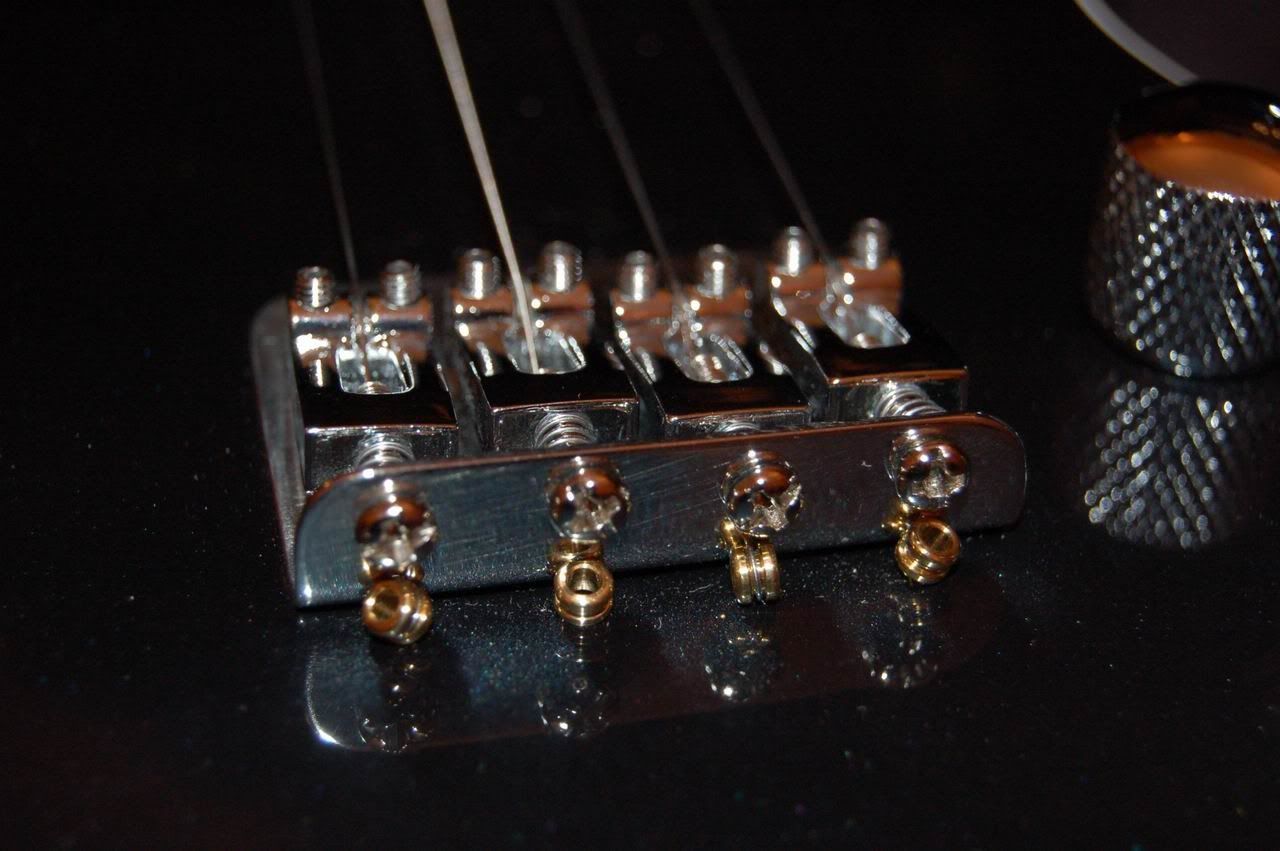
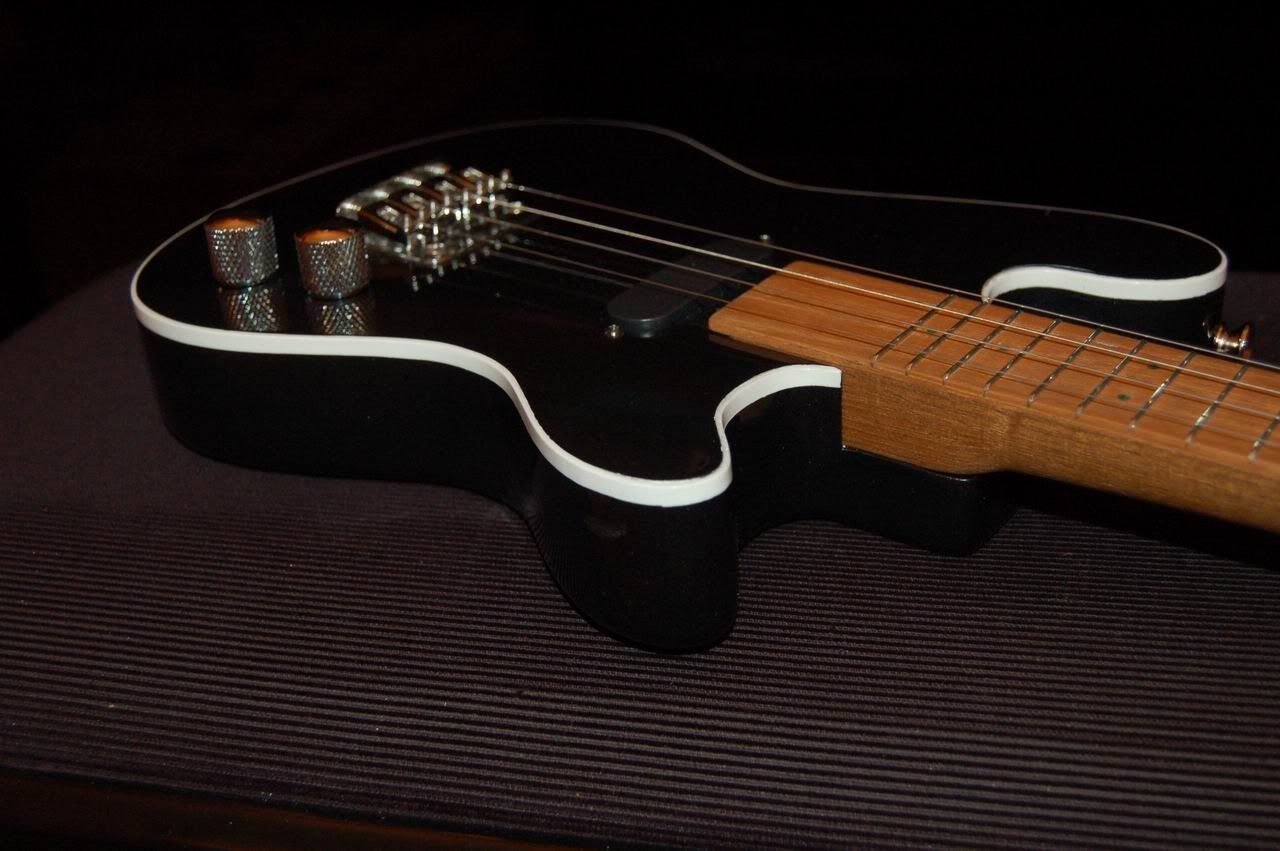
We fitted the neck to the body and used a straight-edge either side to position the bridge so that the strings ran true with the fingerboard; measured the 15″ from the nut, added on 1 – 2 mm for intonation and screwed the bridge to the body.
Gulp! It was suddenly time for strings.
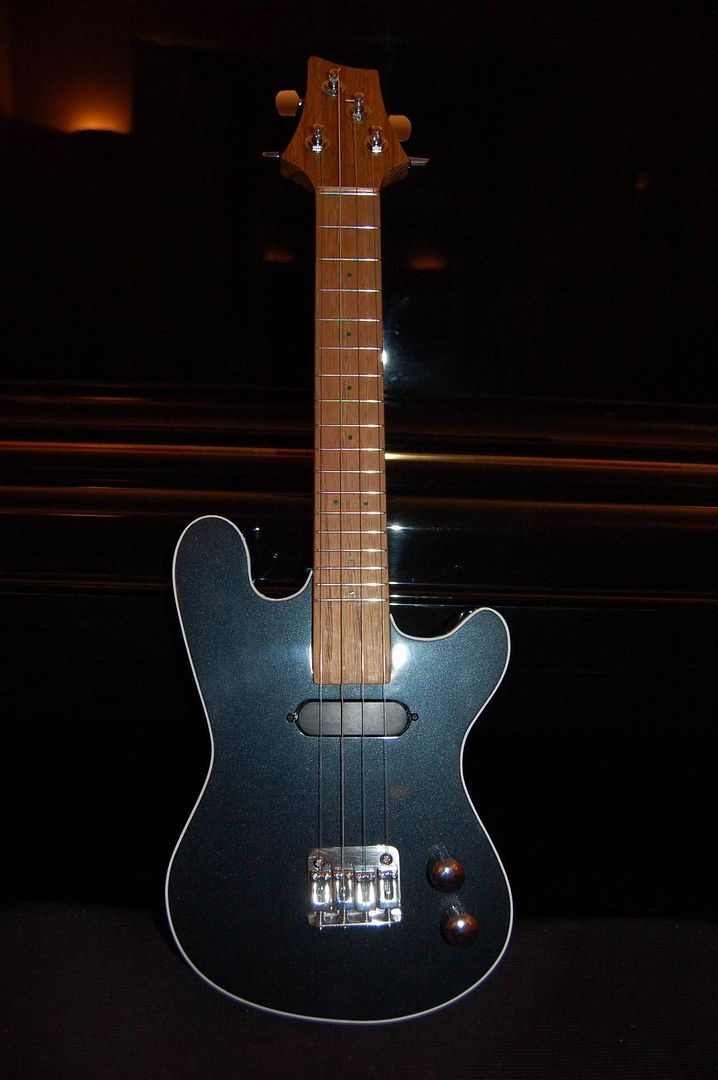
It didn’t explode! 🙂 🙂 🙂 🙂
What’s more, it seems to play in tune, so I haven’t made some gross error in fret and bridge position calculations. The action is even reasonable.
(Excuse me, but WOO! HOO!)

Undergoing quality assessment:

To be continued…

