JOEL ECKHAUS began building instruments in 1973. He opened a shop in 1976, and has been playing, teaching, designing, building, and repairing string instruments ever since. His woodworking experience also includes sailboat repair and construction, home renovation, nickelodeon construction, whirligig design and production, fine furniture and cabinetmaking, and production lutherie with Dana Bourgeois Guitars. Joel has a BS degree in vocational education and currently teaches woodworking and instrument making at Maine College of Art.
In addition to being a luthier, Joel also plays the mandolin, tenor guitar and banjo, ukulele, and musical saw. He studied uke and banjo with former vaudevillian, Roy Smeck, the “Wizard of the Strings”, and studied mandolin with former Texas Playboy, Tiny Moore. He was a founding member of the Arm and Hammer String Band, and has performed with the New York Banjo Ensemble, the Howitzer Mandolin Orchestra, the Neverly Brothers, the Blue Sky Serenaders, the New England New Vaudeville Review and the Pinetones. He currently plays with the ukabilly duo Dos Eckies; a ukulele/tap dance duo, Ham & Legs; and his own group, Ukulele Eck and the Fabulous Lacklusters.
You can find out more about his instruments and contact him at the Earnest Instruments website

Ukes have become very popular over the last few years. Most people who like them play acoustic ukes. What inspired you to make electric ukuleles?
The short answer is….”why not?”
The longer answer is that instruments evolve. Before the 1930’s there were no electric guitars, but they were quickly accepted in the guitar community. They filled a need for louder instruments, and eventually helped to create entire new vocabularies and styles of music.
I used to think that ukes had to be acoustic, reentrant, and have nylon strings, but the cavaquinho, which evolved from similar portuguese roots, broke those rules long ago. Many players from Brazil and Cape Verde still refer to them as ukuleles.
The music has evolved too. Ukes are no longer limited just to Hawaiian music. They were quickly adapted in the early teens and twenties to popular music, and since then have been heard in ragtime, jazz, folk, country, classical, and rock music. It seems like a natural evolution to add solid body electric ukes to the musical palette.
Your ukes (and other instruments) are very unique. What are the most important parts of the build process for you?
I look at all the old ukes as well as other instruments and use ideas, shapes, styles, and materials in my design process. I’m trying to get away from building copies of other instruments, both for legal reasons and because I prefer building my own designs.
With acoustic ukes, I really try to keep things lightweight, more so than many of the imported ukes I see. The wood is thinner, the braces are smaller, even the kerfing is less massive. With electrics I favor lighter bodies too. Mahogany and swamp ash are not as dense as maple, or rosewood. I want to bring out the “bass” in a uke. Heavy woods tend to be sound too brittle or bright.
If you could make a uke for someone in specific, who would it be and what special features would you include?
I’d like to see more of my own designs getting used in pop music as well as other styles. Eddie Vedder plays one of my Tululeles, based on a Telecaster shape, and John King played a Stradelele, based on a Stradivarius guitar. Both are my adaptations of a classic shape transferred to a uke. A few of my designs, like the Sputnik and the Boomerang, are original shapes based on 50’s and early 60’s electrics. I’m currently working with a friend to design and build an acoustic/electric uke for Merrill Garbus of Tuneyards.
Which materials do you prefer when you build bodies and necks? What ones should builders avoid?
I like mahogany a lot. It’s strong and light, but not too dense or hard. Ukes are pretty small and high pitched. I want to bring out the “low” end of the uke. Koa is brighter but can be loud and clear when it’s thinned out. I’ve used ash for the Tululele and the Paddlelele and I think its a great tonewood. More and more I use spruce for the tops, especially with the denser back woods like maple, rosewood, walnut, etc.

Sourcing four string parts such as bridges and pickups can be very difficult. What’s your approach with these?
I make some parts like bridges, neck plates, and coverplates out of nickel silver sheet stock. With a bandsaw, drill press and various sanders, I can make many small parts. The nickel silver polishes nicely and I don’t need to have the parts plated. I also use standard guitar bridges and tailpieces one four and sometimes five string instruments.
I buy stock guitar pickups for most of my electric mandolins, tenors guitars and ukes. To have the pickups custom made would be too expensive, and I don’t have the time, interest or equipment to make my own pickups.
What’s your most important luthier tool? Do you use cnc or power tools at any stage?
Most important tool is probably my thickness sander. Getting tops ,back and sides to their optimal thickness quickly is important. Leveling inlays and sanding figured wood to thickness is made so much simpler with it.
I have most of the standard woodworking machines as well as many hand tools. I don’t own or operate a CNC machine, but I have had some parts made on CNC by people that specialize in that work. The necks and bodies of my concert Tululeles were made by CNC. Any custom inlay work…blocks, names, logos is usually done by CNC inlay shops, I hate cutting, and inlaying pearl, except for dots. I don’t even really like the way a heavily inlayed instrument looks.
Do you play or build other instruments too? How does your uke building knowledge transfer to them and vice versa? Are there common techniques?
I also play and build acoustic and electric mandolins, tenors guitars and do some repairs and restorations. I’ve built some more unusual custom instruments as well, electric dulcimers, walking stick ukes, painted ukes, It’s all lutherie, just different instruments. My knowledge of instrument history is important. I’ve looked at a lot of instruments in museums, stores, guitar shows, books, wherever. Everyplace I go, I try to find out something about the local music and it’s instruments. I took Charango lessons in Argentina, and heard some great Russian balalaika playing in Spain.

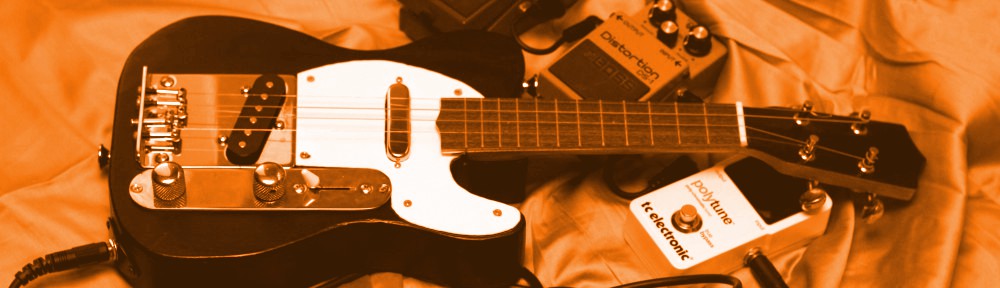
When it comes to electrical components, how do you prefer to configure them? Have you ever tried different pots / resistors / pickups in the same uke to compare the sounds? What wins it for you?
My knowledge of electronics is minimal. I can follow a diagram and wire up most configurations, sometimes with a lot of head scratching. I usually buy Kent Armstrong pickups because they’re relatively cheap and reliable. If someone requests a pricier pickup, I’m happy to get it for them. I like 2 pickup instruments the best. I can get all the sounds I need from 2 pickups. I done a few 3 pickup tenors, and sometimes with some sort of bridge transducer as well. I prefer to keep it simple.
If you could have played electric uke on one classic rock or blues track which would it be?
We’ll I play a lot of old Rock ‘n Roll in my uke-abilly duo, dos Eckies, with my friend, Kris Eckhardt. Kris played in a local rockabilly band called King Memphis, that played a festival in England a few years back. We do Elvis, the Everly’s, Buddy Holly, Ricky Nelson, Chuck Berry, and more. Kris has a great electric guitar style that he transfers to the uke, He’s also built a Whammy bar for his Tululele which works pretty good.
So the tune I’d like to learn next is probably the Kink’s “You Really Got Me”