Wave Electric Ukulele

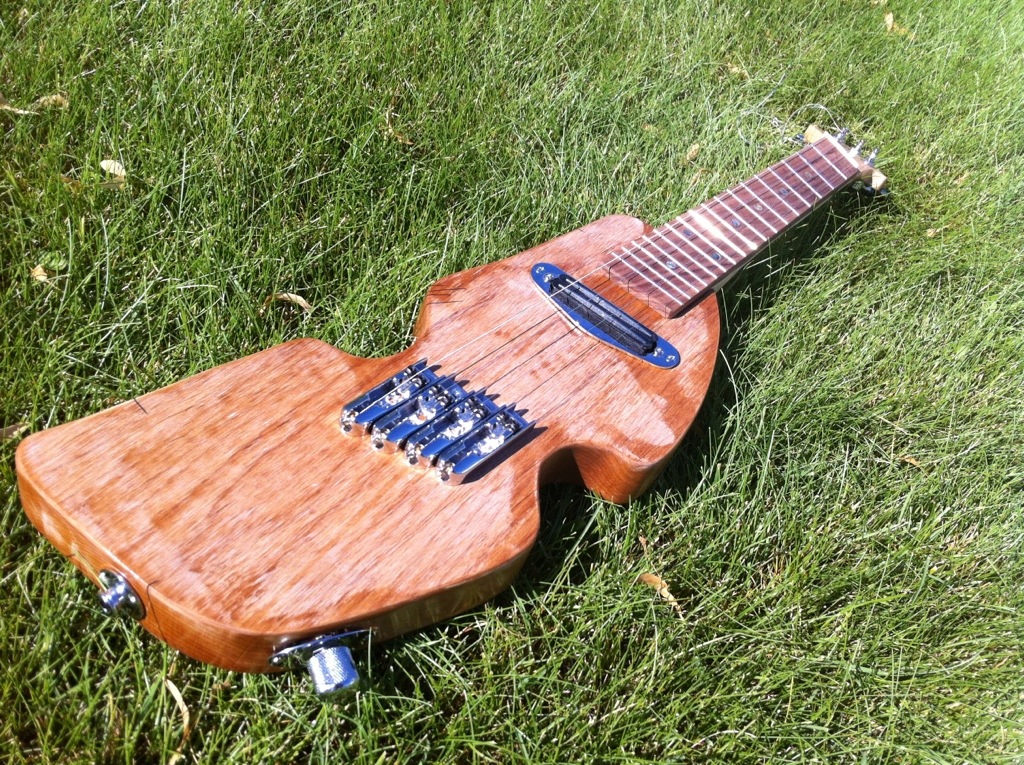
I’ve built a bunch of electric ukulele, but all of them have been modeled after full size electric guitars.  For this project I set out to design my own electric ukulele.  I think it turned out great.

20130726-064232.jpg

My other electric ukuleles have been modeled after guitars from Fender and Gibson.  Can you name all of these models??

20130927-181701.jpg

Here are some sketches that I drew as I designed this instrument.  You can see how how the designed changed and progressed.

20130724-203856.jpg

I probably shouldn’t admit this, but part of the headstock design was influenced by the fact that I had quite a few left hand tuners in my possession.  I purchased sets of 3-on-a-side tuners to use for my Fender style builds, but only needed the right hand ones.

20130724-204011.jpg

After all of the parts were fitted, I leveled the body with some putty.  It is important to have the body as smooth as possible before the prime, and color coats.

20130724-203547.jpg

The body was primed, given a nitrocellulose color coat and then a nitrocellulose clear coat.

DSCN7848

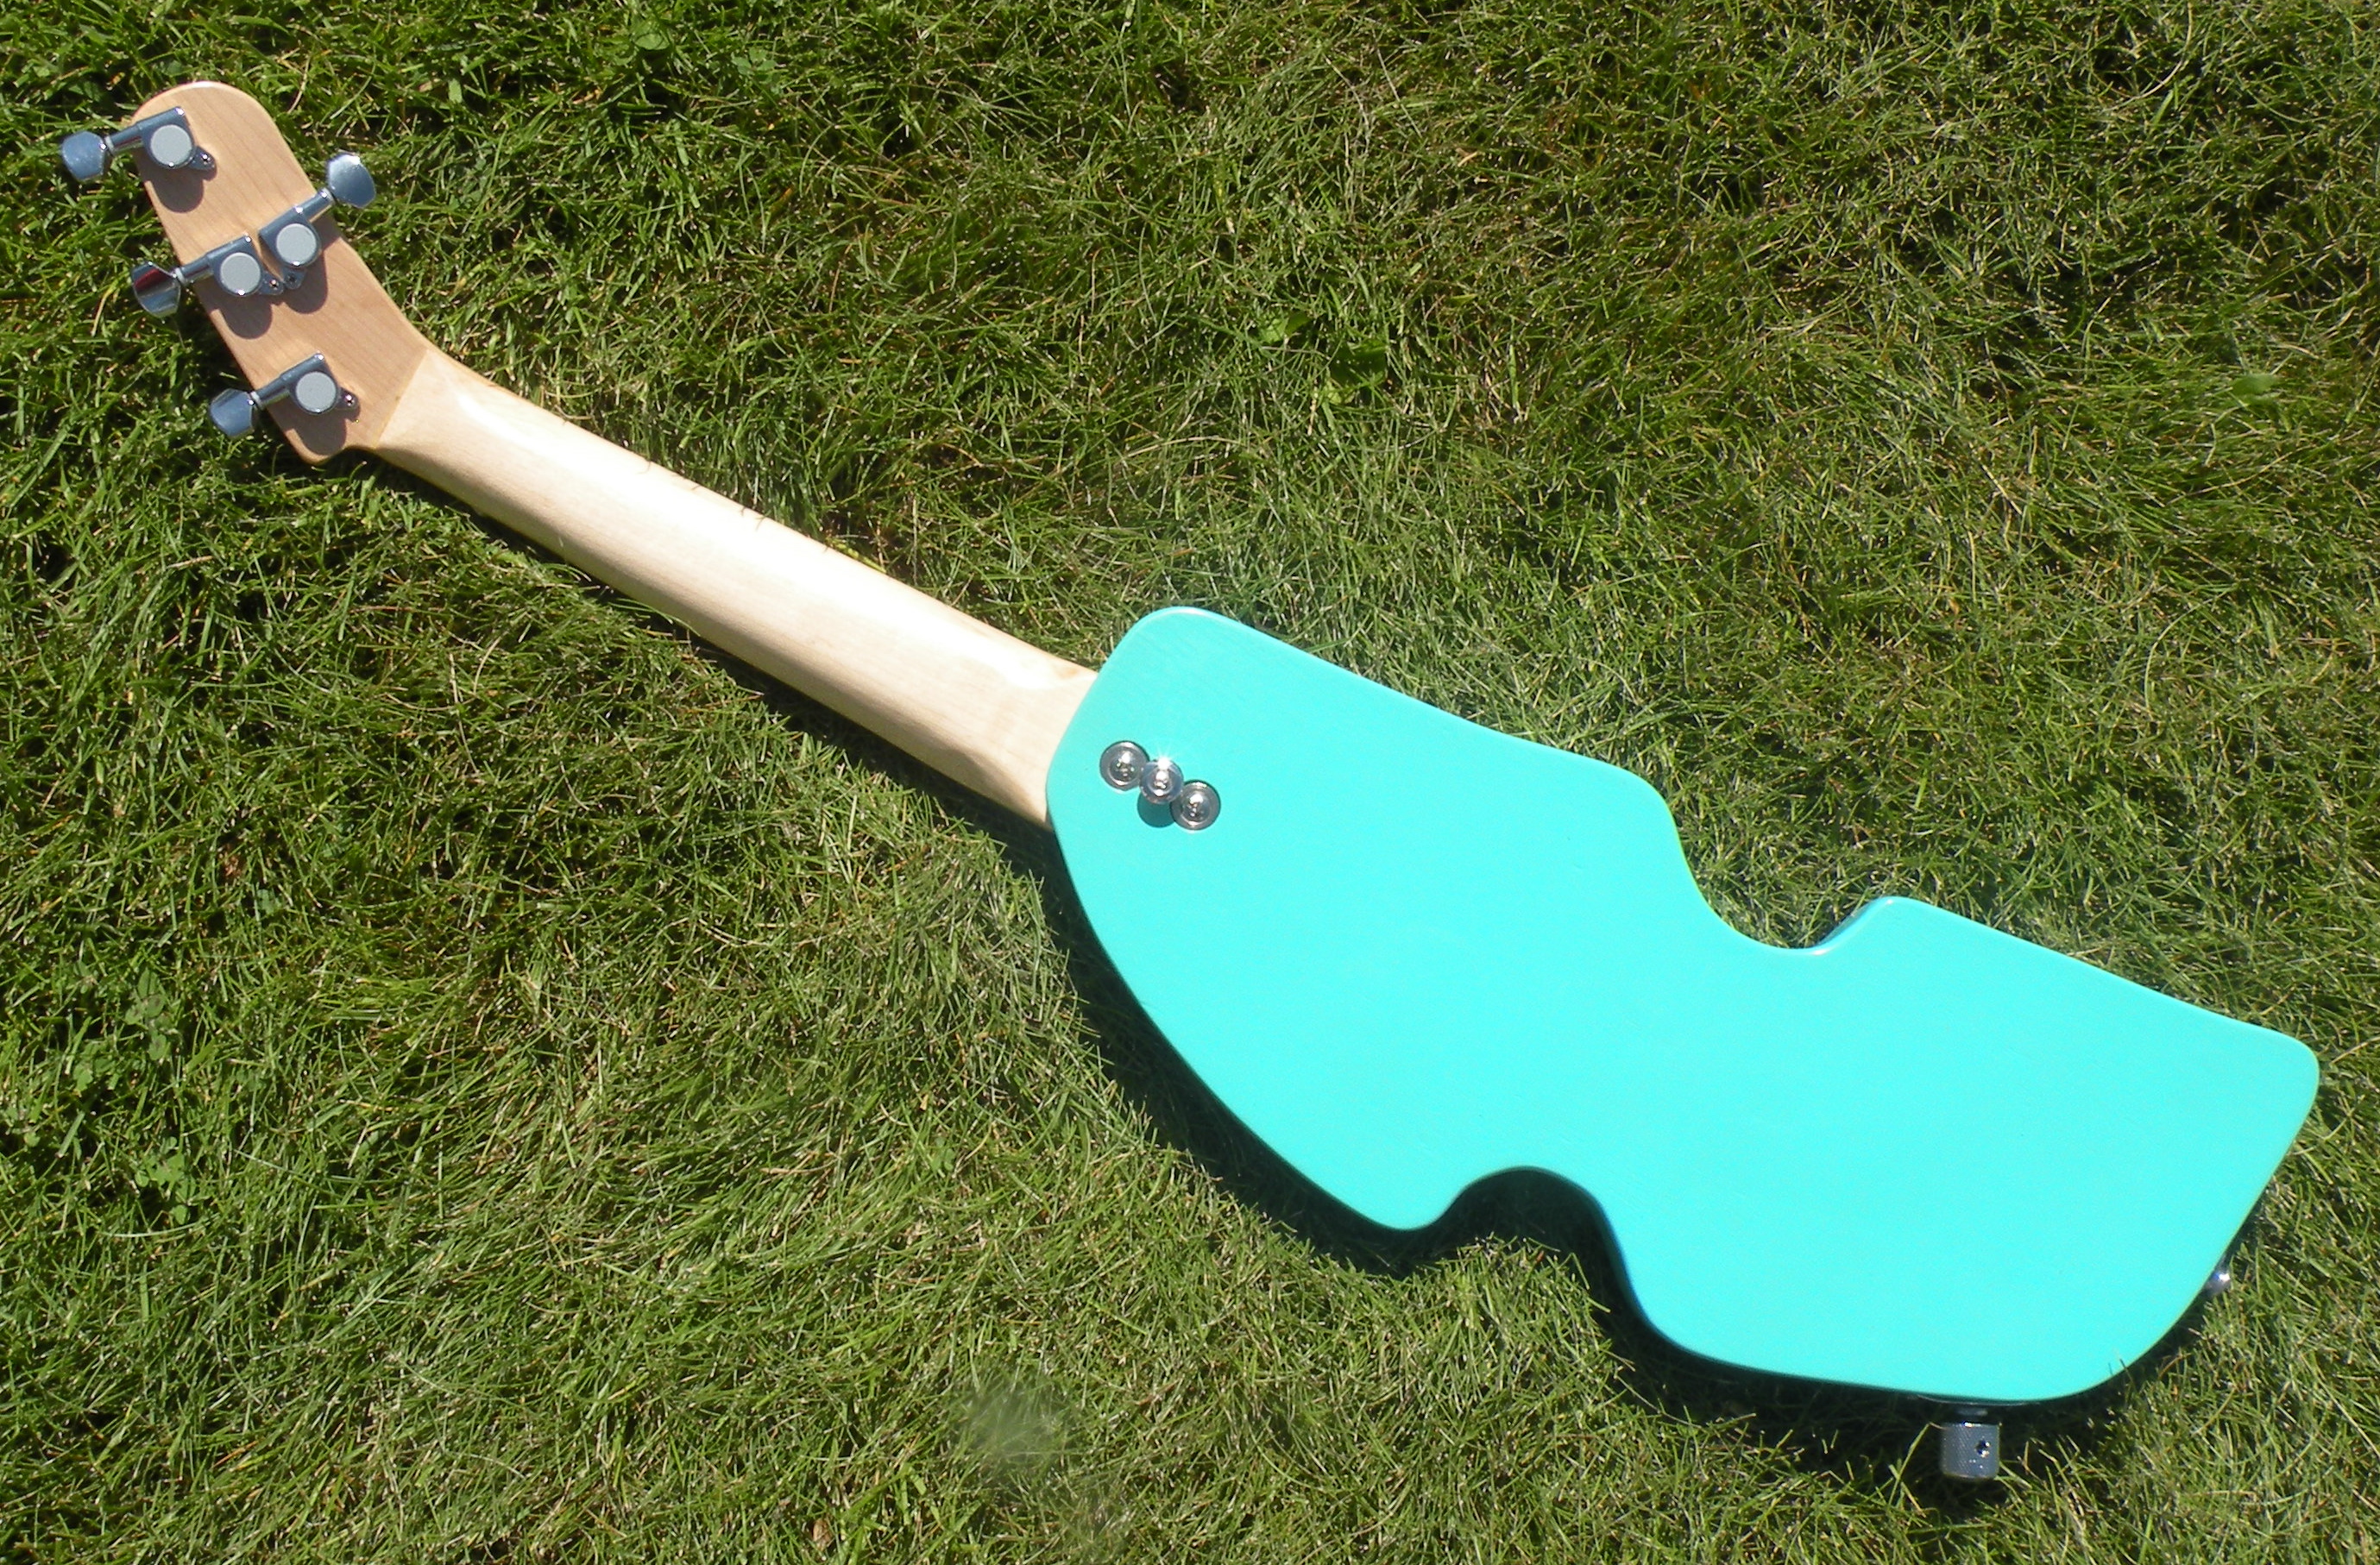
I wanted to try having the volume knob on the side of the body instead of the top.  Doing this also allowed for a bigger cavity to house a push/pull switch to split the hot rail humbucker.  To keep the back and top as minimalist as possible, I drilled long holes from the pickup cavity to the combination strap peg/jack.

DSCN7847

I’ve named this the “Wave Ukulele” because the body made me think about waves crashing against the shore.  Once I gave this a name, I tied other design element to this theme.  The body is Sea Foam Green, and the fret markers, side markers and even the cap on the volume knob are abalone.

DSCN7840

This build was my first foray into the world of fanned frets.  The bottom string has a scale length of 17 inches and the top is 18 inches.   It’s a little different to play, but it’s very easy to get used to.  Make your own fanned fretboard with this tutorial. 

See it in action!

[youtube=http://www.youtube.com/watch?v=ak2wapy1hdc&w=480&h=360]

Double Neck Mandolin/Ukulele

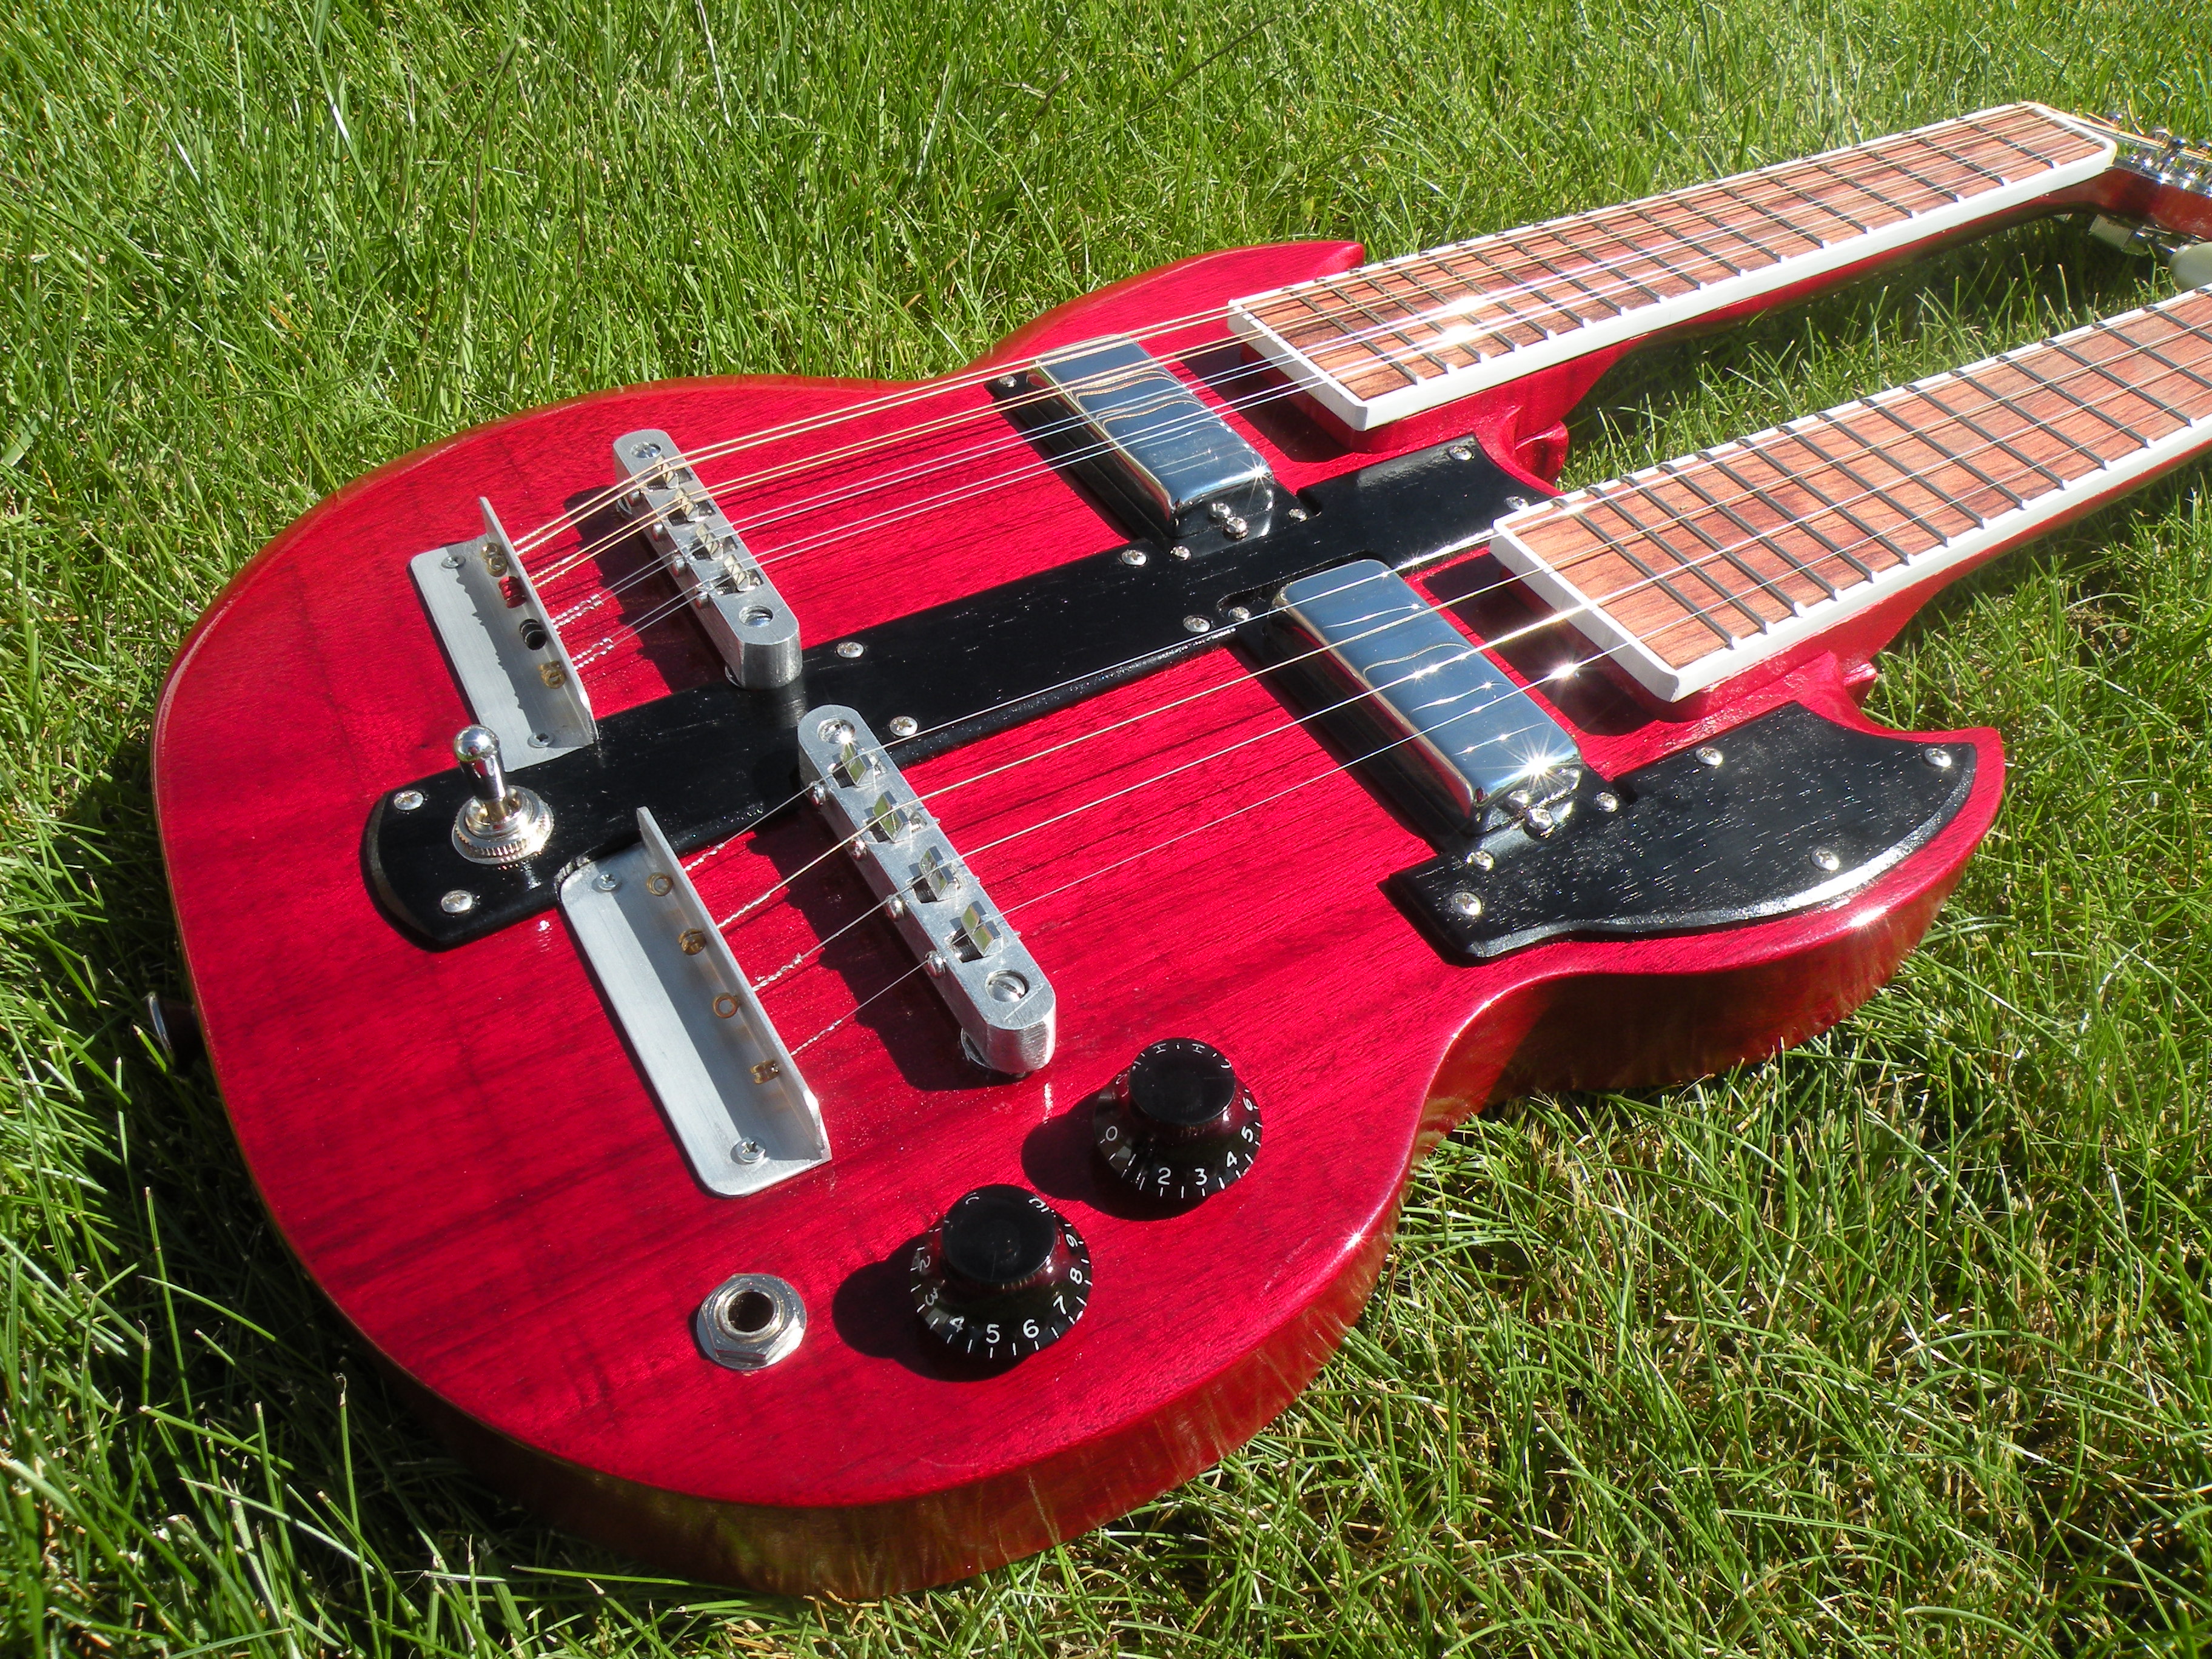
I’ve been planning on building a double neck mando/uke for a couple of years.  I like the aesthetic of the Gibson Double Neck EDS-1275, especially the top neck having double the strings of the bottom one.  Different things delayed me starting this project, and I’m glad they did because I was able to refine my techniques and gain the proper tools to do the job right. This was my most involved and labor intensive project yet.

DSCN7821

tune-o-matic

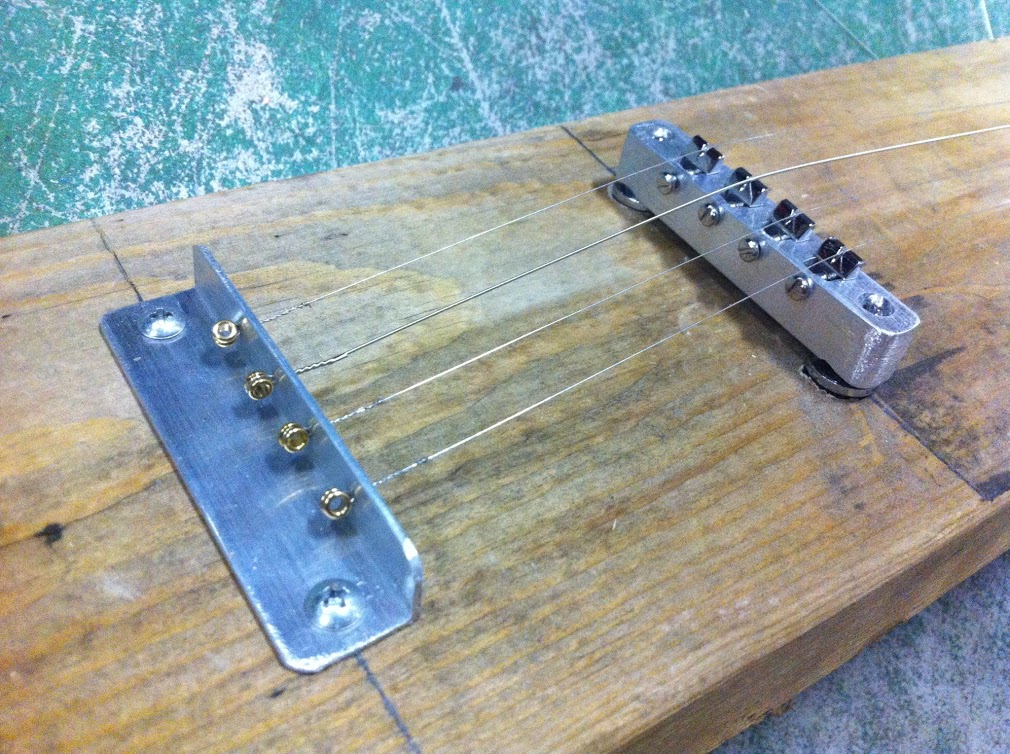
I wanted to have Tune-o-matic style bridges for this instrument, but I couldn’t find any ones with four strings.  After seeing a thread on the Mandolin Cafe Forums,   I contacted Pete Mallinson of Almuse Mandolins to ask him some questions about some custom bridges he had made.   He gave me the confidence to mill my own with a drill press and some needle files.  The above picture was a test run that I did.   I refined the process for the two bridges I used for the Mandolin/Ukulele.  I purchased some blank saddles for the 8 string mandolin side and cut string slots with some speciality files.

double proto

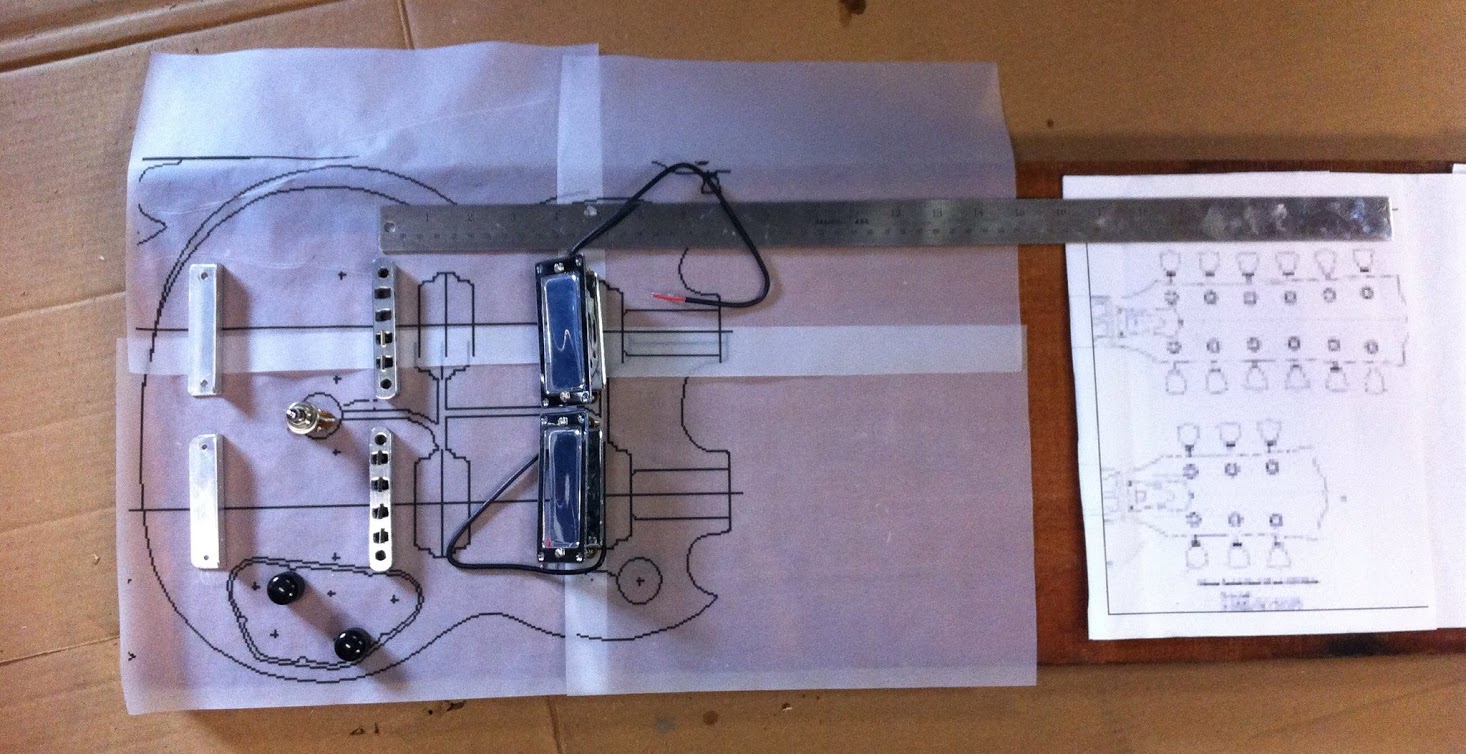
I did my normal layout and size check before I started to cut things.  Both of the necks have 17 inch scale lengths.  I tuned the mandolin neck an octave lower than a regular mando, so it can be considered an “octave mandolin”.

double body

I cut the body out of solid mahogany and beveled some of the edges.

double fretboards

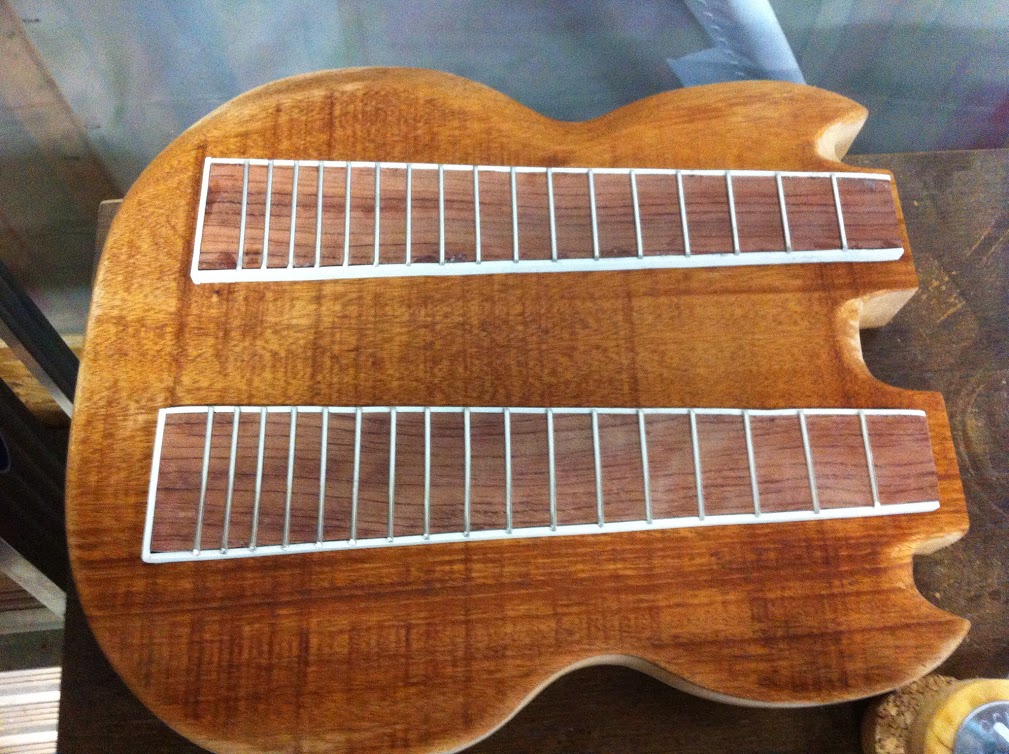
The fretboards are made of bubinga and were bound with plastic binding.  Even though the mandolin has more strings, the fretboard is narrower to keep the feel of a mandolin.

necks

i’ve made a bunch of electric ukuleles, but I have never put a truss rod in them.  With a short scale and quality wood,  I didn’t see the need.  I did put a non-adjustable truss rod in the mandolin neck to combat the added tension of the 8 strings.  I put a matching one in the ukulele neck for balance. I routed out the pockets and epoxied the rods.

double

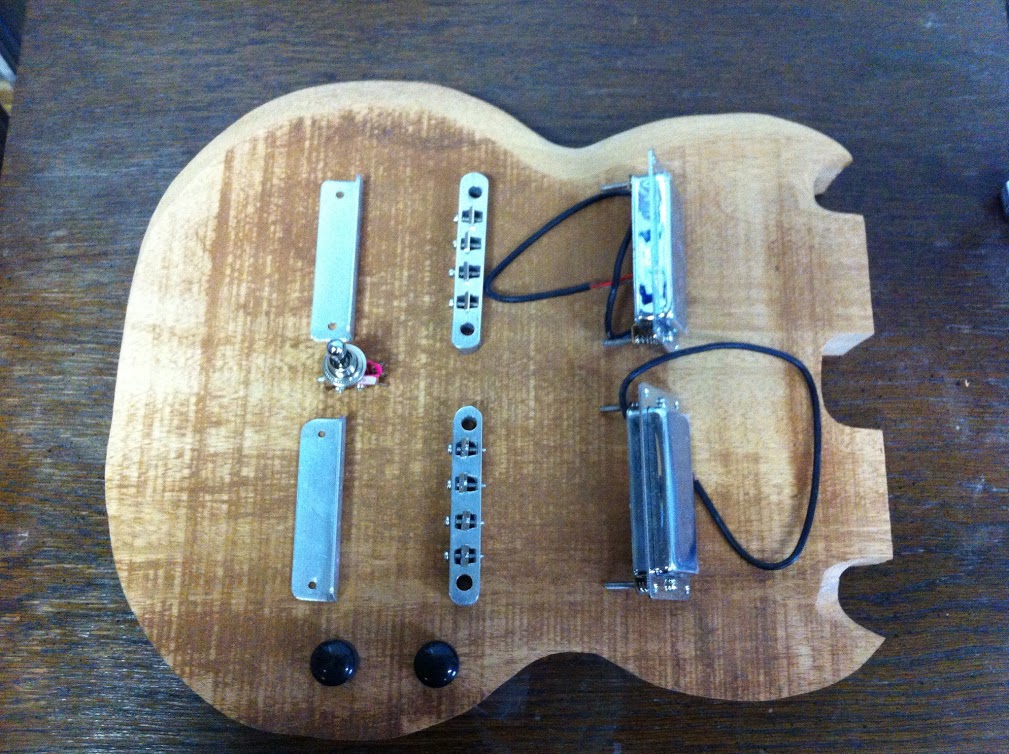
After the body was routed, a made some wooden pickguards and dry fitted everything.  I then carefully disassembled everything and put the hardware aside.

double laquer

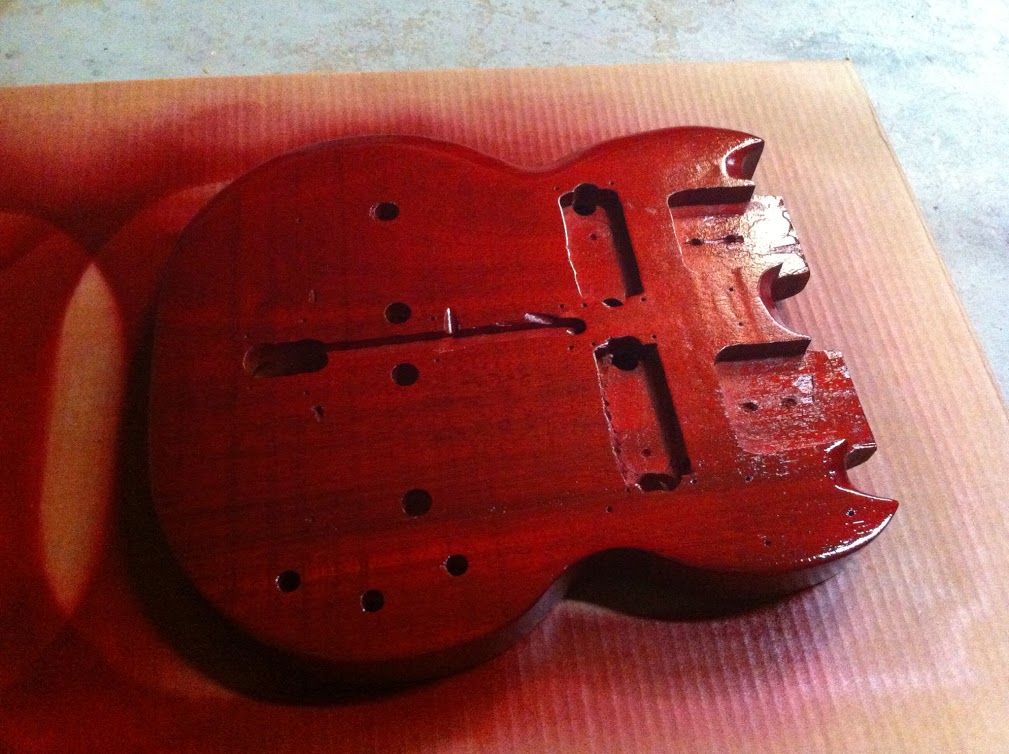
The body and necks were  tinted with a transparent red nitrocellulose stain and then clear coated with glossy nitrocellulose.  The headstock faces were sprayed with opaque black.

double drying

“After the paintin’ comes the waitin’.”   I stowed the body and necks in a closet for a 2 weeks to let the lacquer cure.

[youtube=http://www.youtube.com/watch?v=QtKtCby4P5w&w=560&h=315]

DSCN7808

This thing is a real beauty.  I really like the look and texture of the black, wooden pickguards. The pickups look like humbuckers, but are really single coil.  The three-way switch by the tailpieces is able to select either or both necks.

DSCN7815

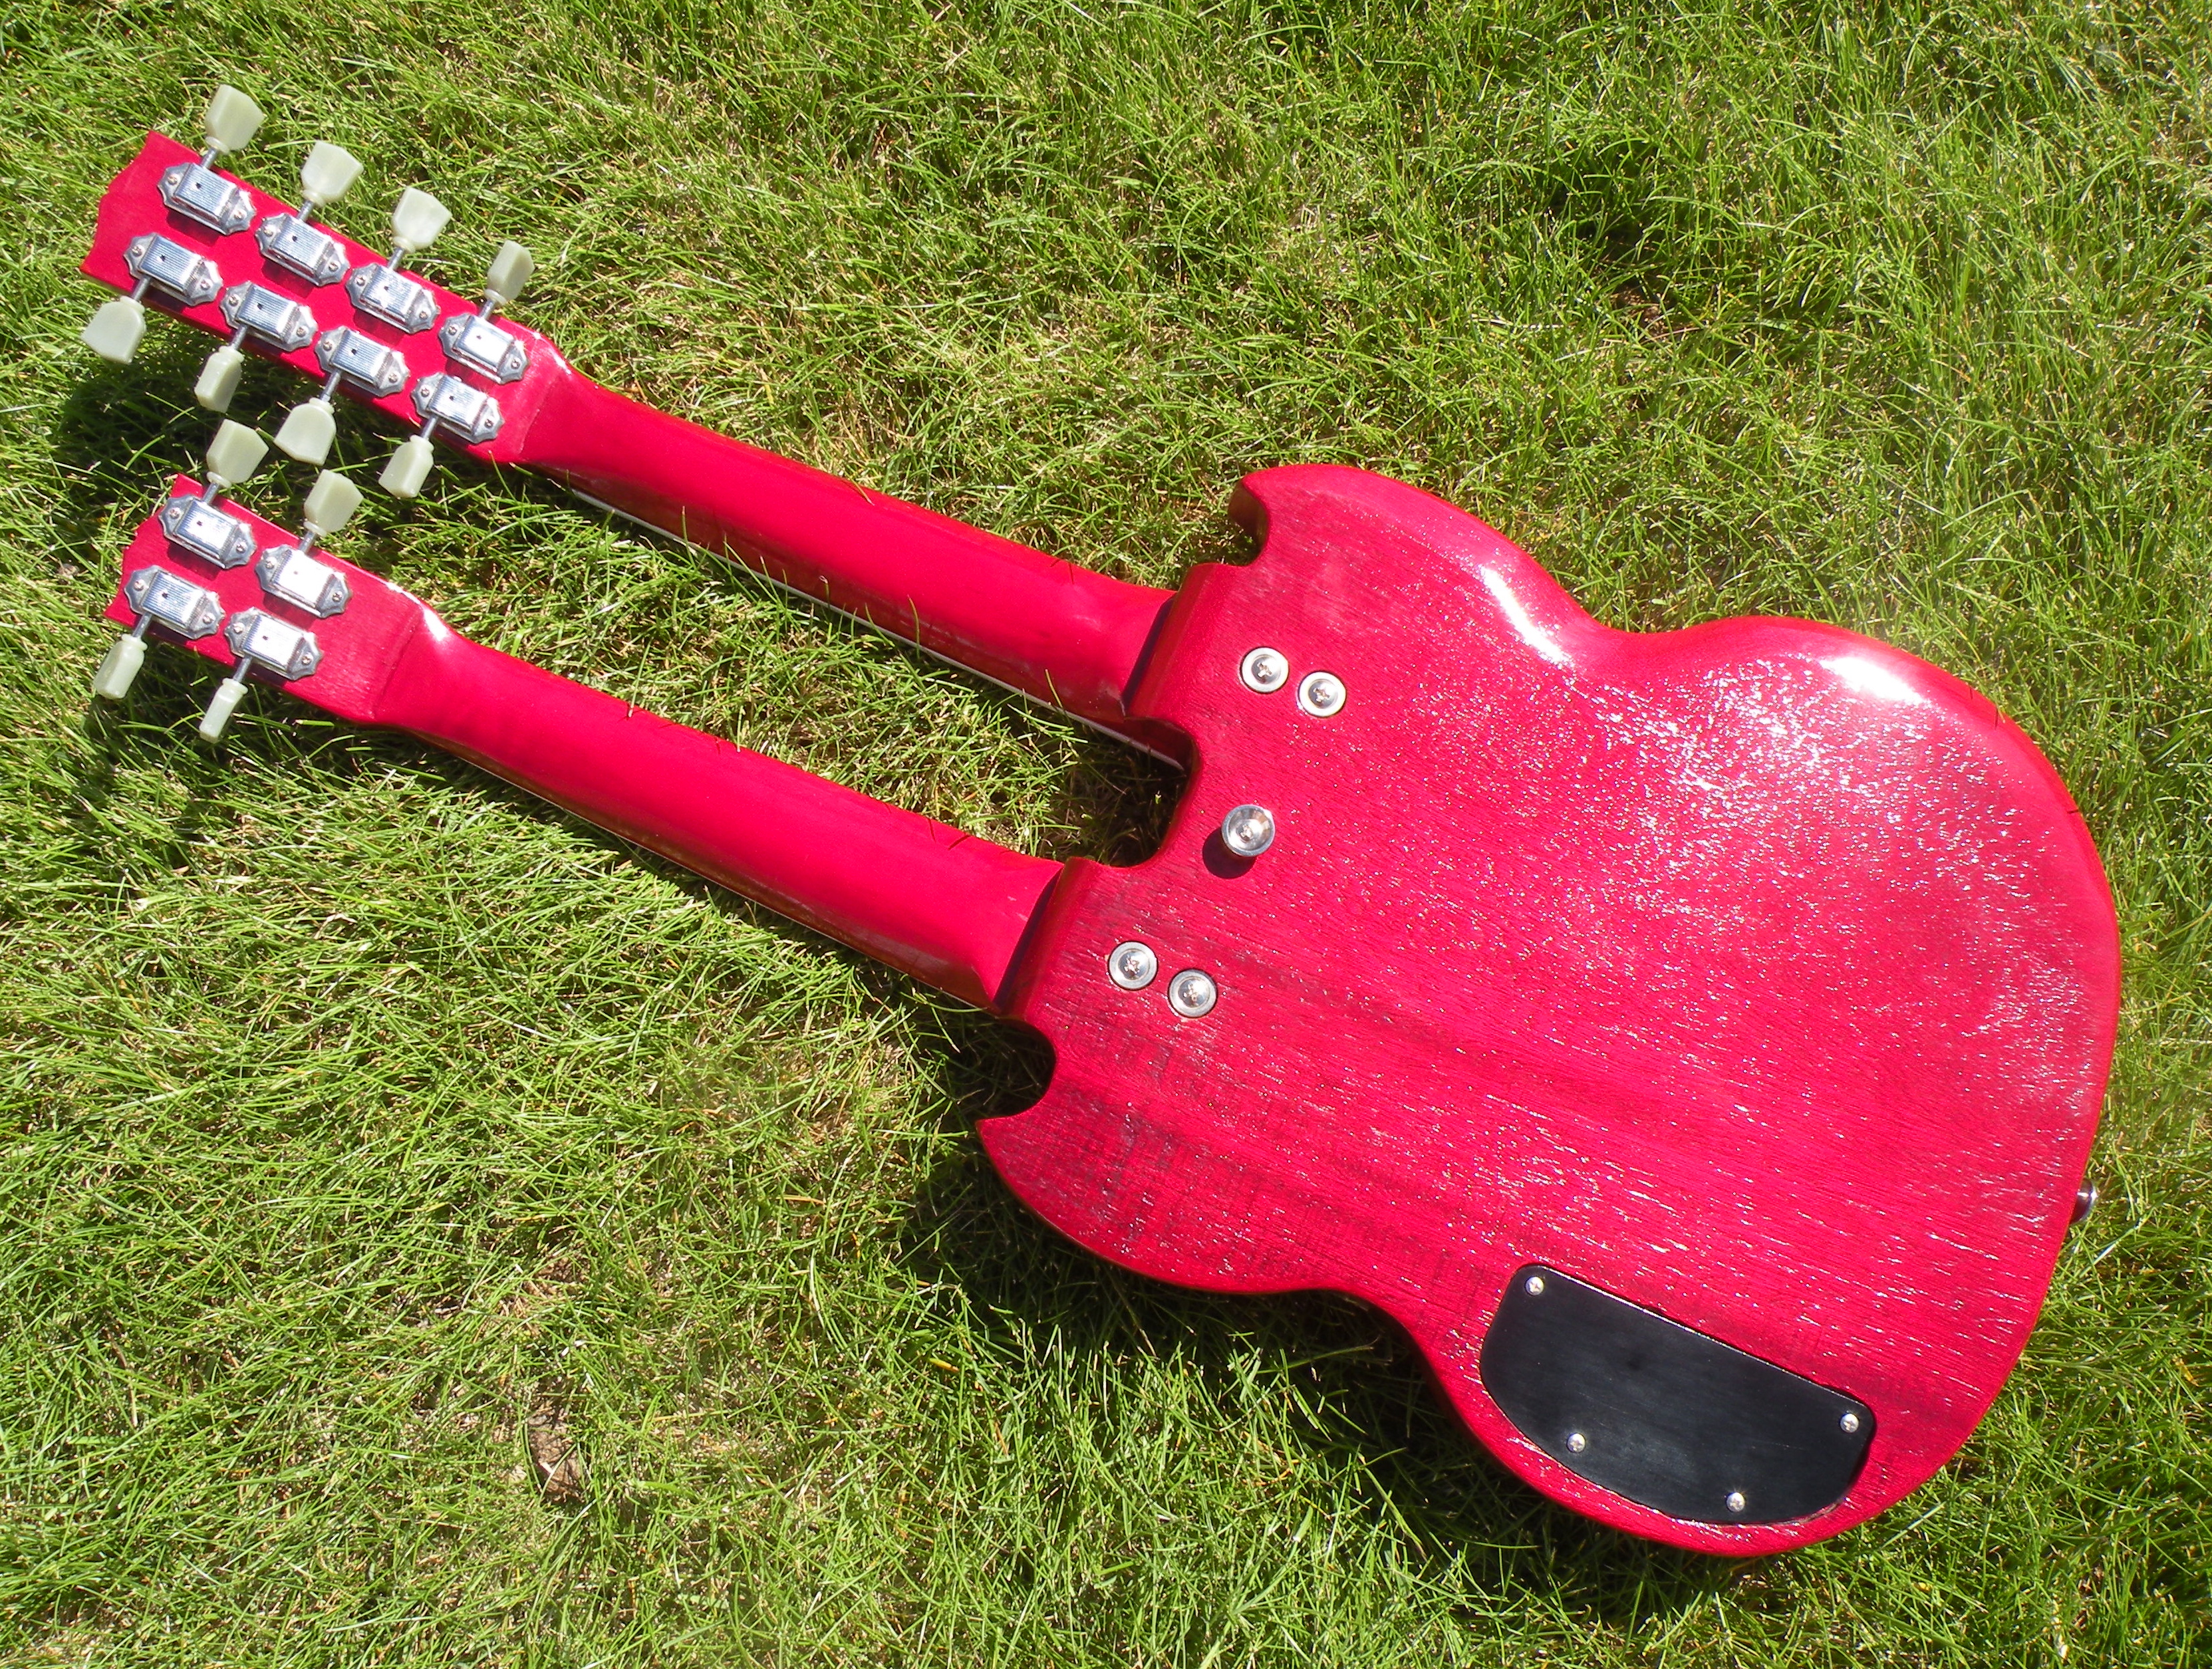
Under the cavity cover,  a couple of 500K potentiometers and a .022uF Orange Drop capacitor to provide a master volume and tone control.  I used 4 neck mounting ferrules to attach the necks.  They might become my new standard for mounting necks.  They look and work very nice.

DSCN7810

Talking about the double neck.

[youtube=http://www.youtube.com/watch?v=WxUO-2cNEmk&w=560&h=315]

Demo time!

[youtube=http://www.youtube.com/watch?v=9gvcM4c91oc&w=560&h=315]

Skateboard Ukulele

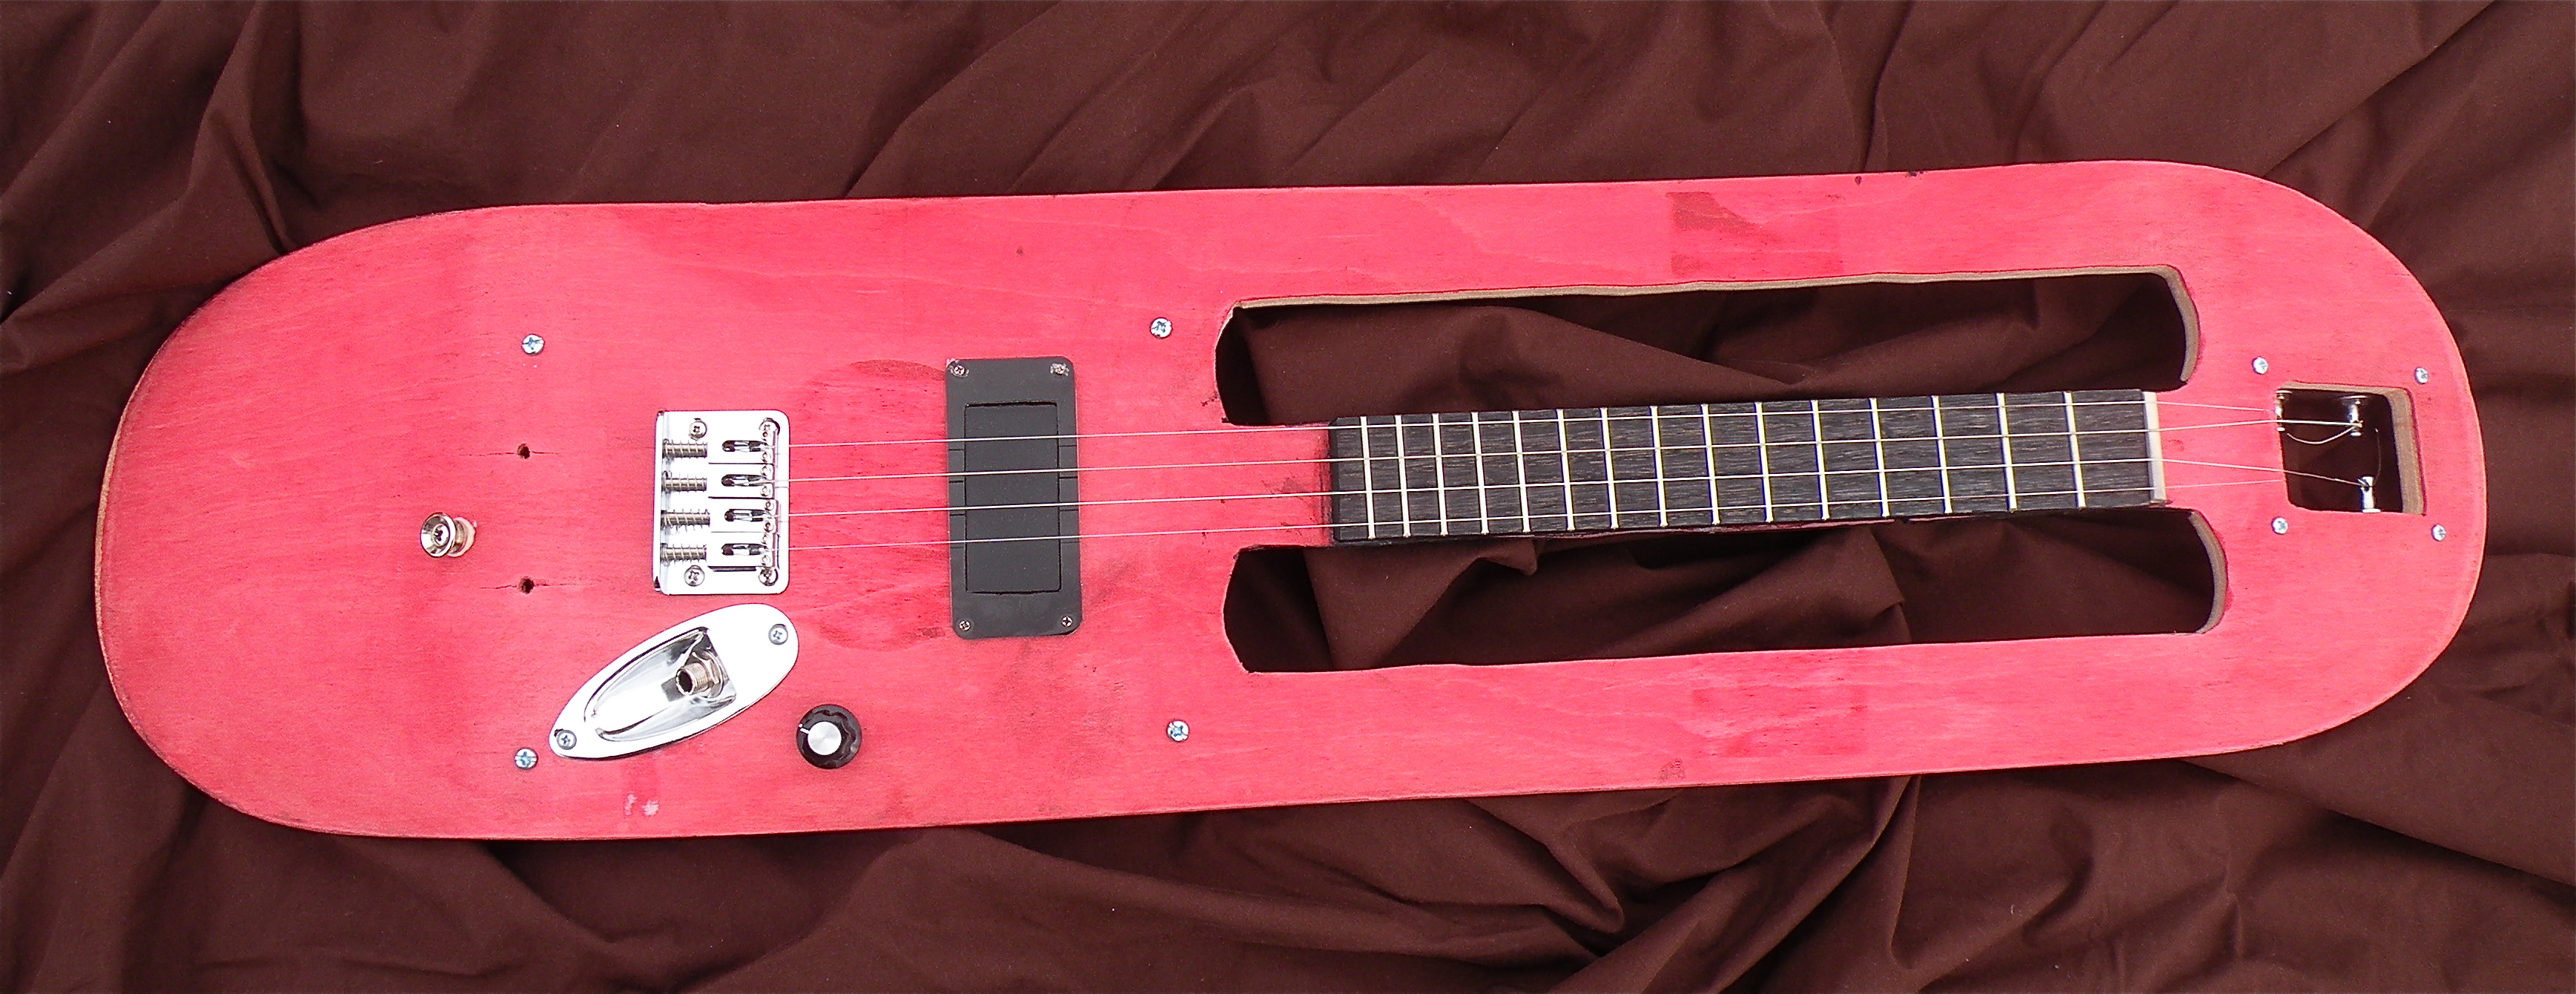
I’ve made instruments out of all sorts of stuff.  When I saw an old skateboard deck at a garage sale, I had to have it.  I thought it would make the perfect body for an electric ukulele.

DSCN7769

Because both ends curve back, I didn’t have to do anything to angle the headstock.  Using a scroll saw, I cut out the space for the neck, headstock, pickup, and Stratocaster-style jack plate. I kept the wood above and below the neck to give the instrument more stability and to the keep overall shape of the skateboard.  A fretboard with a 17 inch scale was epoxied to the neck.

DSCN7771

Most of the grip tape was left on the board.  I stripped the grip tape from the bak of the neck.  I was going to add about 1/4 inch of wood to the back of the neck, but that would have made it too thick.  Instead, I just carved the neck a little bit and stained it black.  A board with rounded over edges was attached to the back to cover the wiring and components.

DSCN7773

I made a pickup ring for the single coil pickup with some black pickguard material.  The pickup is connected to a volume potentiometer.

Out of all the electric ukuleles that I’ve made,  this was the fastest to make.  Not having to rout out the body, carve and shape the neck, and apply a glossy finish really cut down on the build time.

See it in action!

[youtube http://www.youtube.com/watch?v=M7tysKFG3d0?rel=0&w=560&h=315]

Free Ukulele Plans

DSCN7519

Whenever I do a ukulele project that has a logical, sequential order I try to document the process and make plans. These are made available for people to use, modify and enhance.  Right now I have two available for immediate download, with more coming this year. Have fun building and remember to take pictures, make a video or find other ways to share your finished project.  We love to see what you’ve made!

Click below to see the plans available to download.

Free plans!


Solid Body Travel Ukulele

I wanted to make a ukulele with the longest possible scale that would still fit in my travel case.

Before staining the body, I made sure that everything fit properly.

The “Les Paul” style body was made with a single piece of cherry wood. The scale length is 19 inches, and its overall length is 21.5 inches. Even though the scale length is 19 inches, I tune it like a reentrant tenor/concert/soprano. I prefer that tuning and it works better with most of the ukulele sheet music that I have.

The fretboard and bridge are made of rosewood. The volume knob is made of ebony. A piece of plastic pipe directs the strings back towards the tuners.

I used transparent red nitrocellulose lacquer followed by nitrocellulose clear coat to give it a finish similar to Gibson’s “Heritage Cherry” finish.

The under saddle piezo pickup is soldered to a 500K ohm potentiometer to control the volume. The output jack is attached to an upside down stratocaster style jack plate.


See it in action!

[youtube=http://www.youtube.com/watch?v=F3DjII_Q1Ek]

Fret Calculator Tutorial

Electric Ukulele Land has a powerful tool to help make fretboards.  This fret calculator works really well.

Although scale lengths are often measured in inches, we are going to use millimeter for these examples.  Millimeters are great for measuring string and bridge spacing and for other objects that require better resolution.  Google and this unit convertor are great for converting units.

The fret calculator allow you to save the fret template to your computer (select Save to disk (PDF multi-page)) and then print it.  Use normal sized (8.5″ X 11″) paper.  Tape the paper to your fret board, cut along the lines, and then you are ready to install frets. (Remember that the line at the top of the template is where the nut should be.)

I’ve included 4 examples of different fretboard templates.  The variables that were used  are included for each example.  Experiment with your own ideas once you get the hang of it.

___________________________________________________________________________

Regular soprano

Variables:

fundamental scale length = 342.9 mm

string width at the nut = 28 mm

string width at the bridge = 40 mm

fretboard overhang = 3 mm (equal)

calculation method = 12 (equal root 2)

number of frets = 15

number of strings = 4

Soprano Fretboard

___________________________________________________________________________

Super wide neck

You can adjust all of the different values.  Let’s try changing the “string width at the bridge” and keep everything else the same.

Variables:

fundamental scale length = 342.9 mm

string width at the nut = 28 mm

string width at the bridge = 76.2 mm

fretboard overhang = 3 mm (equal)

calculation method = 12 (equal root 2)

number of frets = 15

number of strings = 4

This example is a little absurd, but it illustrates the point.

Wide Soprano Fretboard

___________________________________________________________________________

 Multiple pages (21 inch scale)

For longer scale instruments, your fret template may not fit on one page.  Here is an example of a 21 inch scale.

Variables:

fundamental scale length = 533.4 mm

string width at the nut = 24 mm

string width at the bridge = 24 mm

fretboard overhang = 2 mm (equal)

calculation method = 12 (equal root 2)

number of frets = 15

number of strings = 4

21 inch Fretboard

When your frets span multiple pages, you will need to tape them together before you cut the slots.

Tape the two pages together.

Line up the two lines.

Tape the paper to the fretboard.  In this example, I am using a “zero fret” nut.  If you are using a traditional nut, make sure that the left line is on the edge of the fretboard.

Cut along the lines with a thin bladed flush cut saw. The fret slots should be just deep enough for the “tang” (the part that goes into the wood) of the fretwire.

All the slots have been cut.

Ready for frets.

It works great on my Paddle Ukulele.

___________________________________________________________________________

Fanned Fret

If you really want to get fancy, try making a fanned fretboard.

Use these variables to try out this feature:

Scale Length (Multiple)

first string scale length = 381 mm

last string scale length = 406.4 mm

string width at the nut = 28 mm

string width at the bridge = 40 mm

fretboard overhang = 3 mm (equal)

calculation method = 12 (equal root 2)

number of frets = 15

number of strings = 4

Fanned fretboard (last string 16 inch, first string 15 inch)

(You will have to use something other than a regular miter box to cut the fret slots, but it can make a really cool looking instrument)

Happy Building!


Utah’s Uke Fest

I attended Utah’s Uke Fest on July 27-28, 2012.  This festival had classes and workshops during the day with amazing concerts at night.  I learned new things and was inspired to take my playing to the next level.   My favorite part of the festival was getting to meet other ukulele enthusiasts from the surrounding area.

Sarah Maisel and Paul Tillery and  “The Quiet American” performed on Friday night.  The groups did separate sets, but they performed a song together at the end.

On Saturday at noon, there was an open mic contest.  The performances were great,  with lots of brave people displaying their talents.

I was lucky enough to take 2nd place at the open mic contest!  My prize was a beautiful Eddy Finn Bamboo ukulele  and a hard case for it.

Paul “Tommy” O’Connor played a few Celtic tunes on the ukulele at the Saturday evening concert.

Bolo Rodrigues also played on Saturday evening.  He attaches a ukulele to the bottom of his guitar and switches back and forth between the two instruments.

Brittni Paiva was the headliner of the festival.  Her spectacular performance was a great capstone to a very fun couple of days.


DIY Travel Ukulele [Free Instructions]


In 2011, I started emailing the instructions for the “DIY Travel Ukulele”.  Hundreds of people from all over the world have received these instructions.  Now, they are available to download directly from Electric Ukulele Land!

[Click on the link, or right click and “Save as”]

DIY Travel Ukulele Instructions

Email CircuitsAndStrings@gmail.com if you have any questions or comments.

(NOTE:  The original design used a small metal key as the nut.  The instructions now call for a zero fret, but the pictures still reflect the metal key design.)


Bass Ukulele Build : part 03 – Complete!

The body was given an orange color and a clear coat.

An extra long locking clamp (e.g. a non-medical hemostat) was used to thread the wires through the body.  The preamp cavity was narrow and deep, so this tool helped out tremendously.

I originally thought that the rod piezo would be tucked into the space at the back of the bridge. After some testing, this setup wasn’t working as well as I wanted it to.  The weight of the wood and the bridge dampened the sound too much.

After putting the rod piezo right behind the string saddles, the sound was much more responsive.

The neck was attached with an oval jack plate.  (This seems to be a signature feature of my electric instruments.)   A strap peg was placed in the middle of the plate.

The battery compartment was installed in its place at the bottom.

The smaller preamp and the battery holder work together to make a great setup for this bass ukulele.  There are no onboard volume or tone controls, but those things are easily controlled on the main amplifier.

This bass ukulele turned out great.  I was worried about my color choices when I started out, but I think it looks awesome.

This little ukulele also produces nice sound.  The Road Toad strings have a really nice feel to them, and they help make sweet music.

I met all of the goals that I had for this project.  I now have a slick little instrument with great sound and looks to match. This project was a rousing success!


Check out the deep and rich sound that this little bass puts out.  


To see more of my videos, subscribe to my YouTube channel (Circuits and Strings).


Travel Ukulele

Ukuleles are already very portable, but the bumps and bruises of travel can wreak havoc on acoustic instruments.  I’ve already constructed a few travel ukuleles.  The first was a prototype (Home Depot Travel Ukulele).  The second ukulele improved upon the first (DIY Travel Ukulele).   Both of these solutions only required basic tools along with common parts and wood.

After slowly acquiring more tools and expertise, I wanted to make another travel ukulele.  I took the things that I learned from the other builds and implemented them in this travel ukulele.


I started out by sketching out the design on paper.  The scale length was 15 inches (concert scale).  There were two tuners on each side using a slotted, classical style.

At a specialty hardwood store, I picked up a beautiful 1.5 in X 5 in (3.8 cm X 12.7cm) piece of hard maple.

The outline and interior were cut with a scroll saw. The overall length of the wood is a little over 20 inches.  The widest point is 2.5 inches, and it is 1.5 inches thick.

I slotted the frets, rounded over all of the edges except for the fretboard, drilled all of the holes, and spokeshaved the neck until it was comfortable. The entire assembly was then given a few coats of nitrocellulose lacquer.   The lacquer finish really brought out the natural beauty of the wood.

After the strings go over the bridge, they need to be directed back towards the tuners.  I used a handful of nylon spacers and washers along with some “Chicago bolts” (I also saw them referred to as “barrel nuts”) to direct the strings.    

The bridge is a small aluminium tube that was attached to the body with two metal cable clamps.

A rod piezo was inserted into the rod.  The wires from the piezo were fed through a small hole drilled into the jack cavity.

This pickup is very responsive.  The combination of the lightweight, but rigid, aluminium and the rod piezo work well together.

The piezo wires were soldered directly to a 1/4 inch mono jack.

It’s ready for strings.  I decided to use some of D’Addario’s new T2 Titanium acoustic ukulele strings.   They are “bright” sounding strings that are working great for this application.  In addition, they are transparent with a pleasant purplish tint which add a bit of razzle-dazzle to the end product.

The travel ukulele is complete. With all of the hardware, it is 20.5 inches long, 3 inches wide, and 2 inches thick. I’m very pleased with how it turned out.  I set out to make a sturdy and portable ukulele, and I met my goal.  Not only is it a legitimate instrument, it could also fend off zombies, or serve as a cricket bat in a pinch.

To see more of my videos, subscribe to my YouTube channel (Circuits and Strings).