Telecaster uke build : part 05 – The neck (frets and such)

I used my recently acquired drill press to drill holes for the fret and side markers.  The side markers were made by drilling shallow holes, pushing thin plastic rods into the holes and then flush cutting the rods.  The fret markers were made by gluing the premade hard plastic dots into the holes.

The frets were pounded into the slots with a plastic tipped hammer.  Excess fretwire was trimmed off with a fret cutter.

I use t-nuts to attach the neck to the body.  I feel that this makes the connection stronger.  The neck will have a lot of tension on it, so I want it to be securely fastened.  Small screws help to hold the t-nuts in place.

I took a chisel and cut out the area for the t-nuts.  This will make the top of the t-nuts and screws flush with the bottom of the neck.

I will use an oval jack plate for the neck plate.

The neck is ready to be clear coated.  I think I’ll do about 6-7 coats of clear laquer.

Telecaster uke build : part 04 – Routing the body

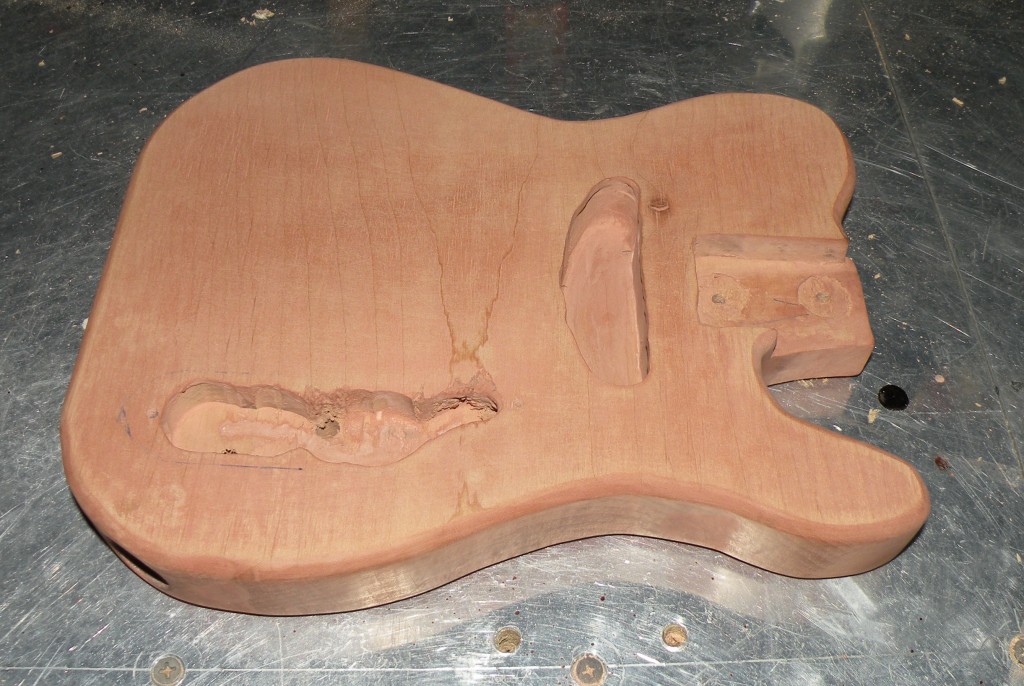
The major shaping and routing were done with a round-over bit and a straight bit.   I used the round-over bit around the edge.  The straight bit was used for the pickup and control cavities, along with the neck pocket.

The body is now routed.  The routing for the control cavity isn’t my best work, but the control plate will easily cover everything.

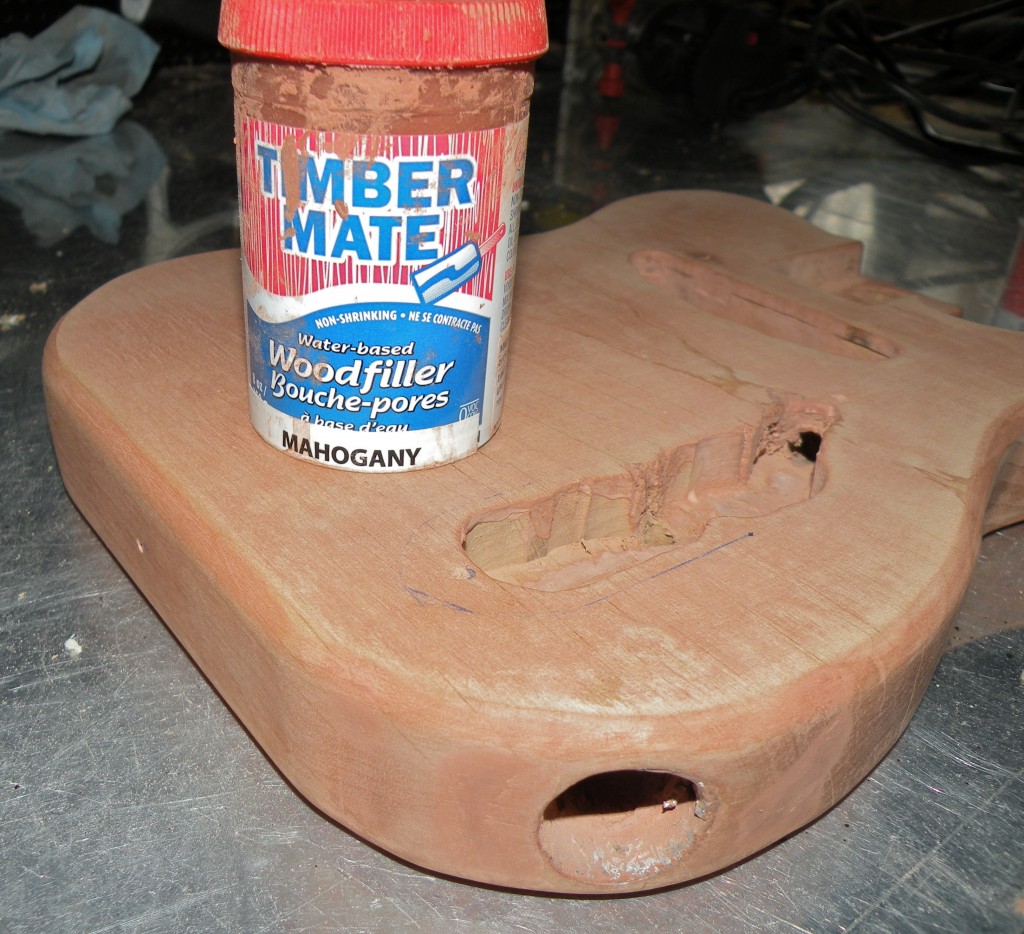
Timbermate wood filler is great stuff.  Even though alder is considered a non-porous wood,  I’ve found that spreading wood filler all over the wood (I rub it on with a gloved hand) makes sanding the wood smooth much easier.

Since I’m painting this body, I didn’t worry that my wood filler stained the wood a little.  If you wanted a natural finish on your instrument, you would use a wood filler with a hue closer to the wood’s natural color.

I penciled in the pickguard on the body.  (Remember that if you are painting the body, then you can mark out the various parts with impunity.  If you are running out of paper, you could even use it to do long division.  If your finish will be transparent, mark in a way that can easily be erased.) I then traced the pickguard shape on some tracing paper.  This is a great way to get a template for the scroll saw cutting.

The pickguard is now ready for holes.  I think I’ll use 8 screws to attach it to the body.

The body is ready to be to be sealed.  Applying a clear coat and then sanding it as smooth as possible is critical in order to have a nice, flat surface for the paint.

The bridge hasn’t arrived yet.  Normally, I’d drill all of the holes before I sealed the body, but that’s not critical.  I’ll just give the laquer time to cure, and then finish drilling.

Telecaster uke build : part 03 – Cutting the neck

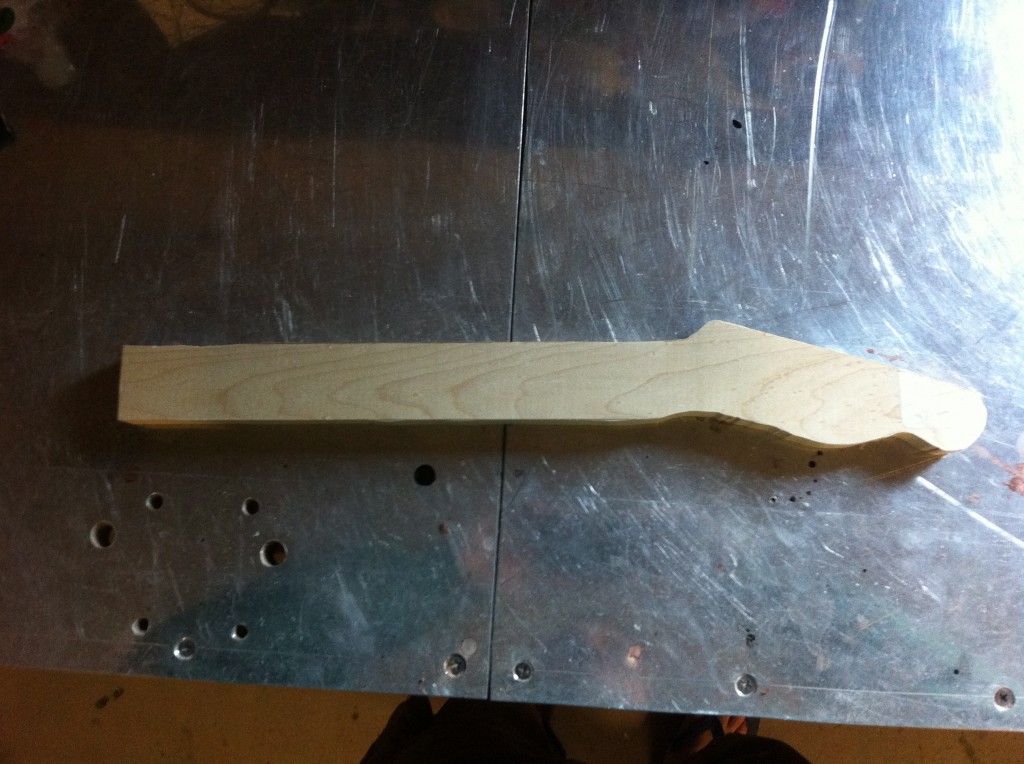
This neck started out as a .75 X 3 inch maple board.  I traced out the headstock and figured out how long the rest of the neck needed to be.  The overall scale length will be 15 inches.

Once again, a scroll saw was used to cut the wood.

I marked the nut and fret positions and then used the “waste” piece to keep the neck square as I cut the slots with a thin bladed saw and a miter box.  Once I get a drill press, I’ll  drill the tuning machine holes.  I will use black dots as the fret markers.  These will contrast nicely with the maple wood.

I used a roundover bit on my router to rough out the profile of the neck.

A spoke shave is an awesome tool for carving necks.  With it, I was able to transform the bulky, squarish board into a smooth and comfortable neck in a relatively short time.  Some 100 and 220 grit sandpaper also helped to get rid of the rough edges.

Once I drill the holes, set the frets, and inlay the dots, the neck will be ready for a clear coat laquer.

For around $5, every street kid in Indonesia can have a ukulele and sing.

There is a kind of revolution occurring on the streets of Jakarta, where punk sensibilities, brotherhood, music, desire for freedom and ukulele’s have met each other in one place. I have been trying to write an article on this for quiet a while now but the subject matter has made it difficult for me to phrase the correct way. Luckily, I have found a friend, Ayumi Nakanishiwho, has first hand knowledge of the situation, and likes to document her findings with photos. The text and pictures that follow are hers.


[style-my-gallery css=”max-width:500px;margin-top:30px;”]

Jakarta Punks by Ayumi Nakanishi

First arriving to the country 20 years ago, now the scene has grown as the biggest in Asia, the spirit of punk has perfectly fit in the Indonesian society, where there are reasons to be angry about. The gaps between poor and rich are huge, daily lives are surrounded by irrationalness. There were no human rights, no freedom of speech, or no freedom at all, especially during the Suharto regime for his 3-decade-long dictatorial presidency fallen in 1998. That was when student activists like Mike & Bob chose “punk” to fight for their “freedom,” and soon their loud voices began to reach out.

Formed in 1996 by Mike and Bob, Marjinal, a punk band from Jakarta, has not only helped uncountable numbers of street kids earn cash by teaching them how to survive on the streets by busking with ukuleles; affordable, easy and small enough even for a child to play anywhere, but they also sent their message with the true spirit of punk that is “punk is for everybody.” TaringBabi community ran by Marjinal, is the home to many punks of all ages for long, and opens for “anyone for sharing and learning together.” They give free music lessons and art workshops such as screen-printing, and give away their music, logos and artworks for reproducing for survival. Those who reside at TaringBabi, learn how to survive by caring and helping each other.

The residents include the youngest, a 12-year-old, Ucil, who is from a broken home. “TaringBabi is my family,” said Ebet, 20, whose parents had passed away and has been living there for years. Mike, 33, and Bob, 32, who take care of all, try to make their living by selling their paintings or tattooing that they sometimes exchange tattoos for rice. Living on the edge, they still keep going.

Their activities, and poignant & powerful messages in their songs about the suffering and struggles, government corruption and injustices in Indonesian society made them so charismatic that those followers who have now become the messengers of the band, sing their songs on trains, buses, streets of Jakarta and throughout the country. “It’s about how we take care of our friends.” “We survived until now, it’s not because of the band, but because of the community. We have the mission. It’s about life. We have the reason for that, and the band is a tool. We never stayed until now without our friends,” said Mike on their 14th anniversary in December 2010. They do what they do for so long “to make the revolution for people in Indonesia.”

The Marjinal guys have now been facing a crisis of survival to keep their home “Taringbabi” community because of the economical issues, trying to take care of many punks living there as well as maintain their activities, which are always operating in the red, as it all comes to depend only on Mike and Bob. Marjinal guys have always been struggling though they still let anybody in, let them stay, feed them and give them education, those include street kids living on the streets.

At the moment, their financial condition is quite serious, and the best way to support them now perhaps is to buy their artwork or products for them to earn some kind of cash to survive. So that they can eat and keep the home then go back to their activities. ukeland.co.uk and Ayumi Nakanishi are trying to work together to establish a way that we can support Marjinal by selling their artwork, products/ band merchandise which include their woodcuts prints, T-shirts, pins, patches which are all made by hands. It is not proving easy at the moment as Ayumi is back in her home country, Japan, trying to help people there recover from the natural disasters that have happened over the last year or so, and the Marjinal / TaringBabi team are difficult to contact due to their economical issues.

If you have any ideas on how you can help, please contact any of the following :-

Us: electricukuleleland@gmail.com
Ayumi: photo@ayuminakanishi.com and at her website www.ayumi-nakanishi.com
Bob Marjinal: dosakoe@gmail.com

While we work out how we might be able to sell merchandise for them, please think about raising money and awareness by writing and recording a ukulele punk song, donating some proceeds from a gig, or simply just sharing this story on your social networking sites

“For around $5, every street kid in Indonesia can have a ukulele and sing.”

Telecaster uke build : part 02 – Cutting the body

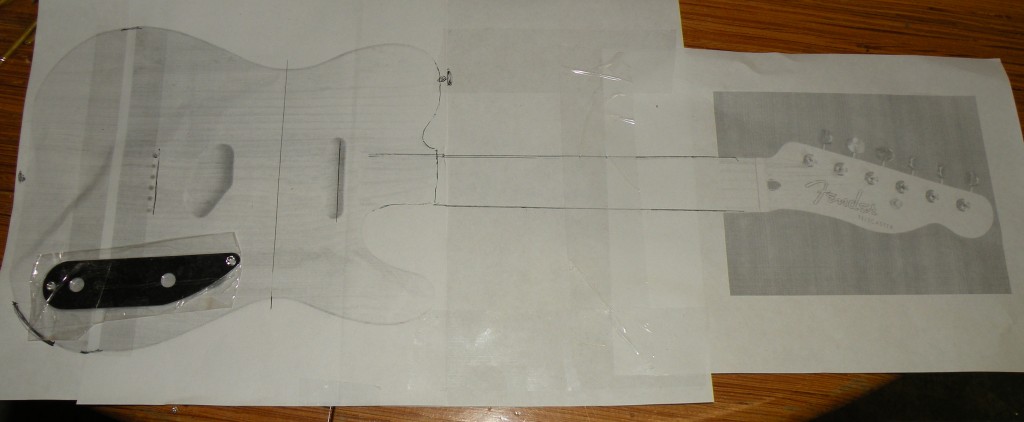
I started this project by printing out a body and a headtstock on some paper.  This is done to make sure that all of the parts will fit, and so that I can see if everything is proportional.  These papers will be used to mark the lines on the wood to be cut.

The body is made of 1.5 inch thick alder.  I cut out the body with a scroll saw.  A scroll saw is a great tool for this type of job.

The body is now cut out.  Next will come sanding, routing, drilling, and more sanding.  When all of that is accomplished, then I can start preparing it for painting.

Telecaster uke build : part 01 – Idea

Ahh…the Telecaster.  The iconic guitar that launched 10,000 licks.  Elegant in it’s beauty and playability.   Everyman in it’s straightforward design and construction.

Okay.  Enough pontification.

The very first electric ukulele that I built was styled after a Telecaster.  I used a neck from a kit because I didn’t have the resources or skills to make my own. All of the main parts were the same ones that would be used on a full-sized Tele.  I liked the functionally of the two pickups and the selector switch, but the small body left very little surface area for all of the parts.

I am going to revisit my first build and make another Telecaster ukulele.  The desire is to make an instrument that plays beautifully and resembles a Standard Telecaster.  Here are some things that I want to incorporate into this ukulele:

  • 15 inch scale.  Most of my other builds have been soprano scale, but I want this to be a little longer.
  • One piece maple neck and fretboard.  This will add a degree of difficulty to the build.  If I mess up the fretboard, the whole neck is trash.
  • One pickup with tone and volume controls.
  • String-thru-body bridge.
  • Fiesta Red nitrocellulose lacquer finish.  Thankfully, I have some of this paint leftover from my Jag-Stang ukulele build.

That should wrap up the preliminary stuff.  I’m excited to get working on this thing!

Welcoming :- Daniel Hulbert

You probably already know Daniel Hulbert from this amazing interview we did with him. When we did that interview we were surprised at how much time and effort Daniel puts in, and how much he loves electric ukes. So surprised in fact, that we asked him to join us and write up some of his next builds. We are glad to announce that Daniel has accepted this offer and is now officially one of the Electric Ukulele Land writers.

Thanks Daniel, I know already you have some very exciting stuff lined up for us and we all welcome you to our great rock and roll show!

Stagg Electric Uke Hack : Fixing the Buzz

Not too far back I fitted a piezo pickup to one of my ukuleles. It was a cheap and fairly painless exercise. Today I’m going to talk about some of the mechanics of amping the instrument.

First let’s get some technical stuff out of the way:

“Piezoelectric fields result predominantly

from atomic layer displacements along

the nanowire axis within both the core

and shell materials.”

– American Chemical Society

Continue reading