
I’ve got another update on my electric ukulele build. When last we spoke I’d had a close shave whilst fitting the tuners. Things had been going so well too! Today we return to the scratch plate to do some Kung Fu with the electrics.

I’ve got another update on my electric ukulele build. When last we spoke I’d had a close shave whilst fitting the tuners. Things had been going so well too! Today we return to the scratch plate to do some Kung Fu with the electrics.
This is my second ‘how to’ for today and it was almost a ‘how not to’.
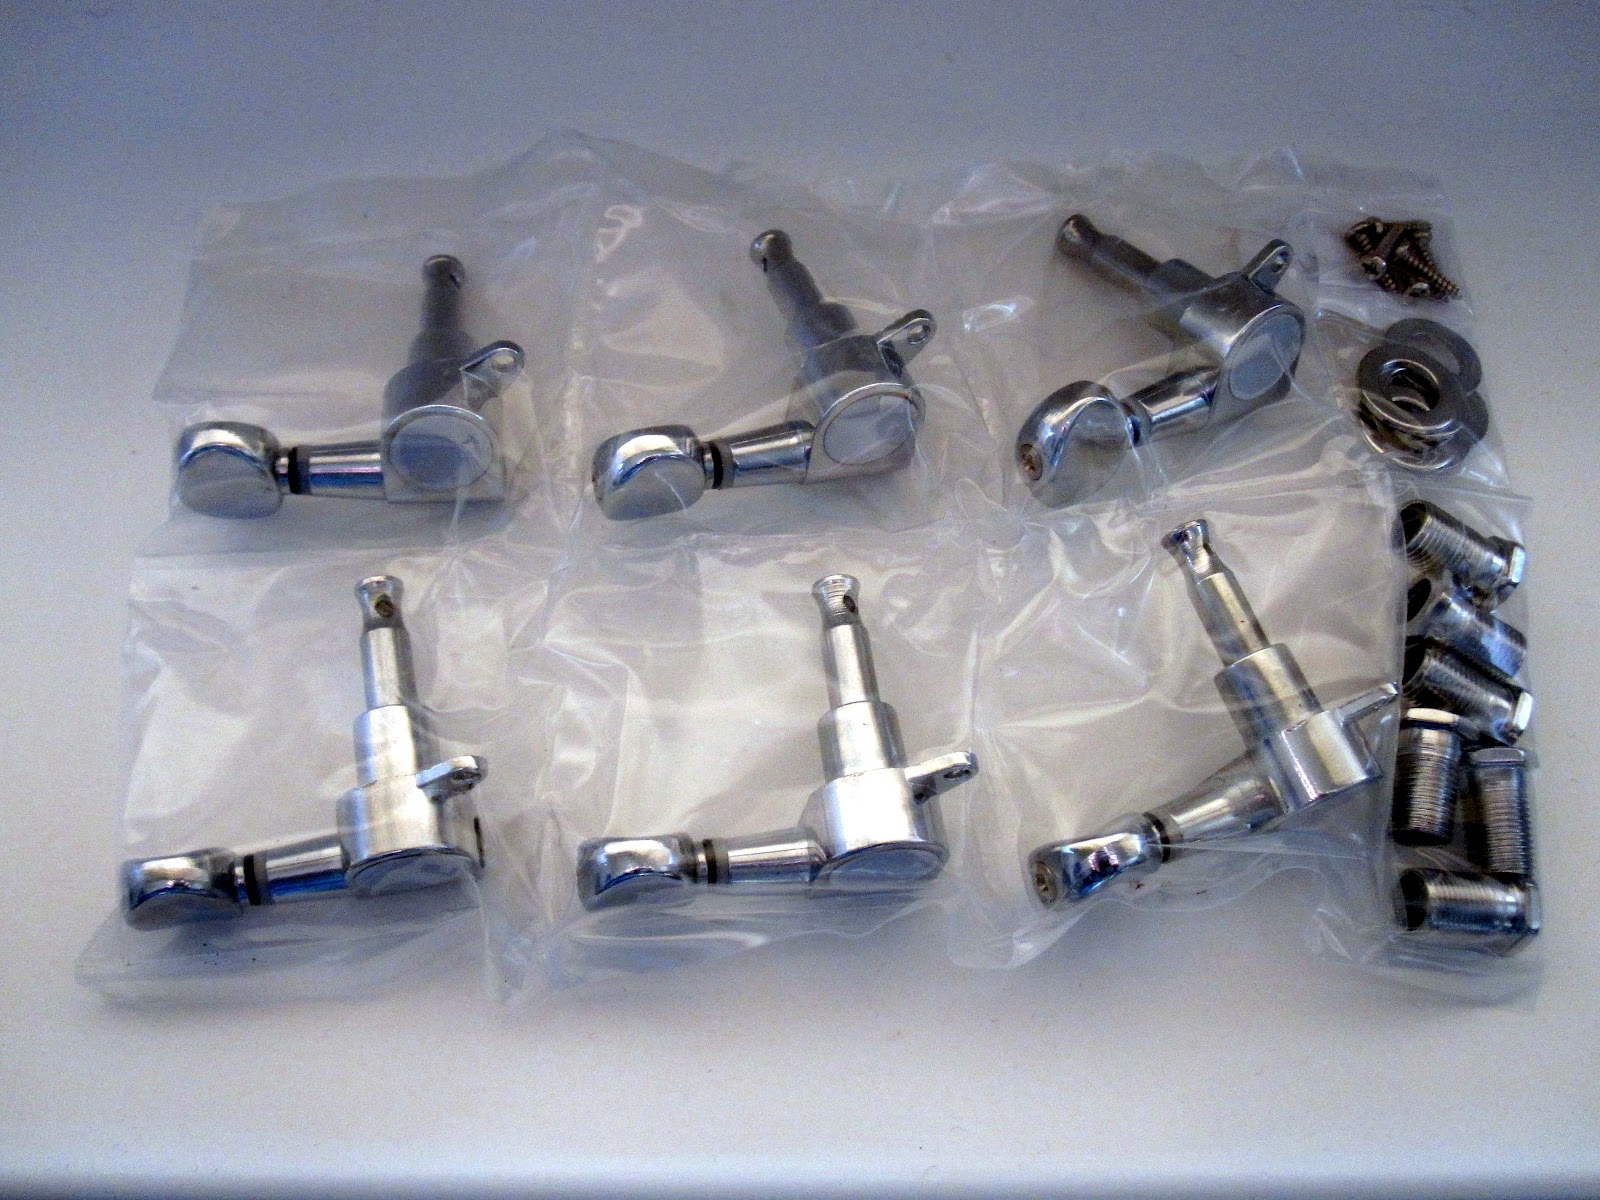 |
| Machine Heads… Tuners… Gear Heads I’m fitting these standard Strat-style tuners to my Electric Uke |
For those of you with a worse memory than me, I remind you that earlier today I busted a scratch plate. I left you hanging with the promise of a post on how to fit the tuners. I’ve done that now and here’s how I did it…
Today’s post celebrates the fun that was the Ukulele Festival of Great Britain. I dragged my family along kicking and screaming and a great time was had by all! Apologies in advance for the poor photography. I’ve included as many of the photos as possible, with a few scans interspersed in between. There’s no particular order to the pictures. If it’s uke-related then it’s probably got a mention somewhere below. I’ve stuck in as many plugs and links as possible. Sorry if I missed anyone. And sorry if I’ve got any of my facts wrong. Just shout if you want anything fixing…
 |
| The Ukulele Festival of Great Britain; Cheltenham; 1st – 3rd of June, 2012 There’ll be no festival next year apparently. No details were given. I’m as much in the dark as you. |
I was reminded today about a promise I made quite a few months ago. I said I’d post a review of how my Stagg sounds now that I’ve got my piezo fitted. Well here it is…
 |
| Planet of the Ukes |
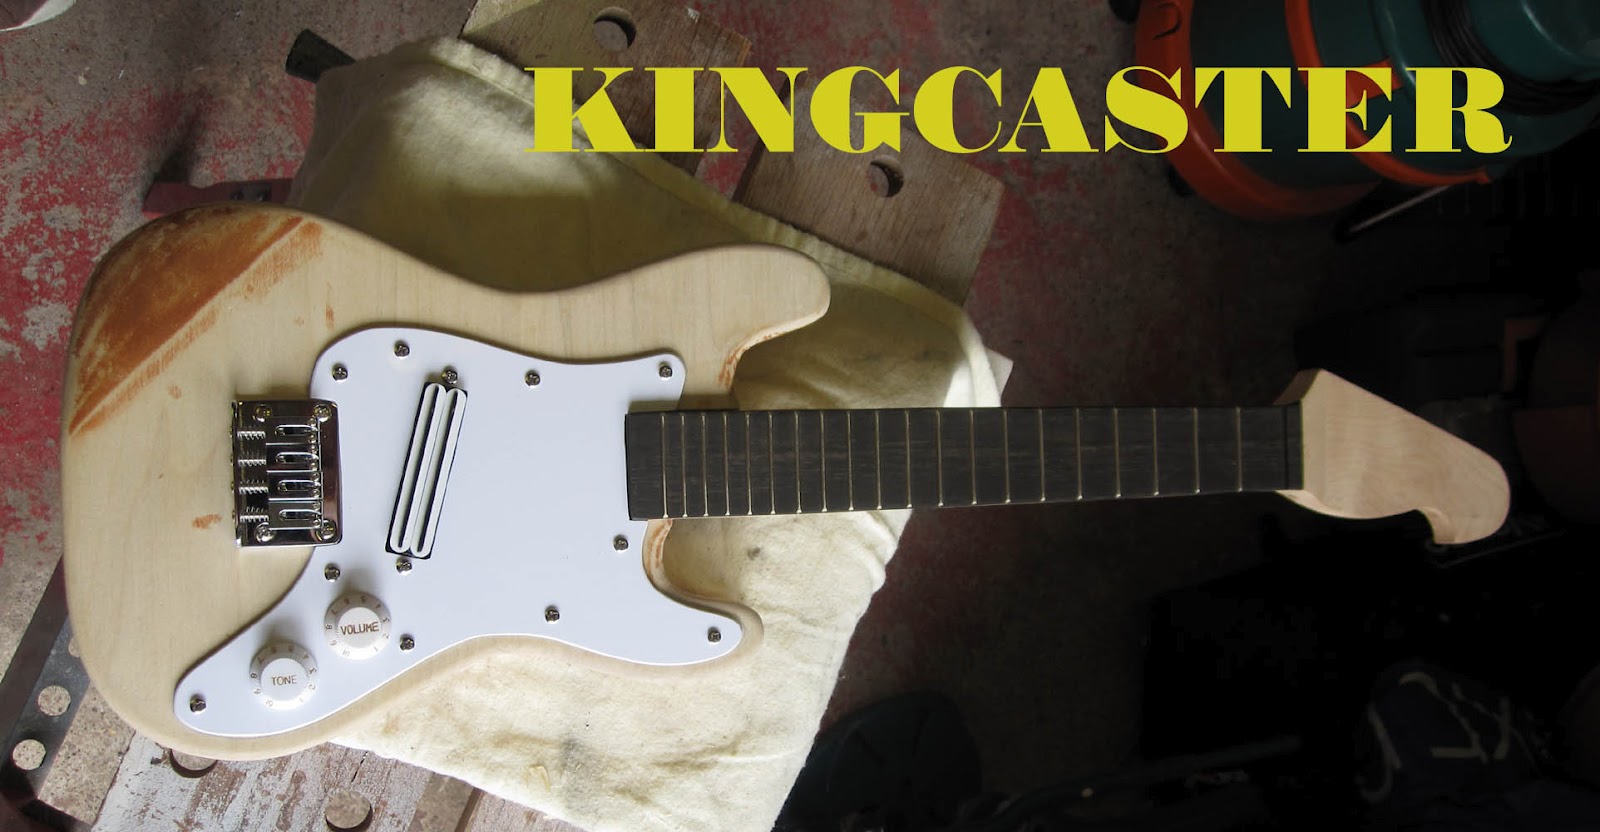 |
| Kingcaster Custom Electric Ukulele |
I’m back and I have another update on my electric ukulele build. Most of the shaping has been done and now I’m on to the fiddly bits. In my last post I battled with my demons and fitted the frets. This post is a whole lot more laid back… but this is no time to become complacent! Today I show you how I made the scratch plate.
In my last post I described how I put the finishing touches to my electric ukulele body. I also mentioned a few nerves about fitting the frets to the neck. I wouldn’t go as far as to say that I’ve been avoiding it, but I’ve certainly been waiting for the right time to do it! Okay, so I’ve been avoiding it. ;-P
 |
| I luv ukes… but not so much fitting frets… |
It took a supportive push from Gavin MacMillan to make me finally take the plunge. He told me to “man up and get the frets on!” Thank you Gavin. I gone and blinkin’ done it… and here’s how I did it…

Time for an update on the Electric Ukulele Build. In my last post I talked about how I started to make the neck. You will remember that I left you on tenterhooks as I revealed that I’d controversially glued the fretboard to the neck prior to fitting the frets. I still haven’t mustered the courage to fit the frets but this doesn’t mean that I haven’t been busy… a lot’s happened since then. In this post I return to the body to apply some much needed finishing touches.
Ukuleles are already very portable, but the bumps and bruises of travel can wreak havoc on acoustic instruments. I’ve already constructed a few travel ukuleles. The first was a prototype (Home Depot Travel Ukulele). The second ukulele improved upon the first (DIY Travel Ukulele). Both of these solutions only required basic tools along with common parts and wood.
After slowly acquiring more tools and expertise, I wanted to make another travel ukulele. I took the things that I learned from the other builds and implemented them in this travel ukulele.

I started out by sketching out the design on paper. The scale length was 15 inches (concert scale). There were two tuners on each side using a slotted, classical style.

At a specialty hardwood store, I picked up a beautiful 1.5 in X 5 in (3.8 cm X 12.7cm) piece of hard maple.

The outline and interior were cut with a scroll saw. The overall length of the wood is a little over 20 inches. The widest point is 2.5 inches, and it is 1.5 inches thick.

I slotted the frets, rounded over all of the edges except for the fretboard, drilled all of the holes, and spokeshaved the neck until it was comfortable. The entire assembly was then given a few coats of nitrocellulose lacquer. The lacquer finish really brought out the natural beauty of the wood.

After the strings go over the bridge, they need to be directed back towards the tuners. I used a handful of nylon spacers and washers along with some “Chicago bolts” (I also saw them referred to as “barrel nuts”) to direct the strings.


The bridge is a small aluminium tube that was attached to the body with two metal cable clamps.

A rod piezo was inserted into the rod. The wires from the piezo were fed through a small hole drilled into the jack cavity.

This pickup is very responsive. The combination of the lightweight, but rigid, aluminium and the rod piezo work well together.

The piezo wires were soldered directly to a 1/4 inch mono jack.

It’s ready for strings. I decided to use some of D’Addario’s new T2 Titanium acoustic ukulele strings. They are “bright” sounding strings that are working great for this application. In addition, they are transparent with a pleasant purplish tint which add a bit of razzle-dazzle to the end product.

The travel ukulele is complete. With all of the hardware, it is 20.5 inches long, 3 inches wide, and 2 inches thick. I’m very pleased with how it turned out. I set out to make a sturdy and portable ukulele, and I met my goal. Not only is it a legitimate instrument, it could also fend off zombies, or serve as a cricket bat in a pinch.
To see more of my videos, subscribe to my YouTube channel (Circuits and Strings).
Welcome to the next part in the story of my adventures in Electric Ukulele Land. I’ve been busy.
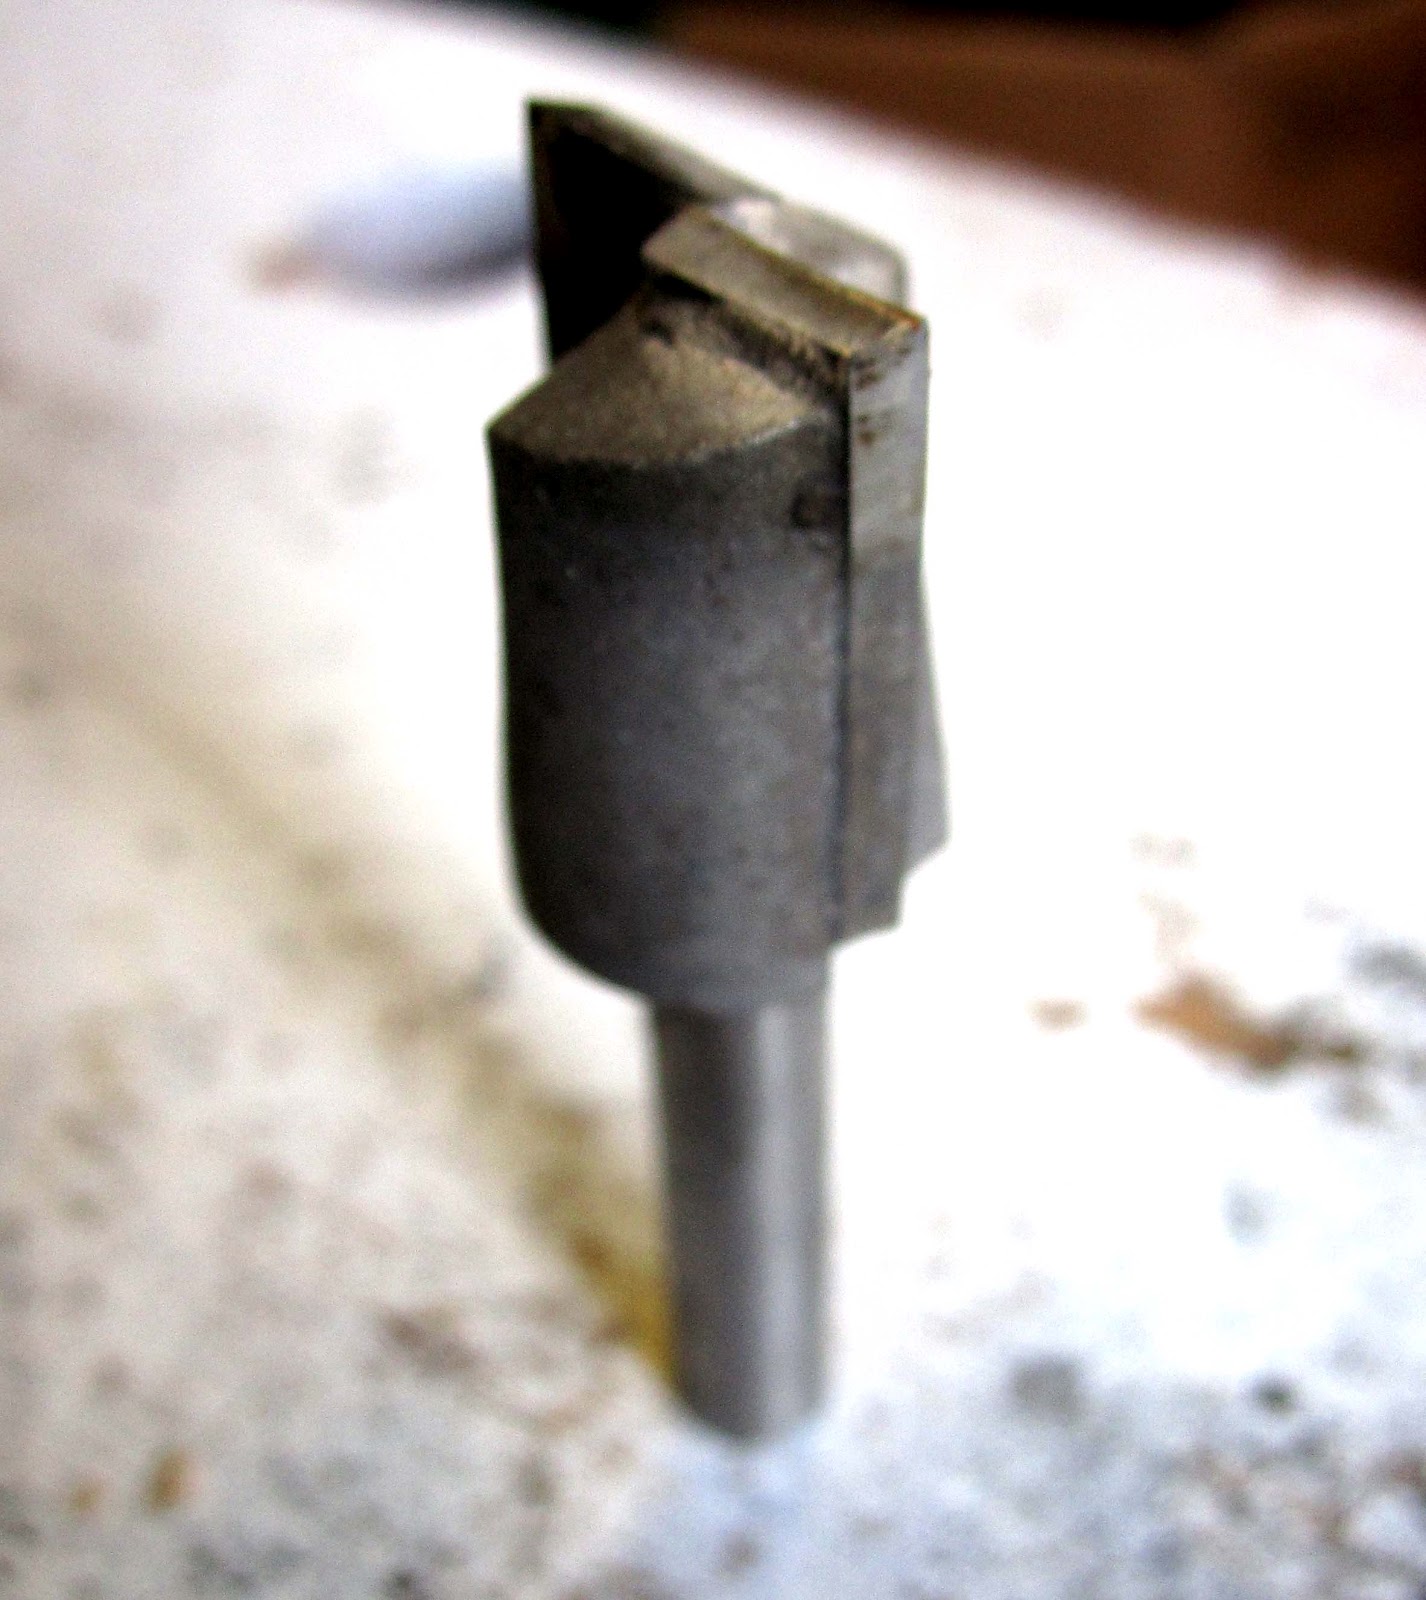 |
| Do not fear the Router! |
Regular readers of this blog will know that I’m currently making an Electric Ukulele. In this post I’m finally talking about shaping the neck. Previously I’ve dreamt, worried, planned, got sidetracked, annoyed, designed and shaped the body. I also took the time to record a Flight of the Conchords song… but that’s something else entirely.
Piezo pickups are a great and inexpensive way to “electrify” an instrument, but they don’t have a lot of output. A preamp is normally used to boost the signal to a more usable level.
Instead of installing a preamp on every instrument that I make, I decided to make a pedal.

I used a piezo preamp system that would normally be installed on an acoustic guitar. I also used a heavy duty triple pole double throw(3PDT) stomp switch, an LED, a resistor, a metal enclosure, and an extra mono jack.

The piezo preamp is an inexpensive model that I bought online.

I cut out a hole for the preamp and drilled holes for the jacks and switch. The preamp is now smaller because I trimmed off the 9V battery compartment.

This mess is my prototype to make sure that everything is working properly.
By stepping on the switch, you toggle between the two settings which are as follows:
[Setting 1] LED off. Preamp off. Bypass preamp.
[Setting 2] LED on. Preamp on. Through preamp.

I painted the enclosure with some leftover paint from this project.

I assembled and bench tested it.

It is now the first pedal in my pedal chain.

I wired it so that it would run off of the same 9V daisy chain that my other pedals use. (I try to avoid using batteries whenever I can.)

The preamp pedal is now a worthy, albeit somewhat bulky, addition to my pedal board.