Travel Ukulele

Ukuleles are already very portable, but the bumps and bruises of travel can wreak havoc on acoustic instruments.  I’ve already constructed a few travel ukuleles.  The first was a prototype (Home Depot Travel Ukulele).  The second ukulele improved upon the first (DIY Travel Ukulele).   Both of these solutions only required basic tools along with common parts and wood.

After slowly acquiring more tools and expertise, I wanted to make another travel ukulele.  I took the things that I learned from the other builds and implemented them in this travel ukulele.


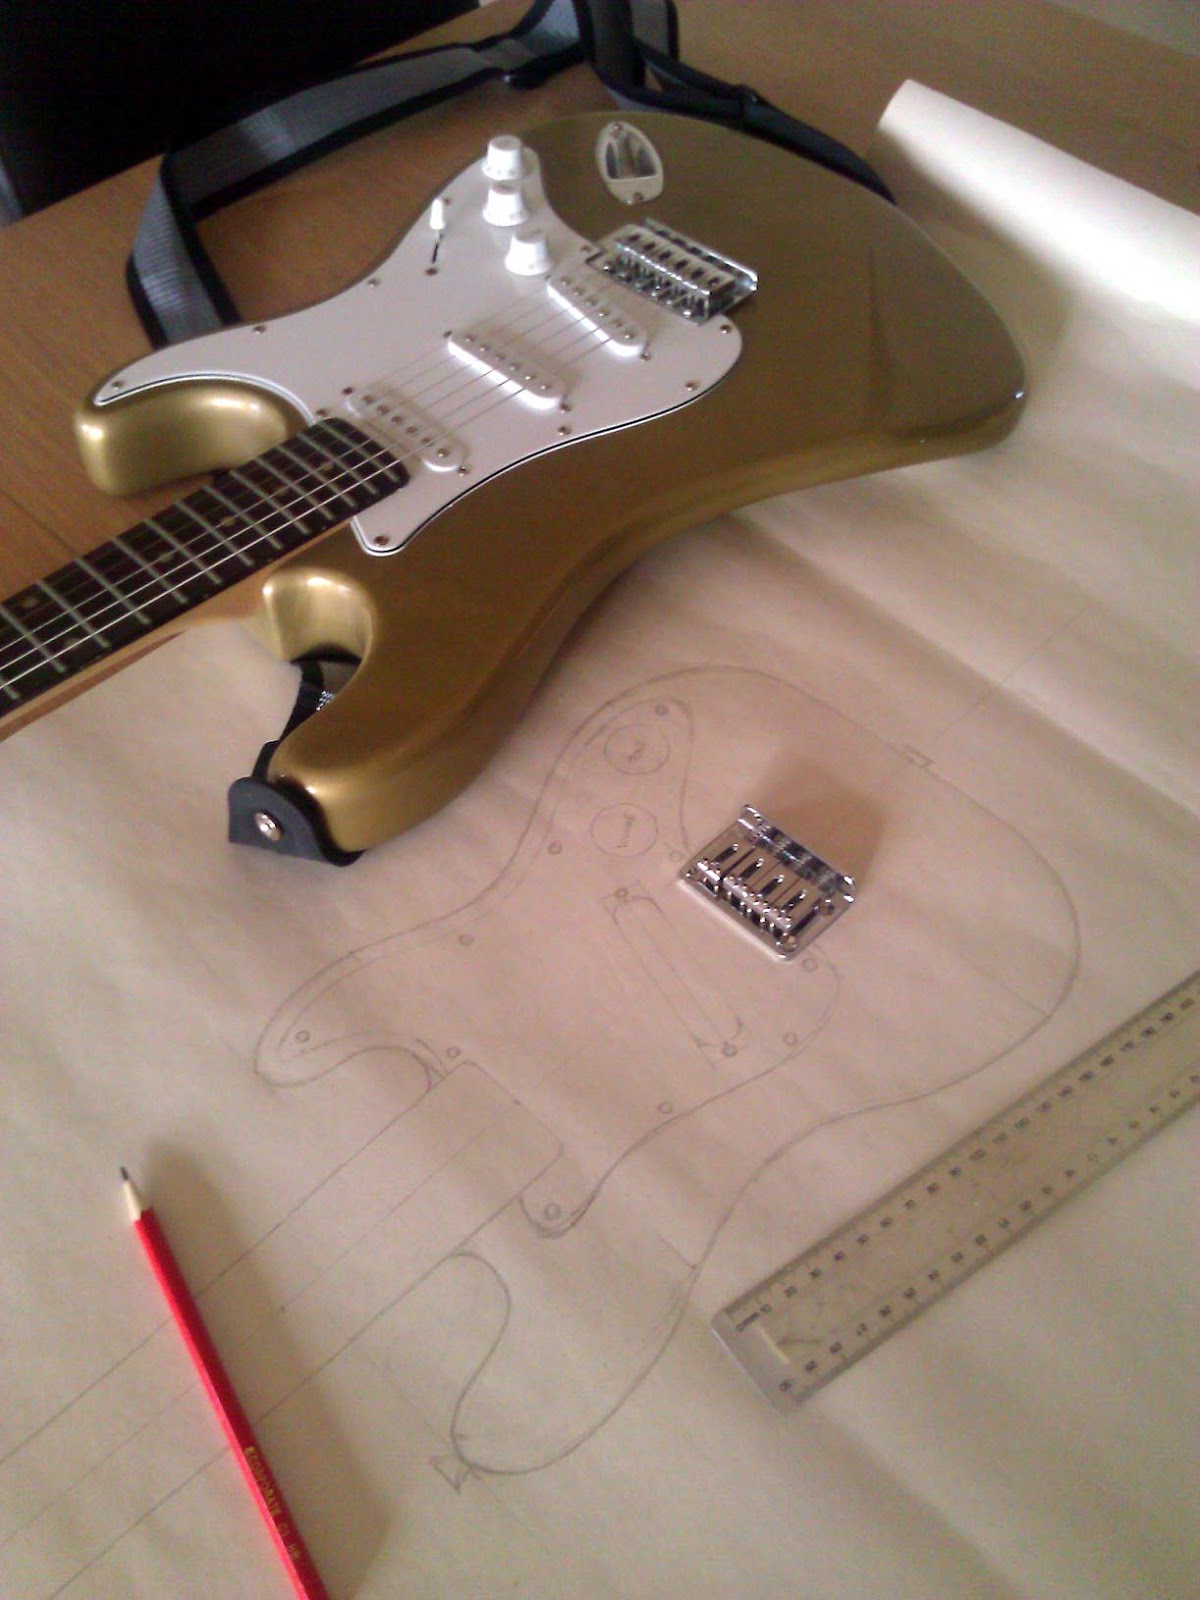
I started out by sketching out the design on paper.  The scale length was 15 inches (concert scale).  There were two tuners on each side using a slotted, classical style.

At a specialty hardwood store, I picked up a beautiful 1.5 in X 5 in (3.8 cm X 12.7cm) piece of hard maple.

The outline and interior were cut with a scroll saw. The overall length of the wood is a little over 20 inches.  The widest point is 2.5 inches, and it is 1.5 inches thick.

I slotted the frets, rounded over all of the edges except for the fretboard, drilled all of the holes, and spokeshaved the neck until it was comfortable. The entire assembly was then given a few coats of nitrocellulose lacquer.   The lacquer finish really brought out the natural beauty of the wood.

After the strings go over the bridge, they need to be directed back towards the tuners.  I used a handful of nylon spacers and washers along with some “Chicago bolts” (I also saw them referred to as “barrel nuts”) to direct the strings.    

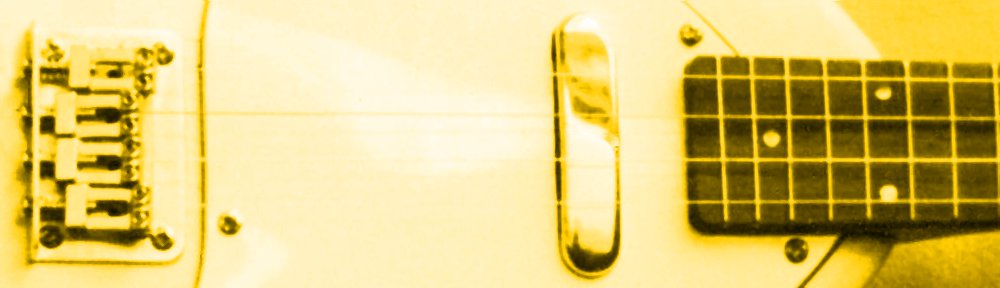
The bridge is a small aluminium tube that was attached to the body with two metal cable clamps.

A rod piezo was inserted into the rod.  The wires from the piezo were fed through a small hole drilled into the jack cavity.

This pickup is very responsive.  The combination of the lightweight, but rigid, aluminium and the rod piezo work well together.

The piezo wires were soldered directly to a 1/4 inch mono jack.

It’s ready for strings.  I decided to use some of D’Addario’s new T2 Titanium acoustic ukulele strings.   They are “bright” sounding strings that are working great for this application.  In addition, they are transparent with a pleasant purplish tint which add a bit of razzle-dazzle to the end product.

The travel ukulele is complete. With all of the hardware, it is 20.5 inches long, 3 inches wide, and 2 inches thick. I’m very pleased with how it turned out.  I set out to make a sturdy and portable ukulele, and I met my goal.  Not only is it a legitimate instrument, it could also fend off zombies, or serve as a cricket bat in a pinch.

To see more of my videos, subscribe to my YouTube channel (Circuits and Strings).


Kingcaster uke build : part 03 – How to make the neck – part 1

Welcome to the next part in the story of my adventures in Electric Ukulele Land. I’ve been busy. 

Do not fear the Router!

Regular readers of this blog will know that I’m currently making an Electric Ukulele. In this post I’m finally talking about shaping the neck. Previously I’ve dreamt, worried, plannedgot sidetrackedannoyed, designed and shaped the body. I also took the time to record a Flight of the Conchords song… but that’s something else entirely.

Continue reading

Kingcaster uke build : part 02 – How to make the body

In my last post I talked about how I designed and created a pattern for my electric ukulele build. Today I talk about making the body.

From wood to wood in 167 simple steps – King Uke shows you how!

I haven’t finished it, but I’ve done enough to give you a run down of what I’ve been up to. Tighten your seatbelts, this might just get a little hairy!

Oh yeah… my build has been christened “the Kingcaster”. I kind of like the sound of that!

Continue reading

Bass Ukulele Build : part 02 – Body and Neck

The body is made of ash.  The neck was made with three pieces of maple.  The headstock was scarf jointed to the neck and the fretboard was glued to the top.  I got the specialized tuners and nut from https://www.largesound.com/buy/.  They provide replacement parts for Ashbory Basses.   The bridge is a knockoff “Hipshot A Style” bridge.  This type of bridge allows for the mounting of the thick “Road Toad” strings.

I sealed and primed the body. I drilled a larger hole by the the bridge to allow a rod piezo pickup to be mounted by the back of the bridge.

With a drill and a chisel, I hollowed out a cavity for a 9V battery holder.  This bass ukulele will have an active pre-amp to boost the low output of the piezo rod.

The neck was given a nitrocellulose lacquer finish after side markers were installed.

Next, the body will be given a beautiful orange finish.  Once the color and clear coats have cured, it’ll get a good buffing and polish.  Finally, my favorite steps will arrive.  That is assembling and playing the instrument.  There is something almost magical about the first tune on a brand new instrument.


Telecaster uke build : part 08 – Complete!

After waiting for the clear coat to cure, the time came to wet sand, apply the polishing compound, and polish the body.  I used 1000 grit sandpaper to wet sand the body.  I then used a rag to apply “fine” and then “swirl remover” polishing compound to the finish. “Meguiar’s Mirror Glaze #7” is what I used to give the body a final polish.  It’s a car glaze, but I’ve seen it mentioned on a lot of guitar forums as a guitar polish.  It’s worked well so far.

I used this wiring diagram as a base:  One pickup, one volume, one tone.

I tweaked a few things to adjust for the higher frequencies of a electric ukulele.  250K ohm potentiometers were used instead of the 500K ones.  A 0.020 microfarad capacitor was used instead of the .047 microfarad one.  In addition, a 0.001 microfarad capactor was added between the center and right lugs.  (Okay, so I “tweaked” everything.)

Now, the Telecaster Ukulele is ready to assemble and then play!   In this video, I give a demonstration of the uke in action, and show it being assembled in real time (I work fast).

It’s been fun making this ukulele and sharing the details.  It was a lot of work, but now I have a custom instrument that plays beautifully and looks great.

Ammo Box Ukulele

Sometimes the desire to ROCK is tempered by a lack of tools.  To make a regular solid body electric ukulele, you need a scroll saw (or a band saw) and a router along with some other basic tools.  However, a hollow enclosure can be used for the body, which eliminates the need to cut and rout a wooden body.

For my ukulele, I used an ammo box that I purchased at an army surplus store.  This same kind of thing could be done with any type of sturdy wood, metal, or plastic box.

The neck was made with two pieces of mahogany scarf jointed together. Less expensive and more readily available wood could also be used.  In fact, other types of wood would probably be more congruent with the “DIY spirit”.

In keeping with the ammunition theme, many of the hardware appointments were made with spent bullet shells.  One the most difficult parts of this build was cutting a hole in the thick metal box for the single coil pickup.  I used a hacksaw blade and a file to do this.  A jig saw would have been much easier.

The bridge was made with a 30.06 shell.  A shotgun shell top serves as the volume knob.

The wiring schematic is pretty basic:  One pickup, One volume schematic

Spent .22 shells serve as fret markers.

Here is a demo of it in action!

https://www.youtube.com/watch?v=sJwUR12x1Ig

Bass Ukulele Build : part 01 – Planning

I want a bass ukulele.  After building a few dozen instruments, the thought of simply buying one from store seems very boring.  I will therefore expend the time and money to make a custom bass ukulele that will fulfill my desire.

Before I build, I make a paper mock-up of the instrument. (I included a concert sized acoustic ukulele for scale)

Here are the elements that I want to have:

  • 20 inch scale length
  • Black Road Toad polyurethane strings
  • Maple neck/headstock/fretboard
  • Under bridge piezo pickup
  • On board Preamp
  • Black Hardware
  • Orange Paint for the body

The combination of orange, black, and maple should make for an interesting looking instrument.  I hope that I don’t live to regret making a bright orange ukulele.  Hopefully, a funky color will look good on a funky ukulele.

Telecaster uke build : part 07 – Primer, paint, and clear coat

I applied a nitrocellulose primer to the sealed wood body. 2-3 coats were needed. Any slight bumps were sanded flat with 1000 grit sandpaper.

The “Midnight Wine” color coat went over the primer.  This color started to worry me.  I said to myself, “I don’t want a plum colored electric ukulele”.   I pressed on, knowing that if I hated the color, I could always repaint. I did about two coats, then noticed that my overzealous painting had cause a couple of sags on the back.  After letting it dry for a day, I used some 320 grit and then some 1000 grit sandpaper to reflatten the surface.  I sanded just enough to correct the sags, but not enough to sand through all of the color coats.  Once I was pleased with the surface, I did two more color coats.

Next came about 6 or 7 clear coats.  Clear gloss nitrocellulose lacquer was used. After the clear coats were applied, I noticed that the color had changed slightly.  It had become much closer to the dark, rich “Midnight Wine” color that I was expecting.  This pleased me exceedingly.

Filling the grain, sealing the wood, applying the color coats, and then putting on the clear coats, makes for a nice finish.  Even if you are using spray cans (like I do), you can get great results.  I follow the Stewart-MacDonald Nitrocellulose Finishing Schedule.

The next step is the most agonizing for me.  Waiting.  It is recommended that you allow 10-14 days for the finish to cure before wet sanding and buffing the finish.  I’m planning on waiting two full weeks before touching the body again.  It will be hard, but I will be strong.  Hopefully my patience will yield a beautiful, glossy finish.

Telecaster uke build : part 06 – Bridge and first assembly

My four string bridge arrived in the mail, so I was able to drill the holes for the screws and strings.  The holes for the strings go all the way through the body.

I used a long drill bit to drill a hole from the bridge to the control cavity.  I will run a wire through this hole to ground the bridge.

A long drill bit is nice to have.  It’s difficult to use a regular length bit and still get the desired angle without rubbing the wood with the drill.

On the back side of the body, I countersunk holes for the string ferrules.

The cutting, shaping, and drilling are now complete.  Before painting, I like to assemble the major components on the instrument.  This gives me confidence that all of the parts will fit together.  If something needs to be adjusted, it’s much easier and cleaner to do it now.

Now that the body has been sealed, it is ready to be primed, painted, and clear coated.  Midnight Wine paint will look great on this.  (I’ve already given the maple neck a clear nitrocellulose finish, so it’s ready to go)